
I ended up choosing a handful of IP Engineering kits, as Ivan has an online shop. I've got better things to do than ring the old dart in the wee small hours to deal with suppliers.
Eventually HM's pigeon post and Ozpost got their collective act together and around Easter a box landed on the doormat, with a Mandie railcar, a Lollypop railcar, some Ezee wagons and a few other odds and sods like spare gears.
I can't remember the last time I built a HO kit the way the designer intended and I'm not about to start now, so the kits were modified for their intended TVT service.
Apologies in advance for the length of the post, but I get a lot out of progress photos posted by members and wanted to return the favour... ;-)
Motor No. 1 and trailer.
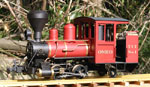
This is the Mandie railcar, extended to fit the driver ahead of the side doors, so they could also be used by the passengers. I can't say I've ever seen a railcar with a rear door, although early buses sometimes had them. The trailer is an Ezee van, more or less permanently attached to carry luggage, parcels, LCL goods and the mail as needed.
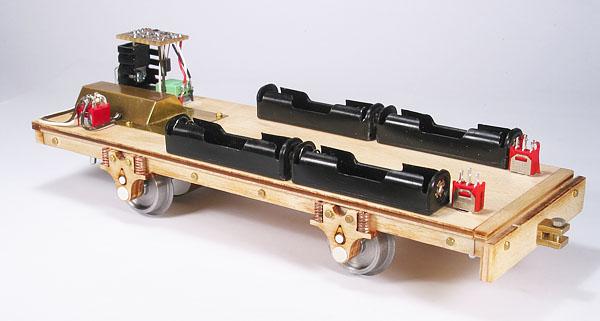
I wasn't impressed with the mechanical arrangements, so a simple gearbox was made and the motor mounted horizontally. Track trials showed top speed to be a little low with the as supplied arrangement, so four NiMH cells and a simple transistor speed control were fitted.
The photos shows the chassis of the railmotor as first built. It was later modified with a charging socket and some detail changes. The chassis was extended at the ends to match the longer body, but the wheelbase was left as designed to ensure the minimum radius was not changed. Dummy springs made by winding a coil of wire were added to the axleboxes to improve the 'ride' for the passengers.

The body was extended at the front with an extra window and the rear wall replaced with the partition originally intended to fit between the driver and the passengers. The ends were scribed for planking to match the sides and 1/32" ply window frames added to simulate opening windows for the Aust climate.
These photos show the exterior changes and the new cab interior.
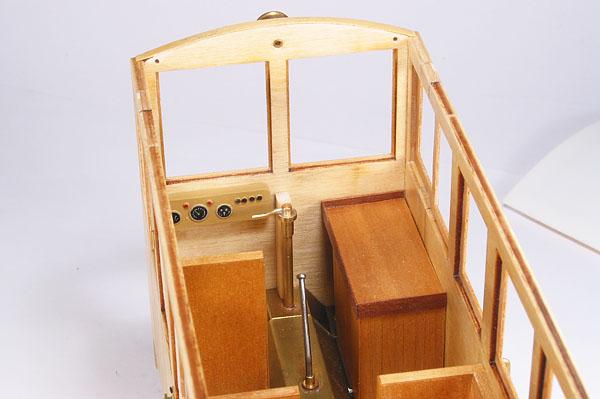
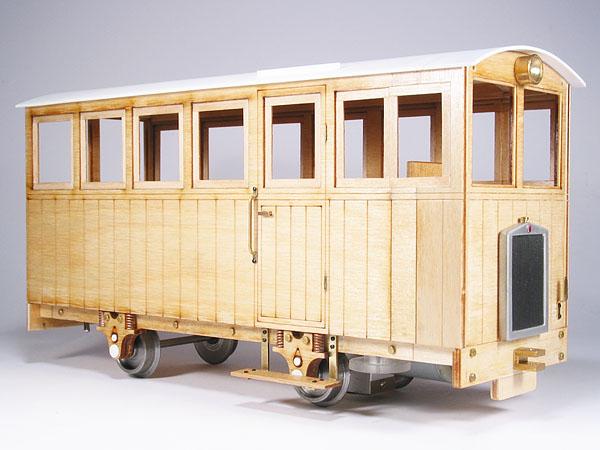
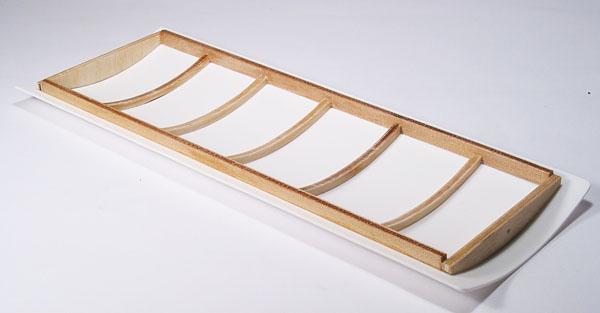
These photos have been posted before, but show the roof framing and gearbox. The roof is removable so glazing could be added after painting, as well as passengers and also allow access for future maintenance.

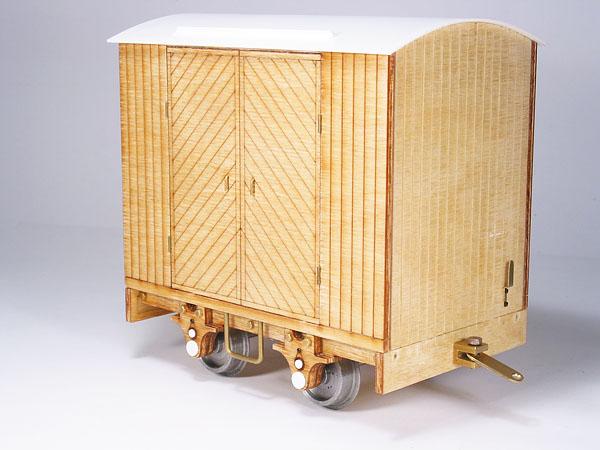
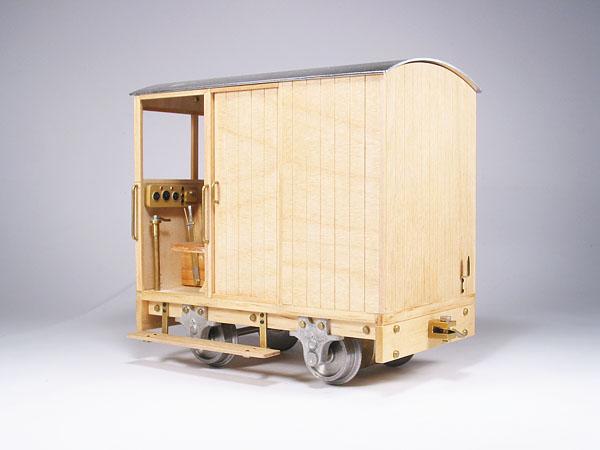
The trailer is an Ezee van, with boards scribed on the ends and the doors modified to hinged type, instead of sliding. A few details like a lamp iron for the tail disc, step and rainstrip are also added.
The ensemble was painted in TVT passenger red, the same colour as OMEO, and lettered with my own waterslide decals. The silver stripes on the front are also decals and the overall scheme is based on the way the VR painted their broad gauge railcars in the late '20s.

TVT History.
The TVT has a branch running to a gold mining area. The mines have recently closed and the TVT has built a small rail motor to reduce costs and still provide a once a week passenger, postal and light goods service to the remaining inhabitants of what will soon be a ghost town in an area with little or no roads.
Motor No.2 and weed killing train.
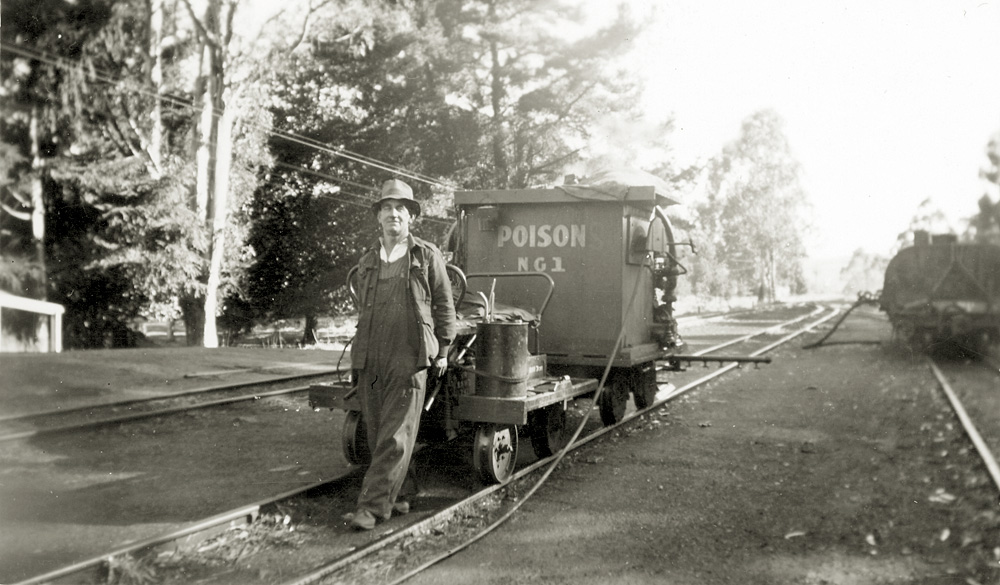
Motor No. 2 started life as an IP Lollypop railcar and is loosely based on VR rail tractor and postal motor practice. The sides have been re-arranged and scribed to represent T&G board bodywork. The 'cab' interior has been replaced with a similar arrangement to the passenger motor.
These photos show the chassis mechanical and electrical arrangements, which are the same as Motor No. 1, just arranged differently.


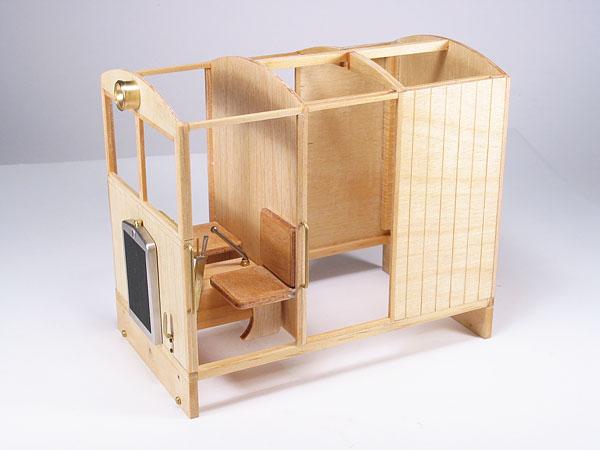
These photos show the way the body is now framed and the new cab interior.

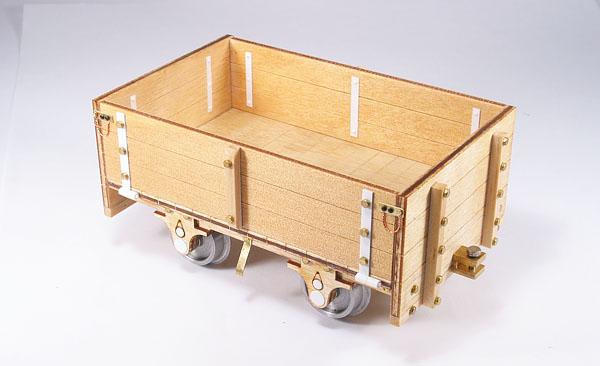
The open wagon is any Eezy 'parcel wagon' with floor boards scribed in and drop sides added, along with assorted bits of detail, mostly in polystyrene sheet.
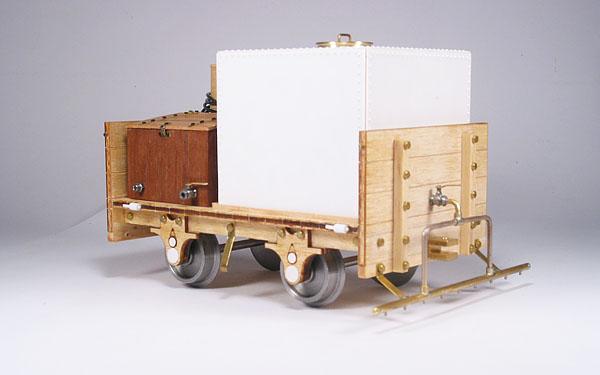
The Weedex wagon is another 'parcel wagon', with a tank, spray pipes, pump box and 44 gallon drum of WEEDEX weed killer. The tank is simply a block of wood, overlaid with polystyrene sheet. The rivets were impressed with a NWSL riveting machine, with homemade rivet punch and die sized for 1:20.3 scale. The pipework, valves etc. were fabricated from steel and brass rod.
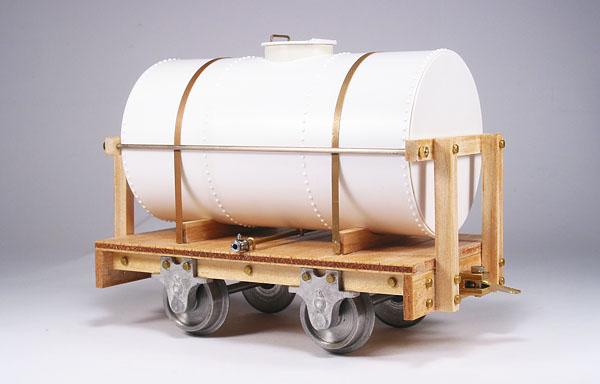
The water gin is mostly scratchbuilt using IP axleboxes and wheels, with the chassis designed to look like it was modified from another open wagon.
The goods motor was painted in the same colours as the passenger motor, but carries a small stencil declaring it's new owners in the Works dept. and the wagons are painted in TVT goods grey. Decals are again my own and the wagon lettering is based loosely on VR practice. Quite what the works engineer thinks the Weedex train can do about the jungle backdrop is unclear......

TVT History
No. 2 was built by the TVT to provide a low cost goods service to the mining branch, using second hand open wagons bought from the Receiver of a closed 2' gauge mining line. The goods service was less than successful, so No. 2 and the wagons have been transferred to the Works Dept. for maintenance work on the line.
No. 2 on it's own is now used as an inspection motor by the works engineer when he ventures out of his office, while the track gang use it with a couple of the open wagons for ballast repairs and replacing sleepers. The Works dept. workshop has also modified a couple of open wagons into a water gin and a spraying wagon for weed killing. Again this is based (loosely) on VR practice at the time. The tank is usually used to carry water to dilute the weedkiller, but the works engineer also plans for the track gang to use it for putting out burning sleepers in the summer bushfire season.
Regards,
Graeme