Page 1 of 1
Mamod Carriage convertion.
Posted: Mon Jun 23, 2014 4:21 pm
by Tony Bird
I have had this problem before with Mamod products, steel rusting under what looks like perfectly good paint. The second of the Mamod Carriages purchased at Peterborough had this problem.

So yesterday after removing 8 nuts and 32 'Pop' rivets it ended up like this.

After removing the paint from the carriage body a piercing saw was used to alter it. With the aid of Peter Jones's excellent white metal head light castings it looked like this.

The carriage is held together by soldering and shouldered nuts soldered to the body for the parts that need to come apart. Creating a shoulder on a nut.

Nuts soldered in place.
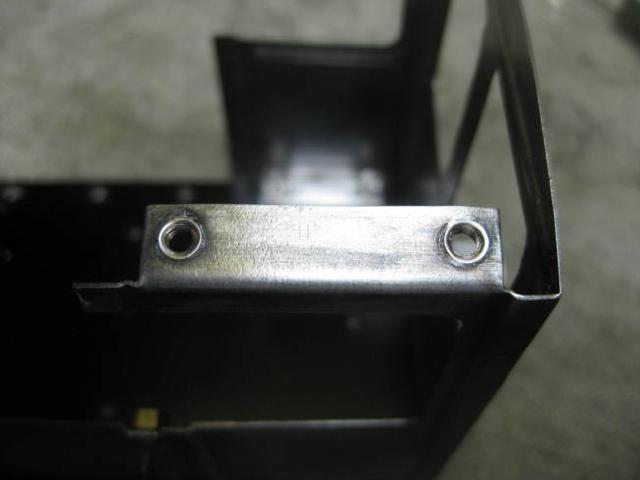
The carriage body in undercoat.

Painted and assembled.
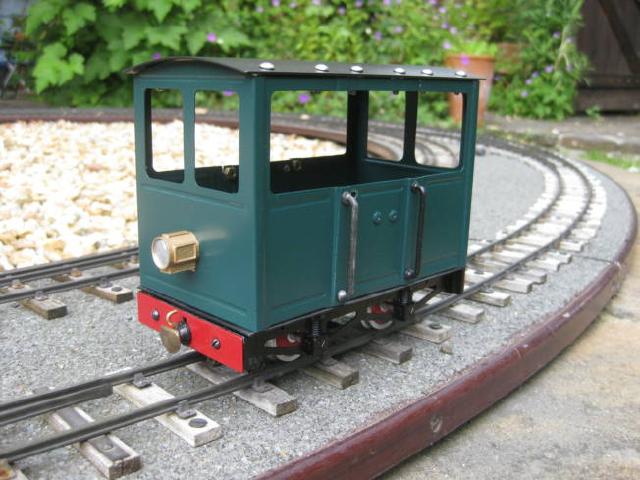

Its appearance will be improved with some lining I think.
I now have to think of an engine, steam I hope but maybe electric.
While looking through my BSA box I came across these wheels. In the dim and distant when Mamod wheels wore out some of us fitted steel tyres to them. The axle on the left have tyres fitted on the right not and a tyre blank.

I also came across enough bits to assemble the following. The frames are brass replacement ones, that were sometimes used in 'Mamod Bashing'.
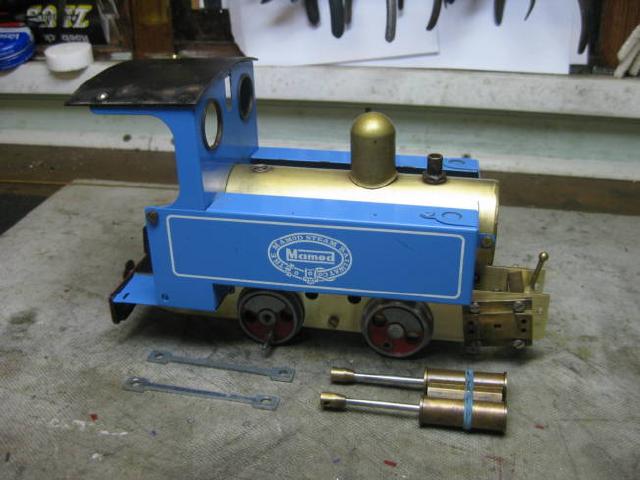
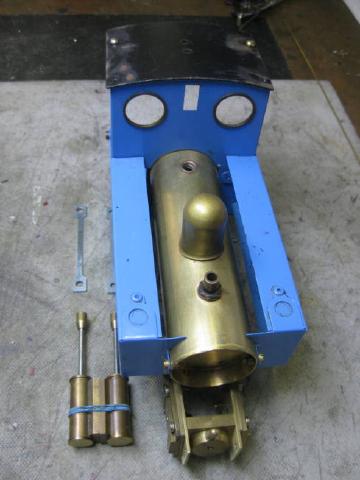
Regards Tony.
Posted: Mon Jun 23, 2014 11:34 pm
by Peter Butler
Nice project....... I particularly like the 'Lazy Susan' spray turntable which is identical to the one I use. This is such a simple thing which makes modelling life so much easier.
Posted: Tue Jun 24, 2014 6:33 am
by kandnwlr
This looks (despite the Mamod origins) as though it were specially made for Regner´s new Otto steam tram ....

Posted: Wed Jun 25, 2014 5:33 pm
by Tony Bird
Hi,
The carriage has been lined with tape which was varnished over.
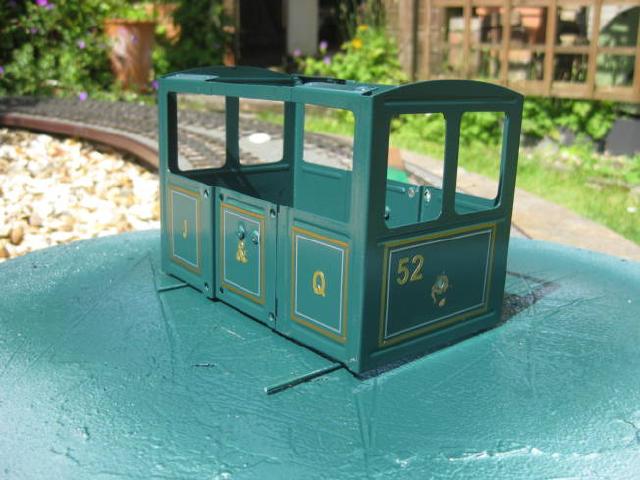


Regards Tony.
Posted: Wed Jun 25, 2014 6:28 pm
by Peter Butler
That has become a very attractive little coach. Nice work on the lining.
Posted: Thu Jun 26, 2014 12:11 am
by sstjc
This would make a very nice pretend steam tram with a dummy boiler and an HGLW power chassis underneath it... Very attractive. Good work their !
Posted: Thu Jun 26, 2014 5:00 pm
by Tony Bird
Hi,
I have decided that I will do my best to make the carriage steam powered and rather than design something from scratch I will try and use up some bits and pieces that are in the workshop.
The Boiler! It will have to be quite small but I have two boilers left from an abandoned boat project. The pot boiler was designed to use almost any fuel from tablets to gas and with its hedgehog spikes should make enough steam for a model locomotive. It is rather an odd shape because it was intended to look like a Buckley water tube boiler. Some of the early tram engines did try water tube boilers so this choice might be appropriate.
The boiler as intended for use on a boat with a oil separator in its chimney. Might be able to try a similar idea on the tram.

The boiler is a very tight fit in the tram body but before fitting it the direction of the steam pipe needed changing. From this.

To this.

A trial fit on the chassis.
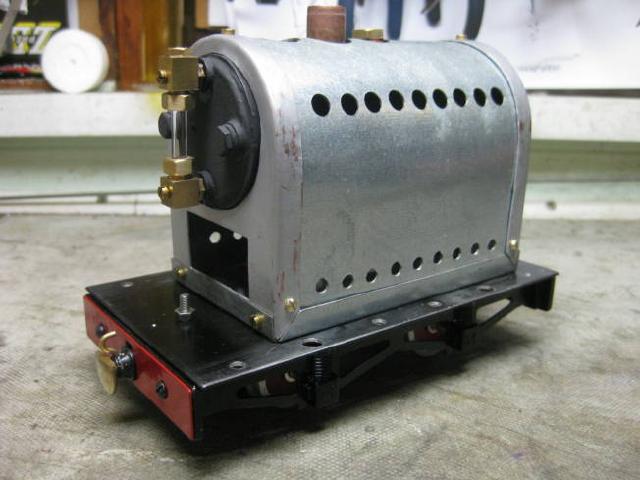
Shoehorned into the body.

And a chimney fitted. The weather today not as good as yesterday.


Some how I do not think I will find a suitable engine in stock!
Regards Tony.
Posted: Thu Jun 26, 2014 6:16 pm
by 'Pierre Berry
Wonderful work. Can't wait for the next step !
Posted: Thu Jun 26, 2014 6:46 pm
by MDLR
There's not going to be much room for cylinders..................
Posted: Thu Jun 26, 2014 11:56 pm
by sstjc
MDLR:102073 wrote:There's not going to be much room for cylinders..................
Exactly why I think a dummy boiler and HGLW chassis....
Posted: Fri Jun 27, 2014 8:30 am
by Tony Bird
Hi Brian,
I hope things are well with you.
There's not going to be much room for cylinders..................
Quite correct. They have to be below footplate level. I could make and fit a slightly larger version of an ASM which would work, but I am trying to use up some bits and pieces that I have. So a little more cogitation?
Regards Tony.
Posted: Sat Jun 28, 2014 5:48 pm
by Tony Bird
Hi,
Had a bit of a play at making a chassis for the tram today. Rather than use the trams own chassis to practice on I used a log wagon chassis instead.

The log wagon chassis was taken apart by removing its 'pop' rivets and replacing them with nuts and bolts. A bit of a drawing was done so that an over size side frame could be made to play with, so as to not destroy the original side frames which might have to be modified. The wheels were removed from their axles. They were very tight if only the locomotives wheels were held as tightly. Removing wheels with a hammer and punch.
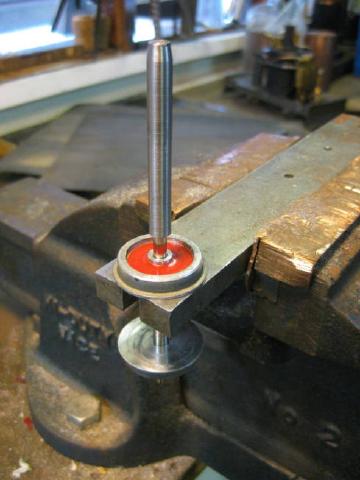
Axles and wheels separated.

First idea being tried it will certainly work for electric and maybe for steam.

More ideas will have to be tried?
Regards Tony.
Posted: Sun Jun 29, 2014 10:28 am
by Tony Bird
Hi,
This thread continues in the Mamod section under the title 'Mamod carriage to Mamod Tram engine'.
Regards Tony.