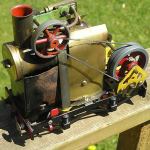


The steam oil residue has proved to be a very effective paint stripper giving an authentic overheated look to the smoke box door and sides
Some time later several locomotives appeared on eBay as part of a bereavement clearout and I placed a few bids. I was successful with 2 of my bids, one of which won a near complete & assembled Regner Lumber Jack kit. I was able to correspond with the seller which enabled many of the missing parts to be located before it was shipped to me.

It was missing the instructions (downloadable from Regner’s website), a Regner gas filler adapter (one of my Ronson lighter canister adapters fitted), no Lumber Jack nameplates (I think these are just sticky labels), and the front step (replaced by a piece of wood from my spares which just needs staining). Extra bits included a Ronson type filler valve (now fitted), water filler valve fitted, long Roundhouse type EN417 gas filler adapter, and some not related R/C fittings.

Initially I had problems lighting the gas burner as the burning gas would not pop back to the burner but remained lit in the smoke box. This can lead to a terminal failure of the cylinder retaining springs on the Lumber Jack. Part of the problem is the exhaust chuff pipe directs the expelled steam oil condensate down onto the power unit and around the inside of the smoke box/front of boiler, plus on mine the needle on the lubricator is ineffective (it is either too short or not enough threaded section has been cut). So I deep cleaned off all this steam oil residue which partly helped, then I started experiencing block jets.

Shows Regner's wheel back to back gauge
Took me awhile to find a supermarket that actually sold loose coffee filter paper (a Tag Gorton recommendation), and I found by sealing the jet into the holder, the holder into the burner, and the burner into the boiler flue tube (thus eliminating all the additional secondary air) I finally had a burner that would pop back properly most times.
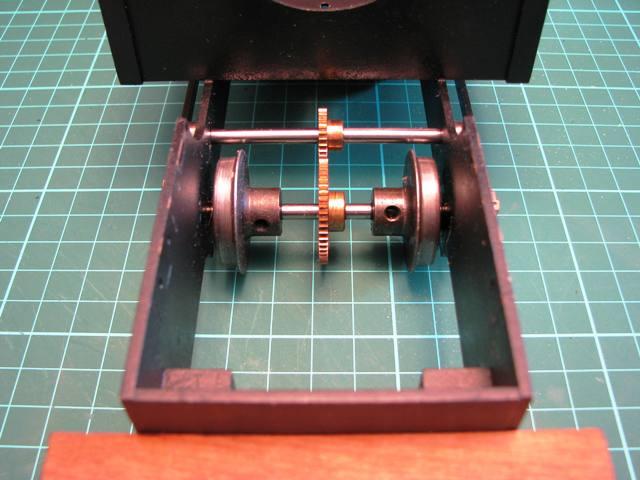
With the power unit removed we can see the intermediate & final drive shaft/axle
Fitting the replacement Ronson type filler valve introduced another problem as it allows more gas into the tank (the Regner filler valve occupies a larger volume) so the gas outlasts the water and you can get more problems with liquid gas initially.

The power unit disassembled for degreasing
At some point during my running indoors at home one of the coupling pins worked loose in the power unit but was easily fixed. Last year I had taken this Lumber Jack to run on our railway group’s indoor 45mm layout, but despite being offered poll position on the running roster the loco was failed during light up due to a blocked jet (this was before I’d found the coffee filter paper).
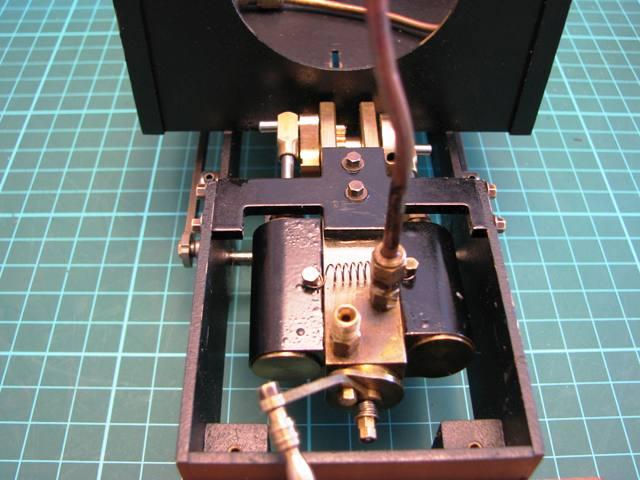
The realigned & meshed power unit now back in place
So this year’s May Bank Holiday Monday saw me return for a second attempt. After setting it off I positioned myself outside the layout (the track is not fully accessible from the operator’s position for manual locomotives like this one) and had to make a slight adjustment to the regulator as the layout still has one tight curve (the rest have been successfully eased out). It was all going well whilst I was explaining about the loco to some visitors when it ground to a halt with a bang at the back of the layout. It had not hit anything and refused to move in either direction. Picking it up (with high temperature gloves fitted) revealed the power unit had seized, although nothing was readily obvious. So I cleared the running line, left the loco covered over to cool down and returned to my full size footplate duties.
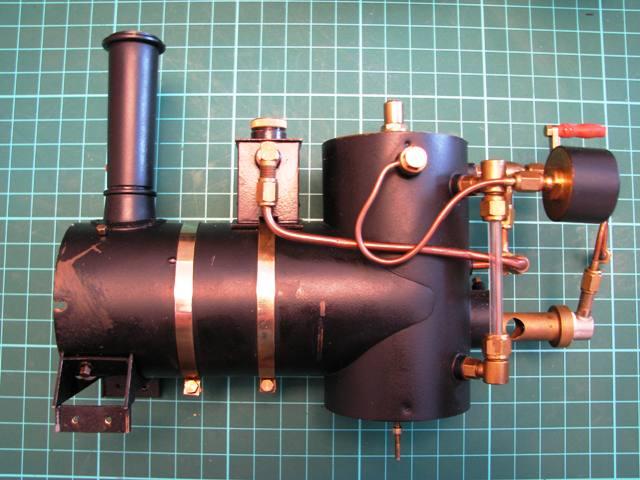
The boiler, etc. removed to allow full access to the power unit
At home I got it out of my toolbox to find it freely moved again. As it still had gas & water I decided to fire it up on blocks and it started running again. It did stop once but freed off again with gloved hands and I ran it at some quite high speeds to finish the gas off. I had previously gone around all the axles and drive shafts adjusting collars, gear meshing, etc. to ensure correct free play & smooth running. However the power unit was fixed in its bracket and a check with my callipers revealed it was slightly misaligned fore & aft.
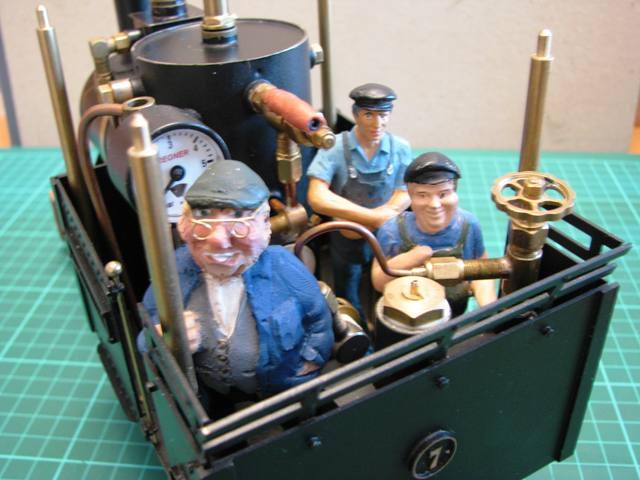
I've not allocated a crew to this loco yet so just trying out a Busybodies Fred Dibnah, one of Jon's drivers, and a Modeltown driver (think this was the now deleted Punch driver)
So I decided to remove the boiler, etc. to give clear access to the power unit which was removed for cleaning. The mounting bracket was stuck firmly to the power unit (the paint had melted due to the heat) so it was prised off, paint residue removed from power unit, then refitted loosely to the chassis. Have aligned the power unit correctly fore & aft I used a piece of paper for proper meshing between the gears and the bolts were then all tightened up. Boiler, etc. fitted back onto chassis, gas tank filled, lubricator quantity checked (I do not fill it full now, just sufficient for a run), boiler filled up and burner light. Loco ran fine on blocks (my test loop needs degreasing and new ballast [kitchen towel laid] as my axles are getting clogged with hairs, etc.) so hopefully it is now ready for another visit to our 45mm indoor layout.
Decided to check the wheel back to back gauge that Regner supply. Whilst the 45mm back to back is 40mm, the 32mm back to back is only 27mm. However I’ve not noticed any problems with that setting running round my Mamod track (no points fitted as they caused too many problems whilst locos were running in).
Chris Cairns


