Page 1 of 2
First attempt - basic diesel
Posted: Fri Sep 21, 2012 10:12 am
by Si
First go at building a loco in the 'senior' scales (all been O-16.5 or below before).
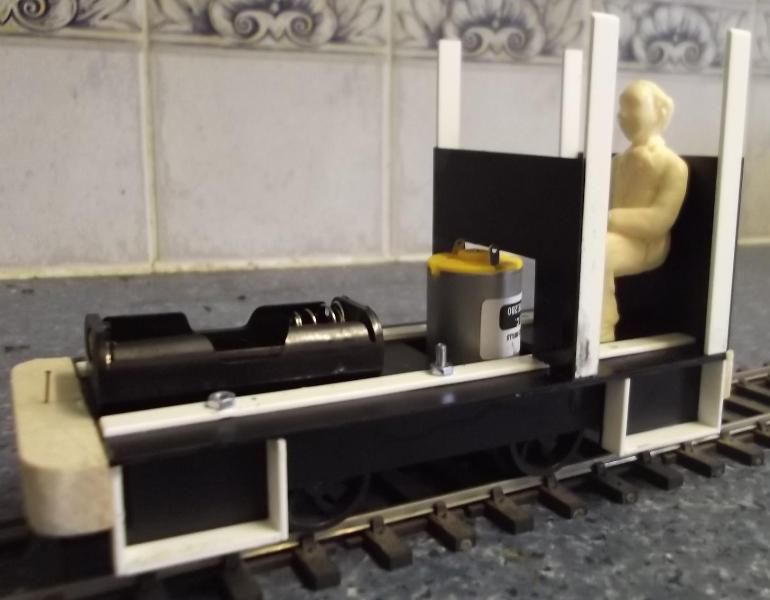
Based upon the AnDel chassis this is as far as I've got.
The plan (such as it is) is to have most of the bodywork bolted to the chassis with a simple lift off bonnet to allow access to the batteries. Going for a simple open cab with roof bodged on so that I don't have to worry about glazing and window fittings (I find it always a good idea to make the first attempt at anything as simple as possible to keep spirits and enthusiasm up).
The on/off and direction switches are going to be inside the back of the cab with their levers sticking through the rear bulkhead for operation from the outside - may disguise them as lamps. No proper speed controller but may rig up a DPDT under the bonnet to allow it to run off one battery or two.
Not too sure about the driver's seat - do I mount it as shown with the driver facing forwards, or do I blank off one side of the cab and have the driver sat transverse?
Also I'm wondering if the step at the front is a bit superfluous - should I turn it into a tool box or some such?
Wiring next I think...and then the tricky task of the bonnet and shaping a nice curved top.
Any views or advice more than welcome!
Posted: Fri Sep 21, 2012 3:58 pm
by 90733
Looks good so far, some great work. I look forward to the final result

Re: First attempt - basic diesel
Posted: Fri Sep 21, 2012 4:34 pm
by GTB
Si:75088 wrote:
Not too sure about the driver's seat - do I mount it as shown with the driver facing forwards, or do I blank off one side of the cab and have the driver sat transverse?
The sideways seating is used on small diesel mechanicals so they don't have to be turned at each end of the run. It is difficult to run in reverse if the seat, and controls like the gearstick and clutch, are arranged for forward running.
Regards,
Graeme
Posted: Wed Sep 26, 2012 4:23 pm
by Si
A bit more progress: bonnet and radiator structures done but still need detailing.
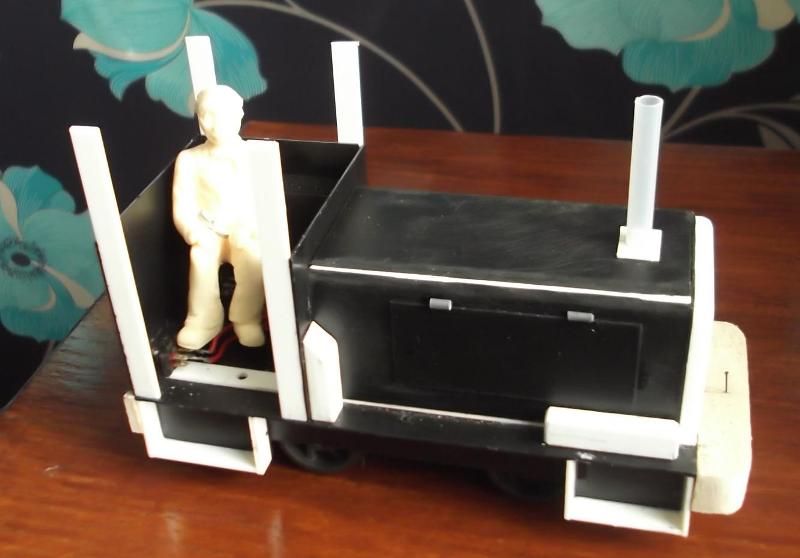
Electrics done....she runs!!!!!!
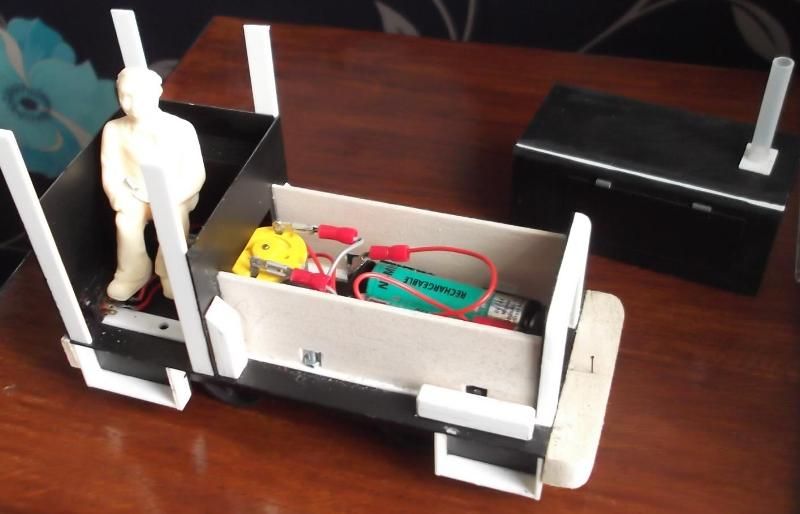
Control switches fixed in pointing out of the rear of the cab - hopefully not too obvious!
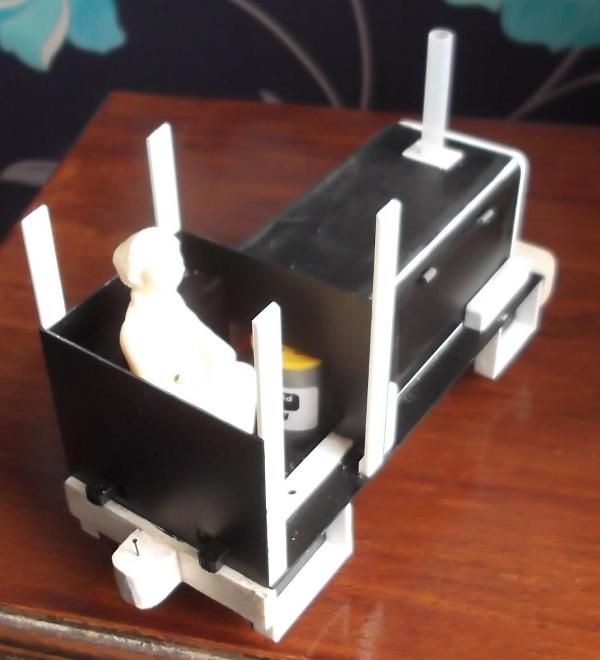
But the catalogue of mistakes is growing...
- should have painted the body before fixing the electrics in as I can't now chuck it in a bowl of water for its pre-paint wash and degrease.
- making the bonnet / engine cover out of plastic card was a mistake - a right PITA to get the curve where the side meets the top, should have used a sheet of tin or brass.
- some some reason I've used balsa for the buffer beams and inner engine sides - not the bet for an engine that will run outdoors I guess.
- probably should have attached the rad to the engine cover rather than the body, as it would have given the cover more strength.
- managed to drip super glue onto one of the wires and stick it to the cab floor just where I didn't want it.
But despite all of that I'm very pleased with it so far. Now to get onto some detailing.
Posted: Wed Sep 26, 2012 4:47 pm
by 90733
That looks great, even more great for a first attempt! Should have seen my first attempts at scratchbuilding

Posted: Wed Sep 26, 2012 4:56 pm
by Dave
Hi
Yes i like the look of it as well, very good for your first try you can only learn from your errors . Balsa wood not such a good idea you could harden it up with a few coats of sanding sealer. I look forward to seeing more pictures
Dave

Posted: Thu Sep 27, 2012 3:09 am
by Annie
It's coming together very well Si. This is going to be a nicely proportioned loco when it's all done.
Posted: Fri Sep 28, 2012 8:30 pm
by Si
Do you know what I hate?
Putting the first coat of primer onto a model.
Did it this morning....oh larks, all the blemishes are shrieking out from the roof tops! My once lovely model (black plastic card hides a multitude of sins) now looks awful.
There will be a slight intermission, just long enough for me to get the fist proper colour coat on, until the next photo appears

Posted: Fri Sep 28, 2012 9:32 pm
by sstjc
I wouldn't bother with primer... Try a matt colour from Humbrel. Matt hides a multitude of sins. A bit of light weathering helps as well....
Barry
Posted: Sat Sep 29, 2012 9:26 am
by Si
Have to say that I'm not a big fan of humbrol, especially without primer - I find the quality very varied. Sometimes it just won't stick properly (often colours such as yellow), other times the matt comes out shiny.
these days I always blast with red oxide primer - that way any subsequent scratches it gets in the top coat just look like rust coming through!
Posted: Wed Oct 03, 2012 1:16 pm
by Si
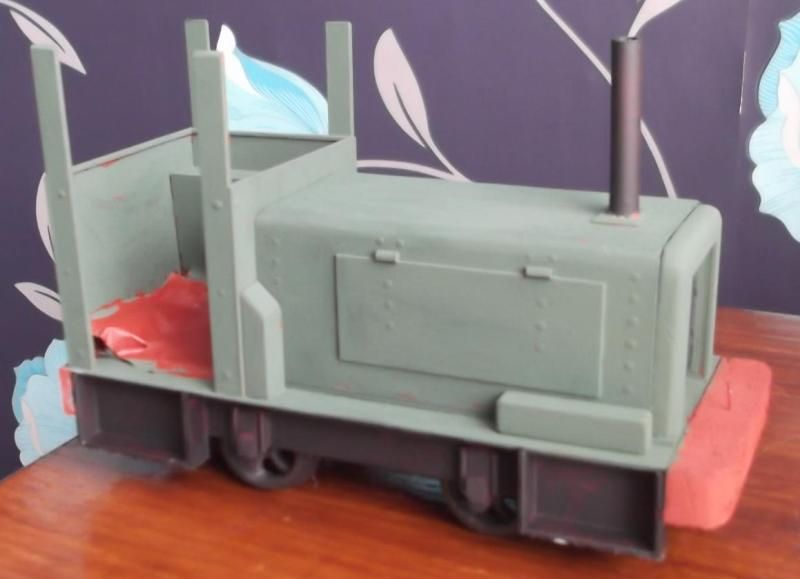
First splash of paint and a bit of detailing...
Posted: Wed Oct 03, 2012 1:52 pm
by Annie
Oooooo now that is starting to look very nice indeed. You have every reason to be proud of your 1st loco

Posted: Wed Oct 03, 2012 3:07 pm
by Si
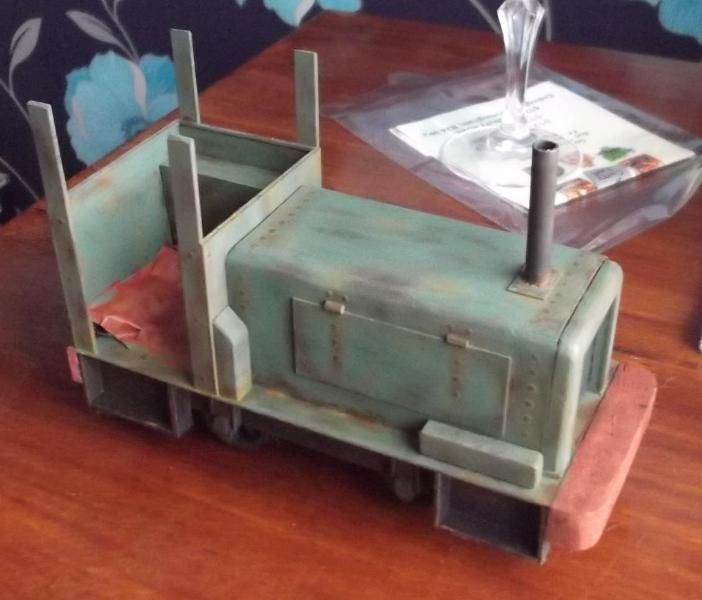
Thanks Annie. Done a bit of weathering now - hopefully not over done it but I do like my rusty old diesels
Posted: Wed Oct 03, 2012 3:57 pm
by sstjc
liking that a lot. Very Nice !
Barry
Posted: Thu Oct 04, 2012 12:18 am
by listerboy
The weathering looks well!
Posted: Thu Oct 04, 2012 8:02 am
by williamfj
That looks really good 8)
Posted: Thu Oct 04, 2012 12:15 pm
by Jerm
Lovely little critter. I like that you've got it painted to look used but not decrepit.
Posted: Thu Oct 11, 2012 2:56 pm
by Si
Roof, seat, (model) battery and controls in place so more or less finished now. Unfortunately the light is awful today so had to use the flash...which means everything has come out strange colours, but you get the general feel of it.
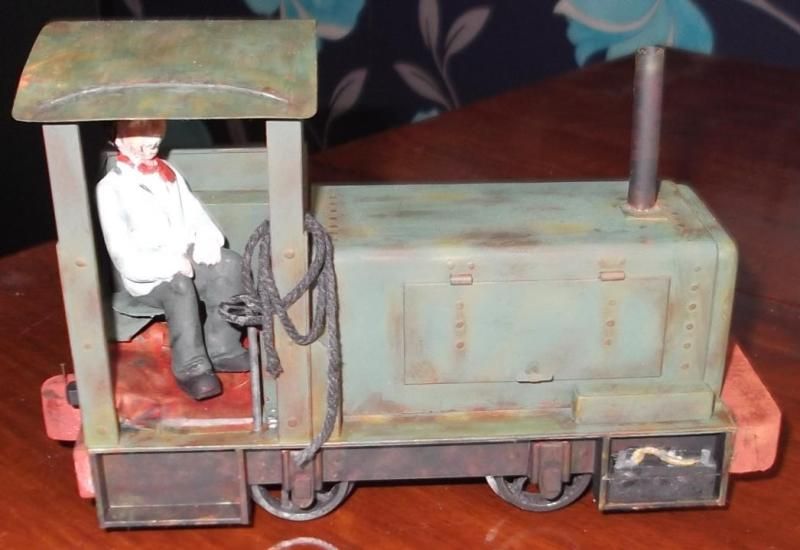
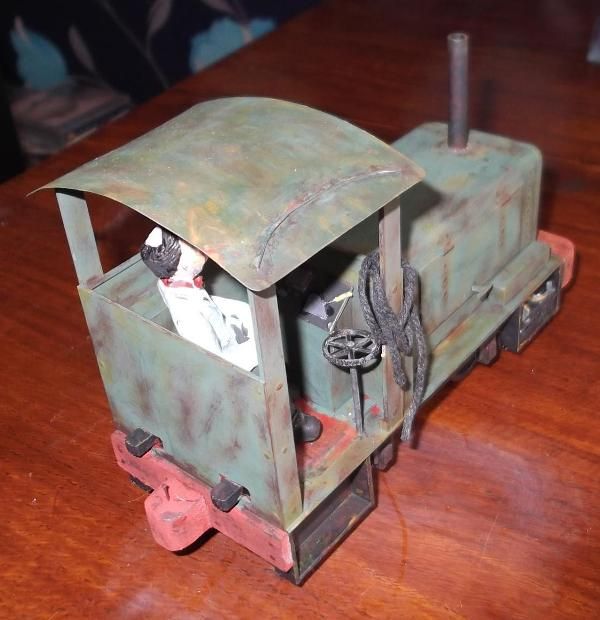
But have you spotted what's missing.....forgot to put a filler cap on the radiator...d'oh.
Posted: Thu Oct 11, 2012 5:25 pm
by Annie
Your loco looks so good. The weathering is absolutely spot on for a hard working little diesel.
Posted: Fri Oct 12, 2012 8:42 am
by GTB
Si:75703 wrote:
But have you spotted what's missing.....forgot to put a filler cap on the radiator...d'oh.
I wouldn't worry about it. There are small air-cooled diesel motors around and they were used in locomotives............
The model has come up well.
Graeme