Page 1 of 1
how I made my own cheap straight rail
Posted: Thu Apr 17, 2025 9:43 am
by Sam95
For my extension project and to reduce the cost I decided to search how to make my own straight rail. After few research I found a sleepers model compatible with LGB on thingiverse. You have to use cheap aluminium 10mm X 2mm profil to make the rail. It is perfect for me as my locos are battery powered. But it is not compatible with rail power.
https://www.thingiverse.com/thing:1584413
The sleepers once printed in PETG were a little bit to slim to perfecly fit with LGB rails; so I imported the STL in tinkercad and modified its thikness :
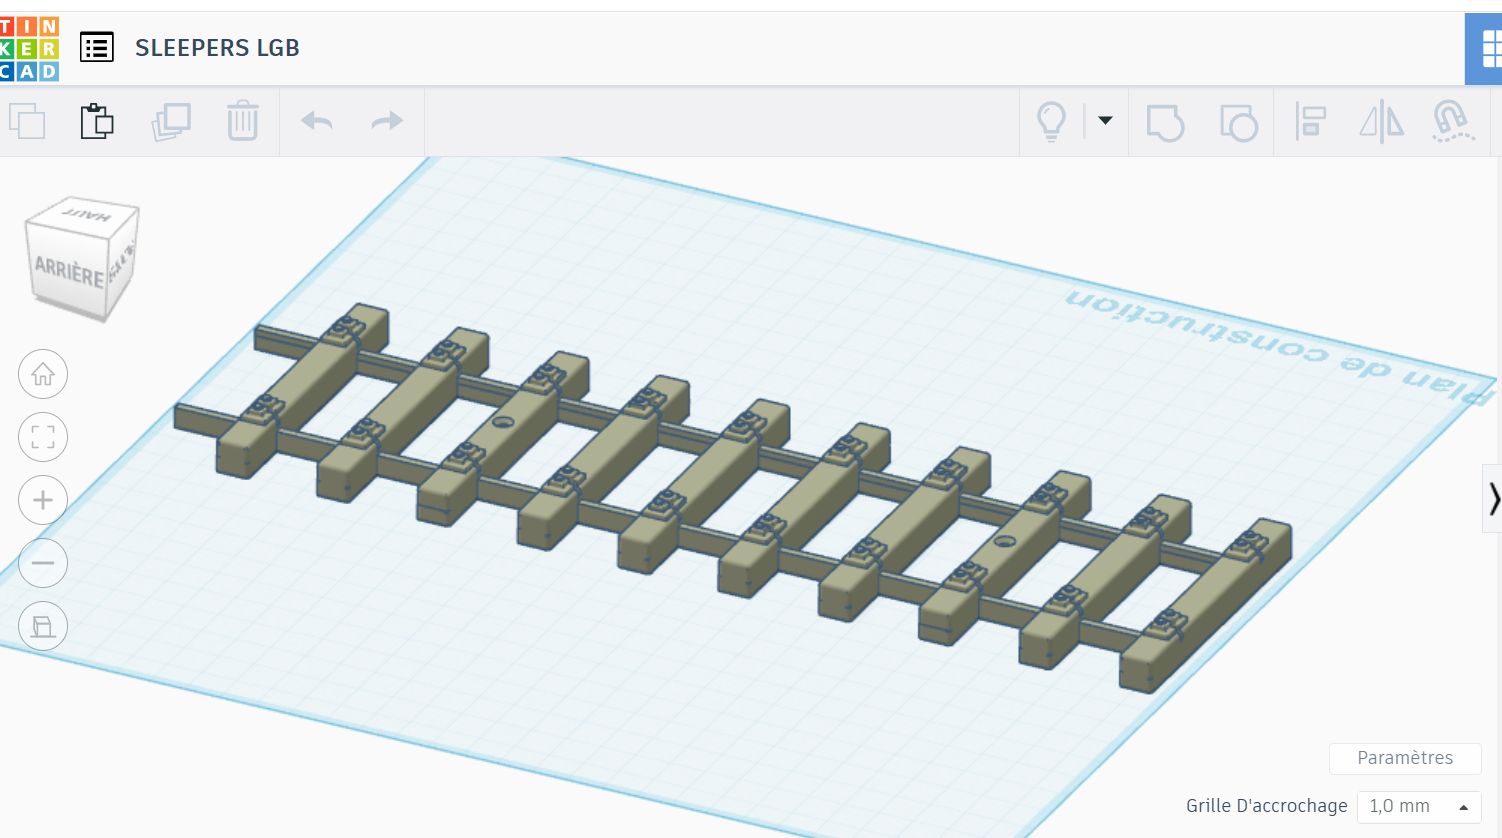
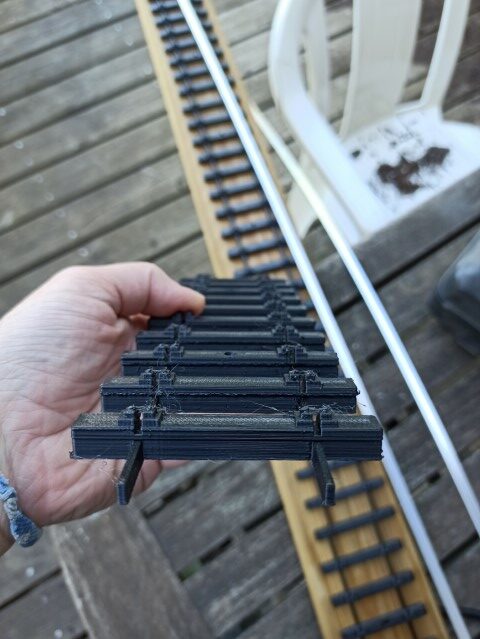
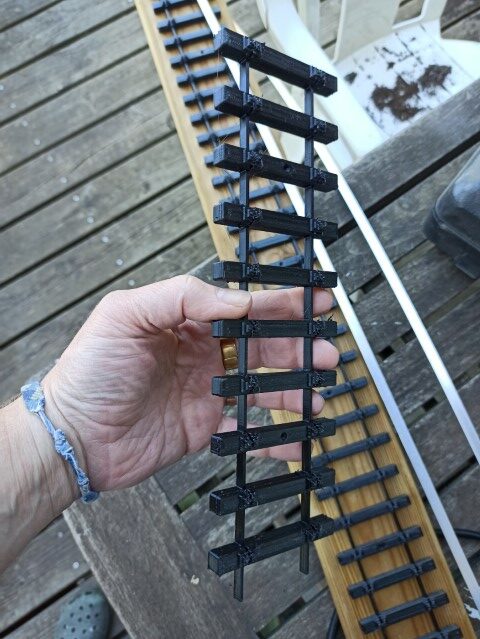
The modified STL is available on my blog.
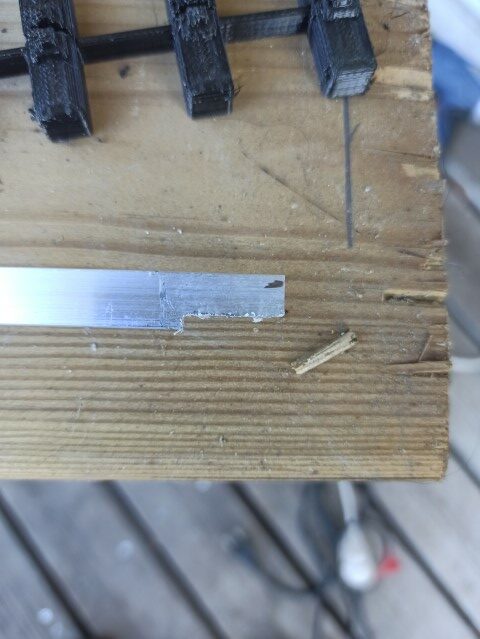
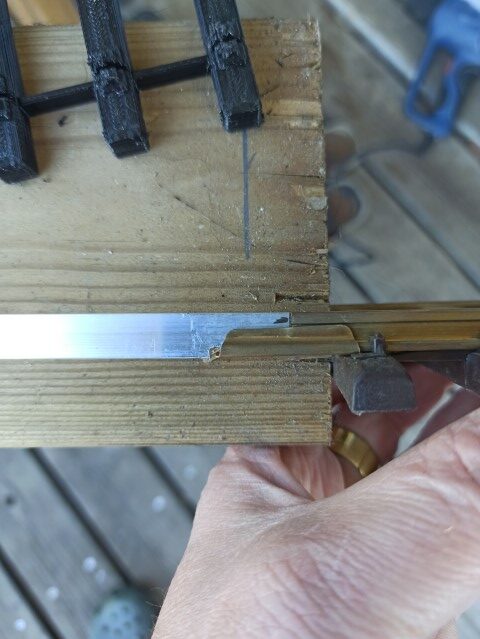
I also cut a small notch thus the LGB splint can fit perfectlty :
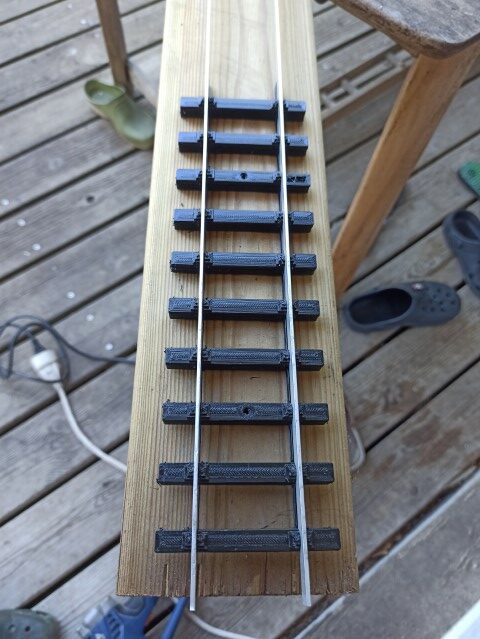
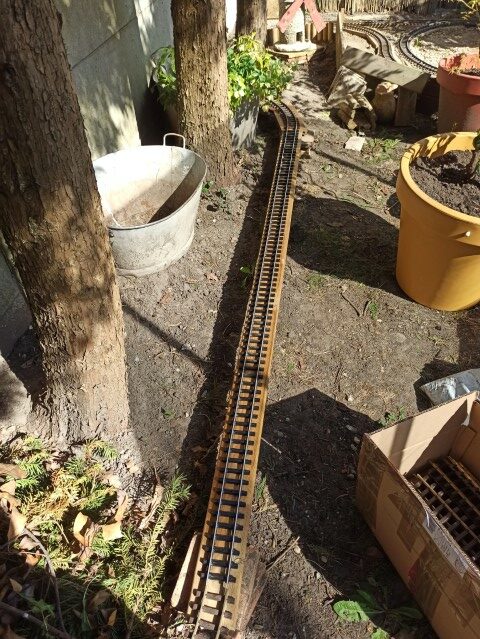
The 2.4 meters long section of rail cost me about 30 euros (aluminium profile and PETG)
Re: how I made my own cheap straight rail
Posted: Thu Apr 17, 2025 10:22 am
by philipy
Very nicely done Sam.

Would you also consider putting the stl's in our forum 3D Print Files library, please?
viewforum.php?f=55. Once your post has moved down the list of posts this link will disappear from being easily found.
Re: how I made my own cheap straight rail
Posted: Thu Apr 17, 2025 11:06 am
by GAP
If you are printing in PETG and using it outside then may be this might be of interest.
https://www.thingiverse.com/thing:810196/remixes
https://www.thingiverse.com/thing:976643
Re: how I made my own cheap straight rail
Posted: Fri Apr 18, 2025 8:46 am
by Sam95
philipy wrote: Thu Apr 17, 2025 10:22 am
Very nicely done Sam.
Would you also consider putting the stl's in our forum 3D Print Files library, please?
viewforum.php?f=55. Once your post has moved down the list of posts this link will disappear from being easily found.
File posted in the requested forum.
Re: how I made my own cheap straight rail
Posted: Fri Apr 18, 2025 12:55 pm
by philipy
Thanks

Re: how I made my own cheap straight rail
Posted: Sat Apr 19, 2025 4:05 pm
by Old Man Aaron
Good work, a huge saving.

Re: how I made my own cheap straight rail
Posted: Fri Apr 25, 2025 9:14 am
by Lonsdaler
Sam95 wrote: Thu Apr 17, 2025 9:43 am
For my extension project and to reduce the cost I decided to search how to make my own straight rail. After few research I found a sleepers model compatible with LGB on thingiverse. You have to use cheap aluminium 10mm X 2mm profil to make the rail. It is perfect for me as my locos are battery powered. But it is not compatible with rail power.
https://www.thingiverse.com/thing:1584413
The sleepers once printed in PETG were a little bit to slim to perfecly fit with LGB rails; so I imported the STL in tinkercad and modified its thikness :
The modified STL is available on my blog.
I also cut a small notch thus the LGB splint can fit perfectlty :
The 2.4 meters long section of rail cost me about 30 euros (aluminium profile and PETG)
That's very well done. Is the PETG UV stable? It would be a shame if it were to be damaged by sunlight.

Re: how I made my own cheap straight rail
Posted: Wed Apr 30, 2025 8:08 am
by Sam95
For the UV resistance, yes PETG should be ok.
Re: how I made my own cheap straight rail
Posted: Thu May 01, 2025 9:11 pm
by Lonsdaler
Sam95 wrote: Wed Apr 30, 2025 8:08 am
For the UV resistance, yes PETG should be ok.
Excellent!
Re: how I made my own cheap straight rail
Posted: Fri May 02, 2025 2:18 pm
by Palmerston
I think its faster, cheap and more beautiful to buy a set of secondhand R1 LGB track and bend them straight. Often they show up 8 or 12 pieces of track for as little as 2 to 5 euros per piece. The sleepers are quick to detach from the rail and straighten the rail in your vice.
Re: how I made my own cheap straight rail
Posted: Fri May 09, 2025 8:50 am
by Sam95
That is a solution that I never thought possible
