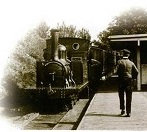
With the temperature rising I have returned to the garage to continue (or more accurately start) on point construction.
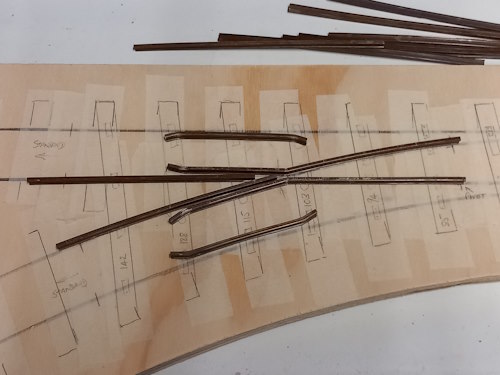
- Point_frog_components.jpg (34.02 KiB) Viewed 54986 times
I selected various bits of rail off-cuts, several of which were already suitably curved, and formed the parts for the frog and guard rails.
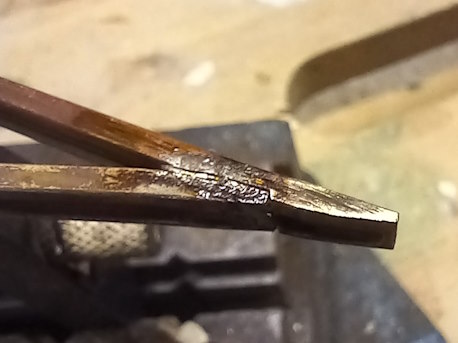
- Point_frog_nose.jpg (26.46 KiB) Viewed 54986 times
I assembled the nose joint with soft soldered before clamping it to the thin brass base plate along with the wing rails.

- Point_Frog_Clamped.jpg (47.94 KiB) Viewed 54986 times
After trying various clamping methods I decided to drill some holes in the base plate and use machine screws with washers to hold the parts in place ready for soldering.
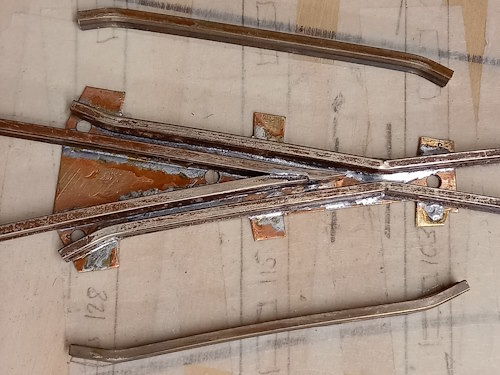
- Point_Frog_Soldered.jpg (52.52 KiB) Viewed 54986 times
Having cleaned and fluxed the rail bottoms and brass base plate the whole assembly was heated with a small gas torch and the solder applied along the joins a then left to cool.
I was initially concerned that I might end up soldering the screws in place but the solder seemed to ignore them as they were not fluxed.
The next tasks will be to sort out the guard rails and cut the various length sleepers from hardwood.