Building the Apple Valley Railway
In the summer of 2010, my wife and I finally purchased our own house. Being on a corner plot, one of the main attractions of the property was the large (and very overgrown) garden. Even on the first viewing, hacking through the undergrowth had me imagining the possibilities for railway building!
As a youngster, I had built a couple of 16mm scale railways in the gardens of my parent’s houses, as well as helped out with friends lines. I had also been exposed to large scale railway building through my father’s 15” gauge Woodlands Light Railway (now dismantled). As school years gave way to university, and university moved on to a career, regular house moves prevented the building of a permanent track of my own (although there were a few temporary layouts). Having a “green field” site to transform was an exciting prospect.
Being in Cornwall, the garden is far from level - it had also been liberally planted with shrubs, trees, and pampas grass. Clearly a previous owner had taken great pride in their horticultural efforts, but years of neglect had left me with a jungle to tackle. The most promising area for railway building was a flattish space, about 20’ by 40’.
Interestingly, undergrowth clearing revealed a few sections of concrete blocks laid on edge, with what looked like track imprints in mortar on the top. Chatting to the neighbours revealed that the previous occupier (now deceased) had “A train in the garden”! I wonder if this type of accidental redevelopment is a first for garden railway building?
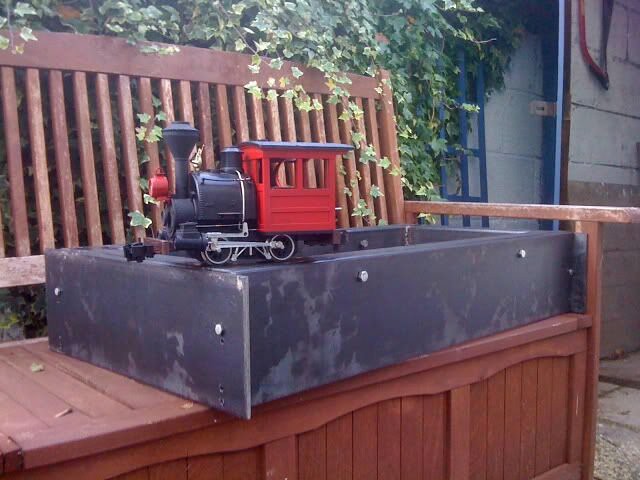
By winter, a G scale line had been completed. I was pleased to have my own railway, but somehow it had all been too easy.
Some on-line research turned up the fact that rail for the “ride on” scales is surprisingly cheap, a 9’ length coming in at about £10. Some quick calculation showed that (assuming timber could be scrounged for sleepers) track could be built for about £7 per yard. That was less than I was paying for G scale!
Over the next few weeks, much time was spent pacing around the garden, measuring out possible curve radii, and calculating gradients. Imaginative use of a spirit level, and bits of string proved that by use of 8’ radius curves, and some steep 1:30 gradients, a ride-on sized line could be built.
With the logic that getting the hard part over with would prove that the rest was possible, I started building at the lowest point of the route. In order to maintain a manageable gradient, the track at this point needed to be about 2’ above ground level – and deep into a bamboo thicket. January found me digging out foundations for concrete block piers that would eventually support the full sized railway sleepers that make up the trackbed at this point. This was a long way from building in G scale, and my poor old VW golf was starting to feel the strain of carting the building materials home from the builder’s merchants (the combination of railway building and Cornish hills may have led to the new clutch that was needed a few weeks later).
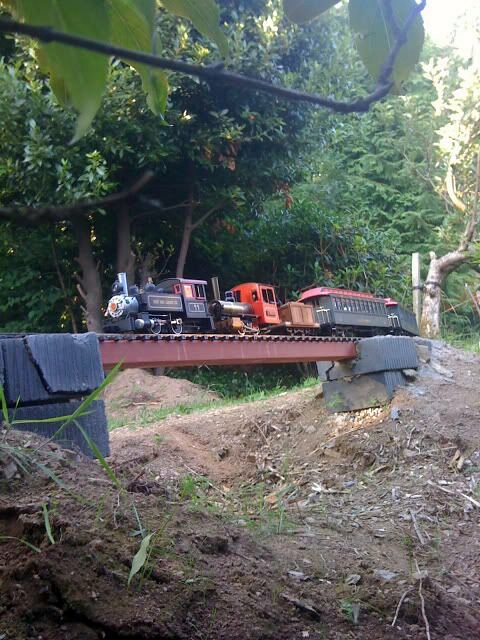
With the high level section complete, I was away. An 8’ long timber bridge leads onto a low embankment that marked the start of the ground level track building.
At this point I should probably mention the trackwork itself. Much of my railway is laid with 16mm (5/8”) tall aluminium alloy rail, purchased from either Maxitrak, or The Miniature Railway Supply Co. Later sections use 21mm rail, the heavier section being easier to bend smoothly, and more resistant to an uneven trackbed. I am very fortunate in that my father works at a local college that teaches roofing, resulting in a regular supply of 3” x 2” timber, of odd lengths and full of nail holes. When cut down to 14” sections, and treated with wood preservative, this material makes excellent (nearly) free sleepers. Rail is screwed down with M6 x 25mm coach screws (obtained in bulk from Screwfix), using a cordless drill.
It is surprising how quickly the construction materials needed seem to multiply, even on a very small line. Each 9’ length of track on my railway needed 2 rails, 4 fishplates, 15 sleepers, and 60 screws. That’s a total of about 1200 screws that needed driving.
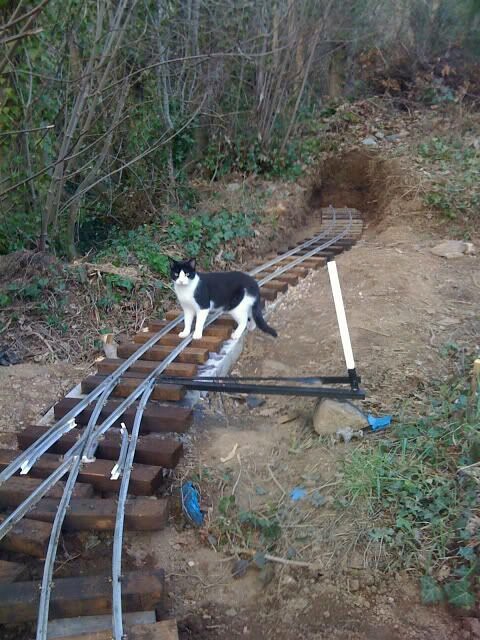
The ground level track is constructed much like a smaller scale garden railway. First, a trench is dug, and lined with landscaping fabric to deter weeds. Concrete blocks are then laid crossways to form a substantial “path” for the trackbed (more heavy loads for my poor car). Track is then laid directly onto this, with ballast added afterwards. Naturally in this scale, thetrack does not need to be pinned down in any way, its natural bulk is adequate to prevent excessive movement. More recent sections of permanent way have done without the concrete blocks, a shallow layer of 20mm granite chippings providing a quick and easy base instead.
I started out unsure of whether to use 5” gauge, or go for 7 ¼”. I initially decided to go with 5” due to the better, and cheaper, availability of ready to run rolling stock in this size. However, as I have become more confident with building my own stock, and after a couple of close calls with visitors overbalancing on the narrower gauge, I have decided to go with the extra stability & peace of mind that 7 ¼” offers. Either way, the scale is unchanged, as I have stuck with 1:5 to give a 3’ gauge prototype on the 7 ¼” track (2’ gauge on the 5”).
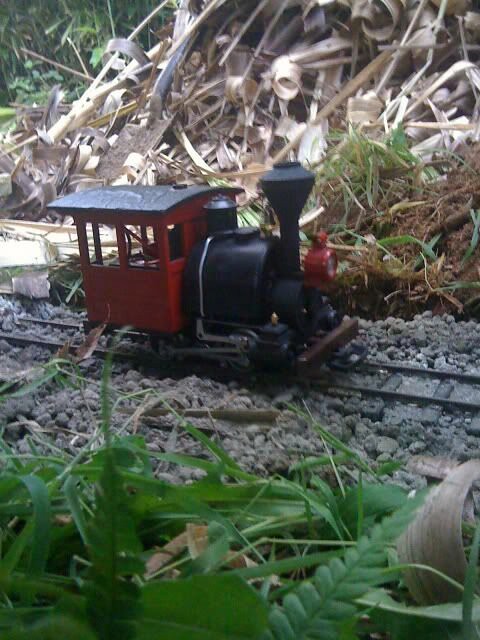
It was about this time that I started building my locomotive. This was completed for about £300 expenditure, with no use of machine tools (but that, as Rev Awdry would say, is a story for another day).
As the trackbed slowly grew, the big obstacle of the project was reached. In order to ensure an acceptable curve radius, and to avoid the larger trees in the garden, a cutting had to be dug. The finished excavation is about 15’ long, and up to 3’ deep, dug entirely by hand. Later calculation indicated that about 4 tonnes of earth & rocks had been moved; a good portion of it being transported in a wheelbarrow perched on a 5” gauge wagon!
I was assisted in this part of the work by an old university friend, although I’m not sure he realised quite what he was getting into when I described a bit of model railway building to him….
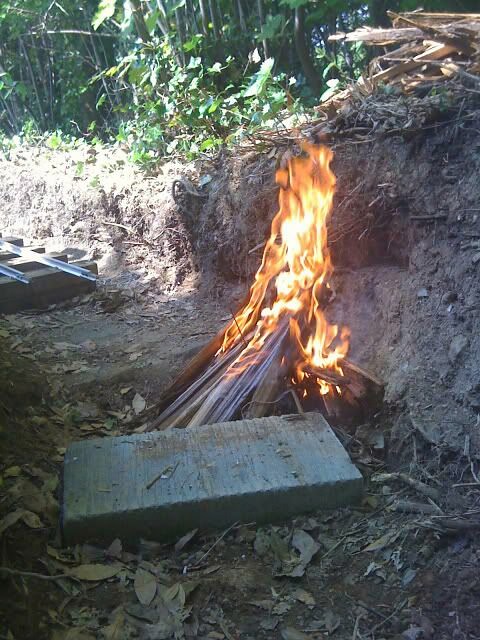
One “highlight” of the dig was discovering a telegraph pole buried just below the surface. This was removed by shaving & splitting vertically with a hatchet and club hammer until reduced to matchsticks. The last inch to trackbed level was burnt away by building a small bonfire on top of it.
After the cutting, track laying at ground level proceeded rapidly. One section passes very close to some apple trees. In order to prevent damage to the trees, I was forbidden from digging through any roots in this area. Instead, I dug a minimal depth trench (approx 2” deep), and laid the track straight onto ballast, with no blockwork, for about 8’. I will keep a close eye on this section to assess long term stability, so far it seems to be holding up as well as everywhere else.
An embankment was built using the spoil dug from the cutting. It is retained using discarded scaffold planks, arranged to make a wooden wall that faces onto the lawn. The finished appearance, once stained, is surprisingly attractive.
The final job was to construct a point to close the loop. Commercial point kits in this size are (justifiably) very expensive, so instead I went for a simple “stub” design. By purchasing a commercial cast aluminium frog (about £20 from The Miniature Railway Supply co), the construction of the whole point can be completed with nothing more technical than a hacksaw and tape measure. I made up a simple lever mechanism from scrap steel strip, and the loop was complete!
The finished track plan is an irregular oval approx 120’ long with a long siding back to a raised decking area (approx 40’ long). Curves are sharp, but speeds are low. Keeping all rolling stock fixed wheelbases below 12” ensures that derailments are rare.
Trains have been run at a few barbeques, and for visiting friends and family. I have been amazed at the positive reaction that I get from people when they see the railway, far from getting the expected train spotter accusations, most people are pretty keen to have a ride, or a drive, themselves.
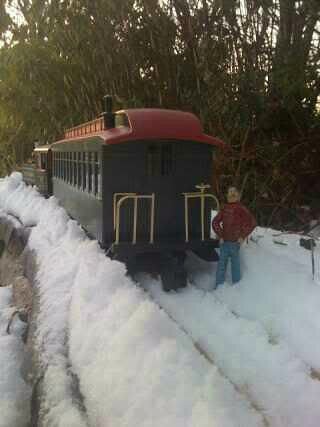
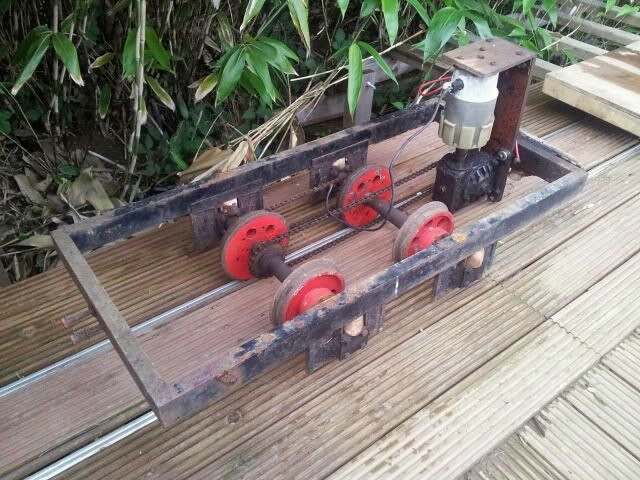
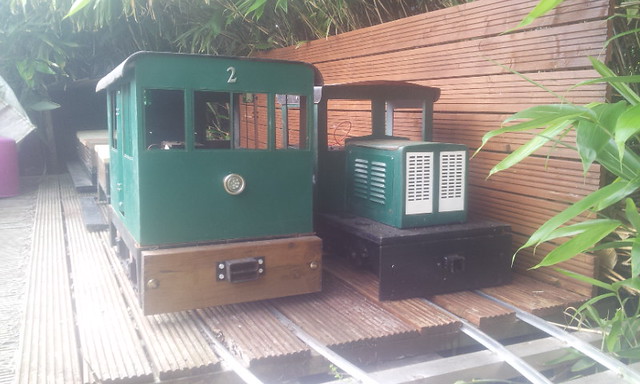
Current projects on the railway are the building of rolling stock, and the improvement of lots of small details. There will always be something to do – a single carriage is 5’ long, 15” wide, and weighs enough to be a 2 person lift, small projects rapidly grow into big projects in this size.
I can highly recommend joining the 7 ¼” gauge society to anyone who is tempted to make a start in this size. The society newsletter is an excellent resource for technical know how, and inspirational writing. Membership includes access to the full back catalogue of issues in pdf format via the society website.
As is usual in these sorts of articles, it is probably worth me saying that I have no connection to any of the suppliers mentioned, apart from as a satisfied customer. If you want to have a look at products, prices, and information yourself, the following links may be useful:
http://www.rideonrailways.co.uk/
http://www.maxitrak.co.uk/
http://www.miniaturerailwaysupply.com/
http://www.sevenandaquarter.org/ 20170204_133946 by simon mace, on Flickr
 2017-07-12_09-29-55 by simon mace, on Flickr
 2017-07-12_09-30-06 by simon mace, on Flickr
 2017-07-12_09-05-04 by simon mace, on Flickr
 2017-07-12_09-01-25 by simon mace, on Flickr
 2017-07-12_09-29-21 by simon mace, on Flickr
 2017-07-12_09-05-38 by simon mace, on Flickr
 2017-07-12_09-05-16 by simon mace, on Flickr
 2017-07-12_09-26-49 by simon mace, on Flickr
 2017-07-12_09-26-05 by simon mace, on Flickr
 2017-07-12_09-25-49 by simon mace, on Flickr
 2017-07-12_09-25-19 by simon mace, on Flickr
 2017-07-12_09-24-40 by simon mace, on Flickr
 2017-07-12_09-24-20 by simon mace, on Flickr
 2017-07-12_09-24-09 by simon mace, on Flickr
 2017-07-12_09-23-08 by simon mace, on Flickr
 2017-07-12_09-23-21 by simon mace, on Flickr
 2017-07-12_09-22-56 by simon mace, on Flickr
 2017-07-12_09-22-20 by simon mace, on Flickr
 2017-07-12_09-21-43 by simon mace, on Flickr
 2017-07-12_09-21-54 by simon mace, on Flickr
 2017-07-12_09-15-55 by simon mace, on Flickr
 2017-07-12_09-22-08 by simon mace, on Flickr
 2017-07-12_09-20-37 by simon mace, on Flickr
 2017-07-12_09-20-45 by simon mace, on Flickr
 2017-07-12_09-20-54 by simon mace, on Flickr
 2017-07-12_09-27-37 by simon mace, on Flickr
 2017-07-12_09-27-27 by simon mace, on Flickr
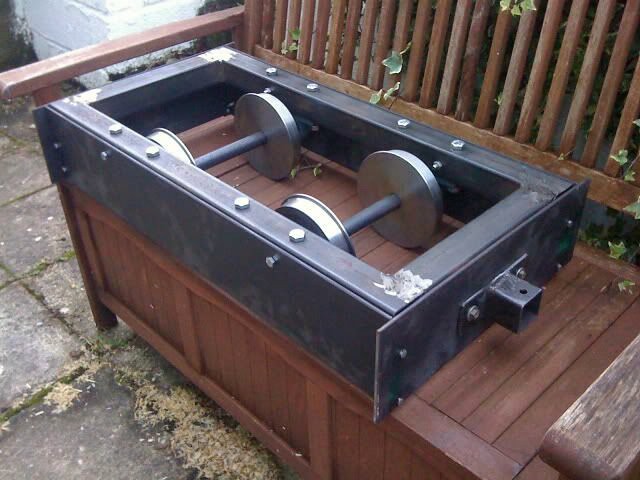 2017-07-12_09-27-17 by simon mace, on Flickr
 2017-07-12_09-25-06 by simon mace, on Flickr
 2017-07-12_09-23-45 by simon mace, on Flickr
 2017-07-12_09-23-37 by simon mace, on Flickr
 2017-07-12_09-20-10 by simon mace, on Flickr
 2017-07-12_09-14-56 by simon mace, on Flickr
 2017-07-12_09-02-35 by simon mace, on Flickr
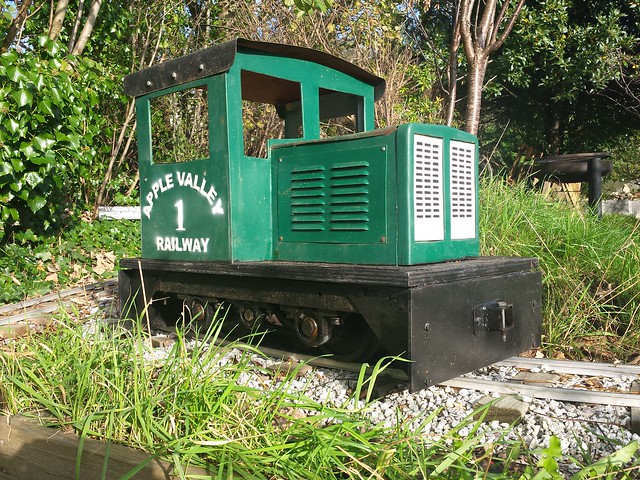 20141109_133117 by simon mace, on Flickr
 Apple1 by simon mace, on Flickr


 2017-07-12_09-19-28 by simon mace, on Flickr
 2017-07-12_09-18-38 by simon mace, on Flickr
 2017-07-12_09-17-22 by simon mace, on Flickr
 2017-07-12_09-17-14 by simon mace, on Flickr
 20141109_134728 by simon mace, on Flickr
 Apple4 by simon mace, on Flickr
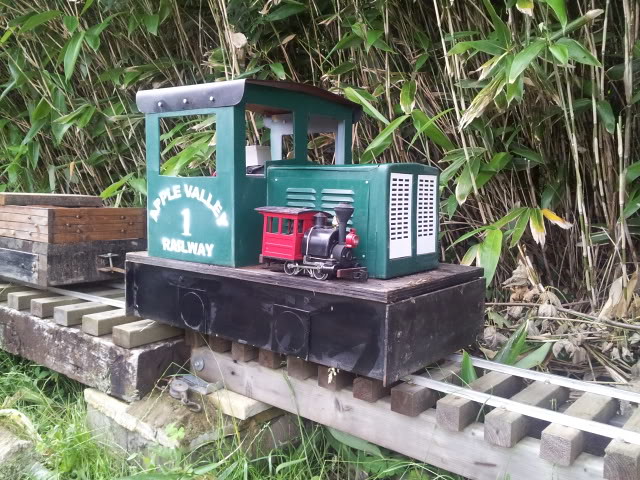 20120704_172314 by simon mace, on Flickr
 20150215_164016 by simon mace, on Flickr
 20150215_163334 by simon mace, on Flickr
 2017-07-12_09-04-06 by simon mace, on Flickr
 2017-07-12_08-55-03 by simon mace, on Flickr
 2017-07-12_08-55-13 by simon mace, on Flickr
 20140727_144239 by simon mace, on Flickr
 20140629_162612 by simon mace, on Flickr
 20140906_142715 by simon mace, on Flickr
 20141115_155607 by simon mace, on Flickr
 20141115_161003 by simon mace, on Flickr
 20141115_161521 by simon mace, on Flickr
 2017-07-12_09-13-23 by simon mace, on Flickr
 2017-07-12_09-12-29 by simon mace, on Flickr
 2017-07-12_09-09-55 by simon mace, on Flickr
 2017-07-12_09-00-24 by simon mace, on Flickr
 2017-07-12_08-59-26 by simon mace, on Flickr