A place for discussing battery-electric locomotives, whether they're diesel, steam or even electric outline
-
GTB
- Driver

- Posts: 1717
- Joined: Sat Mar 05, 2011 2:46 pm
- Location: Australia
Post
by GTB » Mon Dec 05, 2011 12:41 pm
IrishPeter:62396 wrote:Sorry, mate, but the doors opened outwards on West Clare and T&DLR stock.
If you have a copy of this book, check the photo on page 28 of Narrow Gauge Rolling Stock by Desmond Coakham, in the Ian Allan Irish Railway Pictorial series. There is a similar photo on page 54 of Joe Taylor's West Clare book in the same series.
This poor online pic is a 27' T&D carriage, with the door open and a gent sitting on the end of the longitudinal seat. It was printed in the Railway Magazine, May 1898. Only photo I've ever found of one showing end windows.
http://www.rawsonplace.esmartdesign.com ... ralee2.jpg
The indicator on T&D carriages is that there is a handrail both sides of the passenger doors and no visible hinges. Outward opening doors have only one handrail, next to the door handle.
Graeme
-
IrishPeter
Post
by IrishPeter » Mon Dec 05, 2011 3:05 pm
Well, well, you live and learn.
I have looked at photos of T&D stock a hundred times over and never caught that! Mind you, I did wonder what the second handrail was for a couple of times! That said, I have never seen a pic of one with its doors open. My assumption with Irish stock has tended to be - "built in the UK - doors open outwards" - which will be how I missed it. I'll be more careful in future.
Note to self: upgrade frequency of inward opening doors from "rare" to "unusual."
Interestingly, when Inchicore was thinking about replacing some of the narrow gauge passenger stock in the late 1920s (Flanagan seems to suggest 1926-7,)the design they came up with also had inward opening doors. I have never come up with a published source for the diagram, but in Flanagan's little book on the Cavan & Leitrim he mentions that:
"It would have been 40' by 6'11" with longitudinal seating for thirty-four third class passengers. There were to be two four seater first class compartments, the centre on for smokers. Electric light was planned, and entrance would have been gained by inward opening doors at each end. The coach (which never materialized) would have bourne a strong resemblance to the original C & L style."
Peter in AZ
-
hussra
- Trainee Driver

- Posts: 872
- Joined: Tue Jul 28, 2009 2:06 pm
Post
by hussra » Wed Dec 07, 2011 1:01 pm
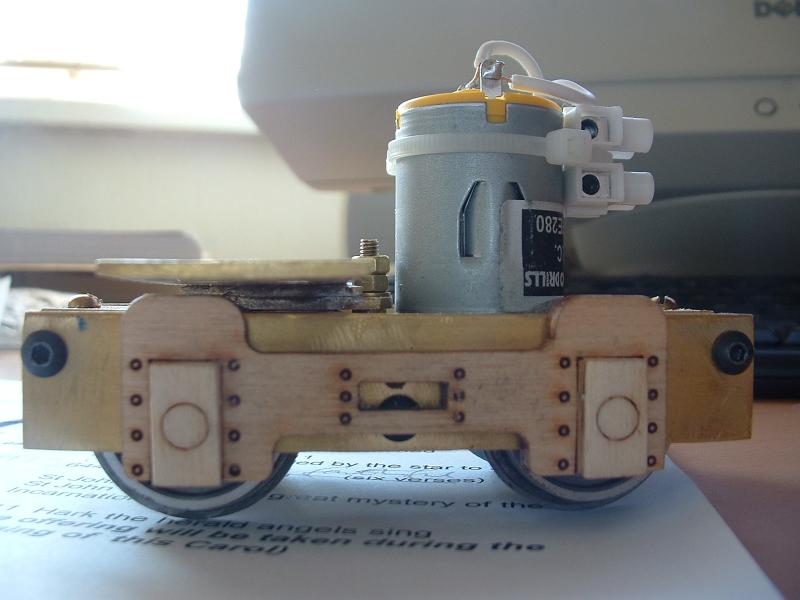
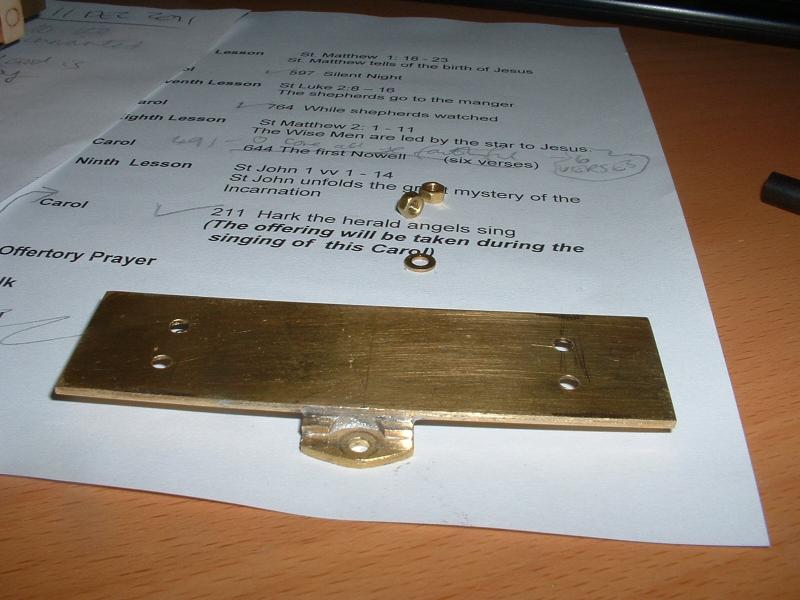
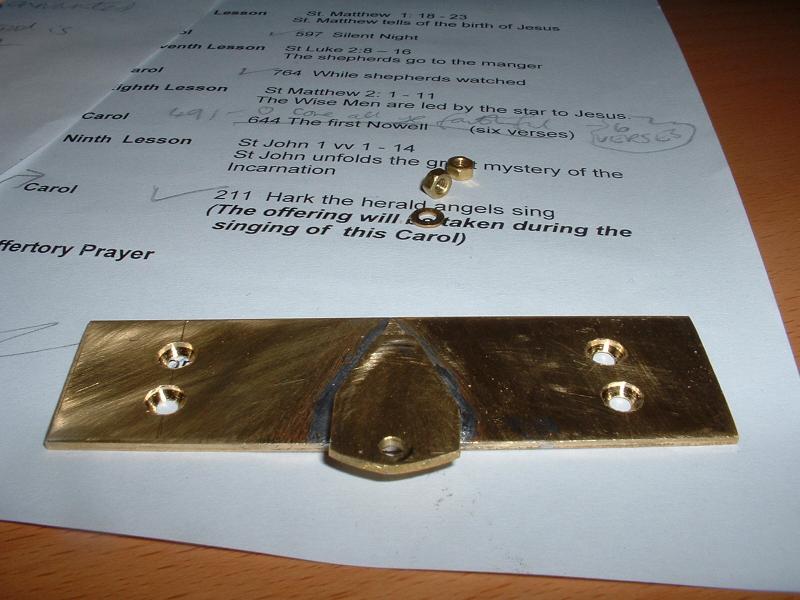
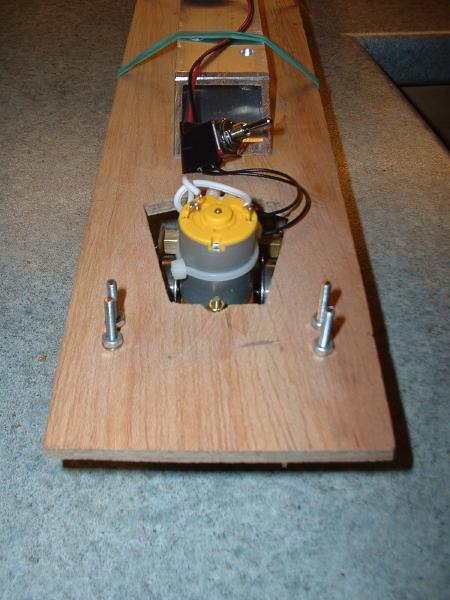
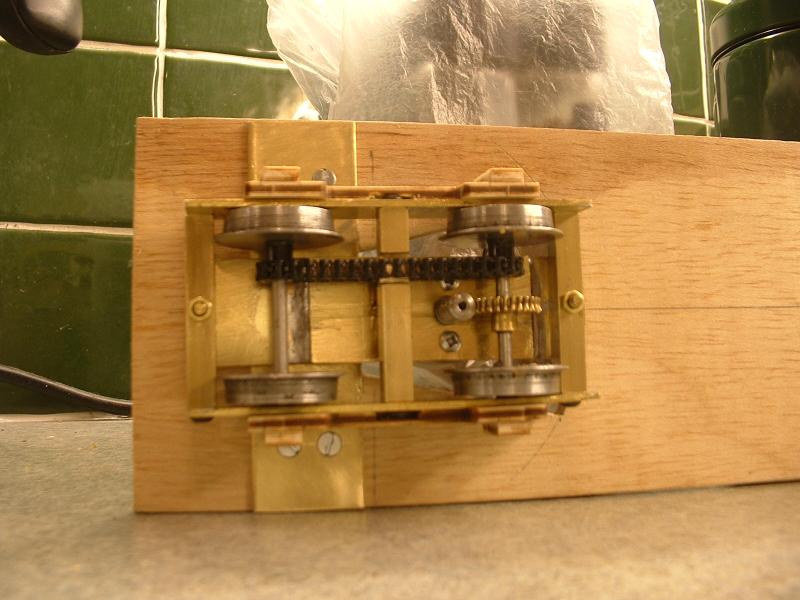
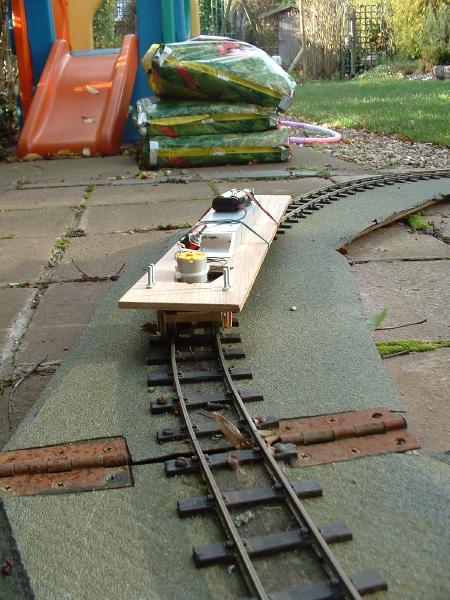
OK, a few more photos. Please excuse the non-square bolts holding the motor bogie pivot - this is just a quick lash-up underframe for test purposes.
I did try it with a few carriages hung on behind, but it was a bit too windy for them.

<object width="420" height="315"><param name="movie" value="
http://www.youtube.com/v/sudf6dlz6_E?ve ... ram><param name="allowFullScreen" value="true"></param><param name="allowscriptaccess" value="always"></param><embed src="
http://www.youtube.com/v/sudf6dlz6_E?version=3&hl=en_GB" type="application/x-shockwave-flash" width="420" height="315" allowscriptaccess="always" allowfullscreen="true"></embed></object>
Richard Huss
in sunny Solihull
-
hussra
- Trainee Driver
- Posts: 872
- Joined: Tue Jul 28, 2009 2:06 pm
Post
by hussra » Wed Dec 07, 2011 1:31 pm
Richard Huss
in sunny Solihull
-
Marquis DeCarabas
Post
by Marquis DeCarabas » Wed Dec 07, 2011 1:39 pm
Excellent - when I saw the four bolts on FB I thought it was a bit like 'Dean Suspension'!
Did you do the smouldering yourself?
-
hussra
- Trainee Driver
- Posts: 872
- Joined: Tue Jul 28, 2009 2:06 pm
Post
by hussra » Wed Dec 07, 2011 1:44 pm
Marquis DeCarabas:62589 wrote:Excellent - when I saw the four bolts on FB I thought it was a bit like 'Dean Suspension'!
Did you do the smouldering yourself?
Yes, on the big ring of the cooker. (With wife watching!)
Richard Huss
in sunny Solihull
-
Marquis DeCarabas
Post
by Marquis DeCarabas » Wed Dec 07, 2011 1:47 pm
hussra:62590 wrote:Marquis DeCarabas:62589 wrote:Excellent - when I saw the four bolts on FB I thought it was a bit like 'Dean Suspension'!
Did you do the smouldering yourself?
Yes, on the big ring of the cooker. (With wife watching!)
L is a star!
-
hussra
- Trainee Driver
- Posts: 872
- Joined: Tue Jul 28, 2009 2:06 pm
Post
by hussra » Wed Dec 07, 2011 8:28 pm
Marquis DeCarabas:62591 wrote:hussra:62590 wrote:Marquis DeCarabas:62589 wrote:Did you do the smouldering yourself?
Yes, on the big ring of the cooker. (With wife watching!)
L is a star!
She is indeed. Do consider carefully the full range of possible reactions of other half, before attempting this procedure yourself. IIRC you are in the middle of getting a new kitchen?
Richard Huss
in sunny Solihull
-
GTB
- Driver
- Posts: 1717
- Joined: Sat Mar 05, 2011 2:46 pm
- Location: Australia
Post
by GTB » Thu Dec 08, 2011 10:40 am
hussra:62587 wrote:Over on Facebook, the good Marquis asked about how I had pivoted the power bogie. Here we are - the pivot is (due to insufficient clearances) very slightly off-centre on the bogie - too bad.
it won't make much difference. The pivot is still well inside the wheelbase, so it won't affect weight distribution and tracking.
The project is coming along nicely.
Graeme
-
hussra
- Trainee Driver
- Posts: 872
- Joined: Tue Jul 28, 2009 2:06 pm
Post
by hussra » Thu Dec 08, 2011 12:24 pm
40 minutes ago:
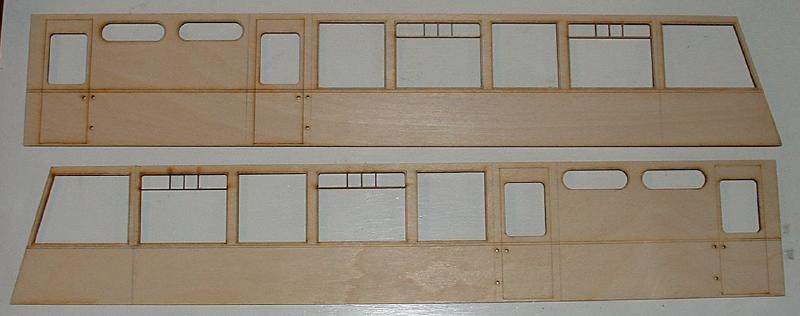
Now:

or alternatively:

Anyway, that's the dismantling done. Now for some mantling, I suppose.
Richard Huss
in sunny Solihull
-
Narrow Minded
Post
by Narrow Minded » Thu Dec 08, 2011 12:29 pm
Looking forward to the "remantled" results - it'll be interesting to see which of the two alternatives you go for!

The whole project is coming along nicely

-
GTB
- Driver
- Posts: 1717
- Joined: Sat Mar 05, 2011 2:46 pm
- Location: Australia
Post
by GTB » Fri Dec 09, 2011 11:28 am
hussra:62656 wrote:Anyway, that's the dismantling done. Now for some mantling, I suppose.
Both alternatives look OK. Use one arrangement for the engine unit and the other when you build the trailer........
The 'mantling' is the best bit. That's when the plan really starts to come together.
Graeme
-
Marquis DeCarabas
Post
by Marquis DeCarabas » Fri Dec 09, 2011 1:16 pm
hussra:62615 wrote:She is indeed. Do consider carefully the full range of possible reactions of other half, before attempting this procedure yourself. IIRC you are in the middle of getting a new kitchen?
Yes. I have over 2' clear space each side and *behind* the new gas hob.......
As I paid for it, I can do what I want (well... that's the theory).
Close call between the two different arrangements..
Would this arrangement work better hiding the motor:
hussra:62656 wrote:
Now:
?
-
hussra
- Trainee Driver
- Posts: 872
- Joined: Tue Jul 28, 2009 2:06 pm
Post
by hussra » Fri Jan 13, 2012 2:57 pm
Some progress to report.
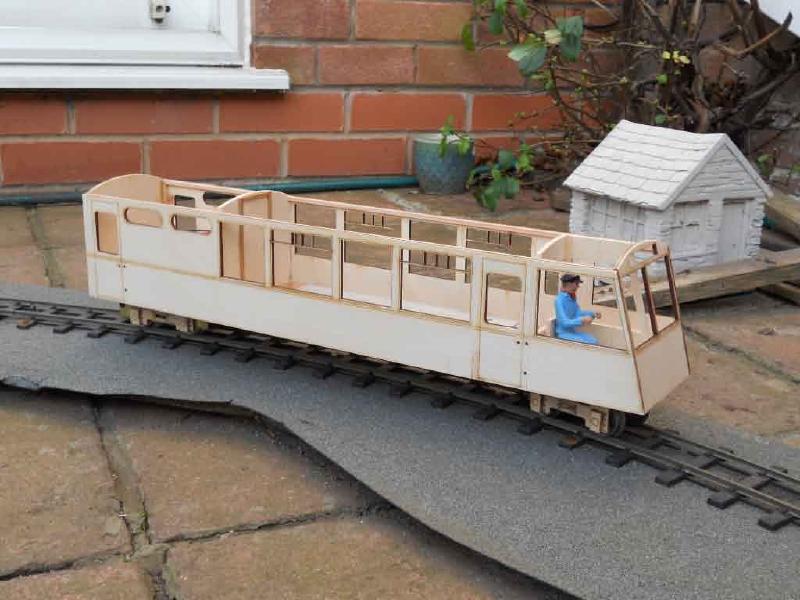
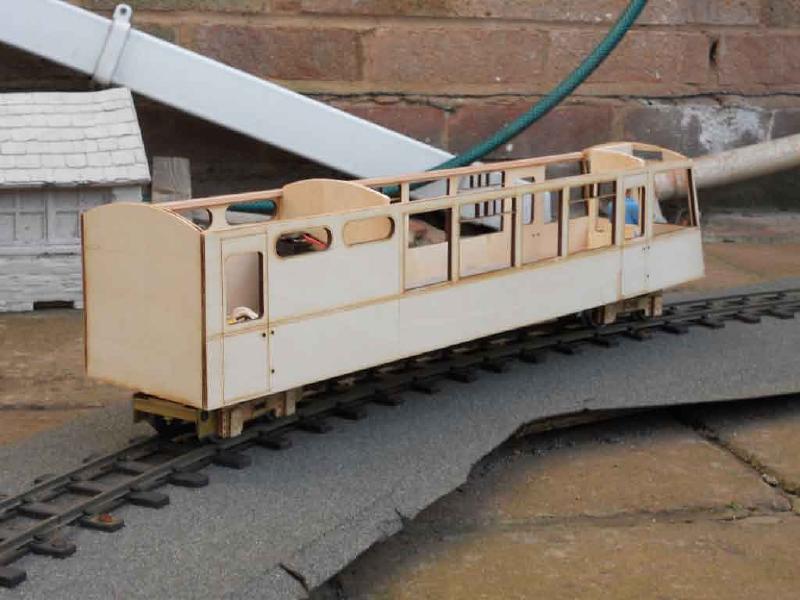
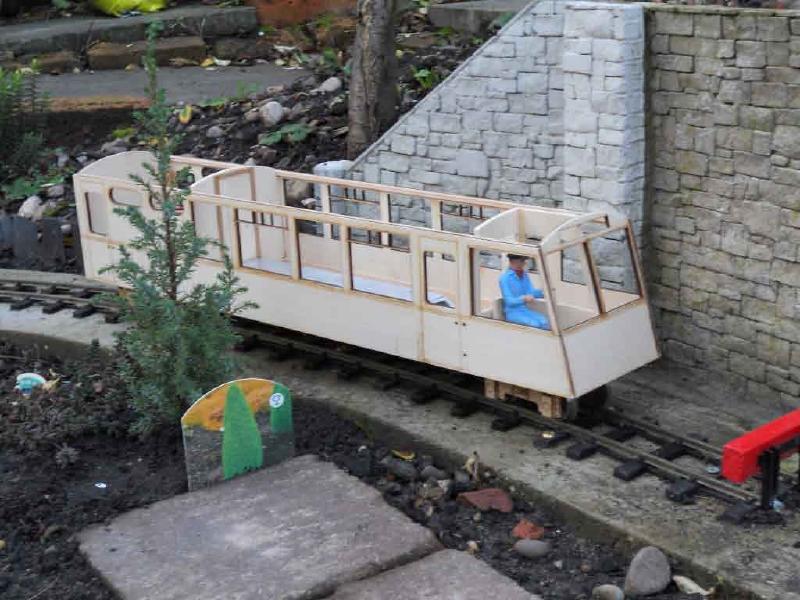
Awaiting RC receiver and speed controller. Pleased with where we are so far.
Richard Huss
in sunny Solihull
-
Marquis DeCarabas
Post
by Marquis DeCarabas » Fri Jan 13, 2012 4:16 pm
Very nice.
-
Steven.T
- Fireman

- Posts: 410
- Joined: Sun Mar 13, 2011 5:56 pm
- Location: Stockton
Post
by Steven.T » Fri Jan 13, 2012 5:11 pm
I like, I like a lot! Will look even better when the whole unit is done!
Ste
-
hussra
- Trainee Driver
- Posts: 872
- Joined: Tue Jul 28, 2009 2:06 pm
Post
by hussra » Fri Jan 13, 2012 5:51 pm
ste234:64741 wrote:I like, I like a lot! Will look even better when the whole unit is done!
Still need to save up for the other cars. Plan is:
- Driving/motor/guard
- Buffet car
- Driving/toilet car
Any thoughts on best form of miniature connectors for jumpers between the cars. (Tony W, what did you use on your Faller railcars?)
Richard Huss
in sunny Solihull
-
Sir haydn
Post
by Sir haydn » Fri Jan 13, 2012 6:13 pm
Servo Lead extension cables
-
hussra
- Trainee Driver
- Posts: 872
- Joined: Tue Jul 28, 2009 2:06 pm
Post
by hussra » Sat Jan 14, 2012 11:59 am
Quick video of a couple of recent test runs. Quite pleased with haulage test this morning (once the frost was off the rails) - it could probably have handled more, but it was jolly cold out. Weighed it this morning - 2lb on the motor bogie and 1lb on the other - plenty of room for more weight.
<object width="853" height="480"><param name="movie" value="
http://www.youtube.com/v/ikT0uny_QFM?ve ... ram><param name="allowFullScreen" value="true"></param><param name="allowscriptaccess" value="always"></param><embed src="
http://www.youtube.com/v/ikT0uny_QFM?version=3&hl=en_GB" type="application/x-shockwave-flash" width="853" height="480" allowscriptaccess="always" allowfullscreen="true"></embed></object>
Richard Huss
in sunny Solihull
-
TonyW
- Driver
- Posts: 1357
- Joined: Fri May 16, 2008 9:25 am
- Location: North Wales
-
Contact:
Post
by TonyW » Sat Jan 14, 2012 12:34 pm
hussra:64742 wrote:(Tony W, what did you use on your Faller railcars?)
As I wanted them to look like jumper cables, I used a separate plug and socket for each wire. It was a long time ago, but I think these are the equivalents:
http://www.maplin.co.uk/2mm-plug-1427
http://www.maplin.co.uk/2mm-socket-1429
A socket is fixed to one side of the buffer beam and a trailing wire with the plug emerges through a hole on the other, so that the plug on one car is opposite the socket on the adjoining car. The nice thing about this arrangement is that one car's plug can be pushed in to its own socket, which can make electrical debugging a little easier should it be needed.
Who is online
Users browsing this forum: No registered users and 11 guests