Page 2 of 2
Posted: Fri Feb 07, 2014 9:20 pm
by AndrewGVT
jay1976:96553 wrote:did you get any further with this?
Hi
I did get a fair bit more done during the summer holidays however I did get round to posting anything about it. Now that winter has set in the progress on the railway outside has slowed right down. However the track has been brought inside and is undergoing a thorough cleaning so when the weather clears up track laying can commence.
Andrew
I'm back!!!!
Posted: Mon Apr 14, 2014 11:11 pm
by AndrewGVT

Hello everyone!

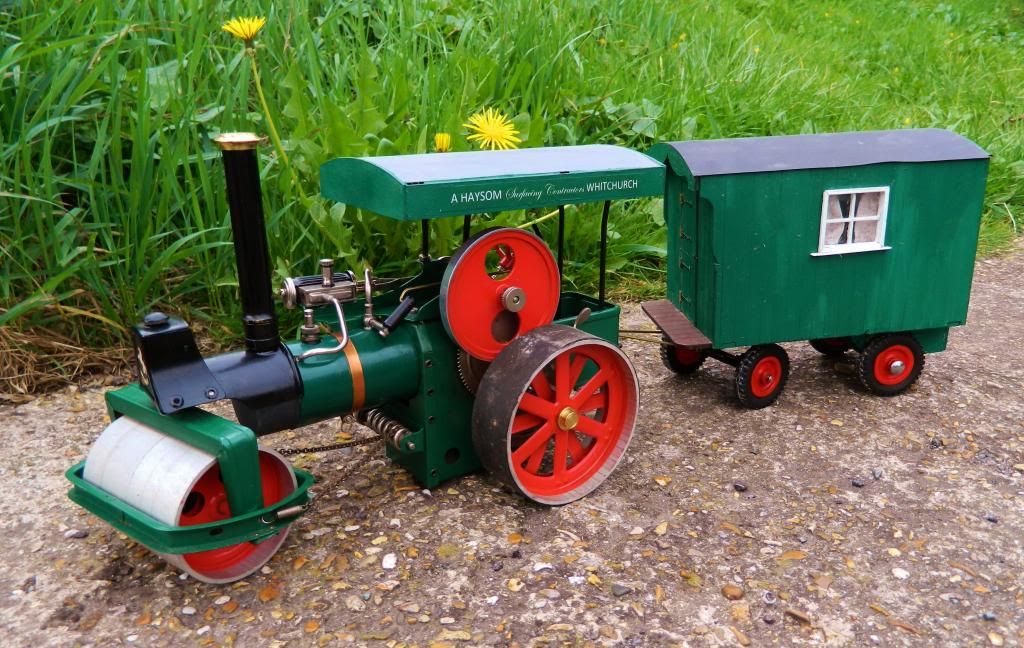
As is obvious there have been no updates for far too longer time! This is due to, among other things, being bitten by the road steam bug and although this will never overtake the railways it has meant that time to work on the railway has been limited and funds have gone into buying a Wilesco steam roller which has since gained many modifications and a living van.
Anyway back to the railway! Since the weather has been kind over the last few days I decided to tackle the garden.
The first job was a general tidy up of winter debris which was quickly completed and the rest of the jobs started looking a bit more manageable. As can be seen in previous pics there was a wire fence which was there to protect the railway from the dogs. (kinda like jurassic park only the dog are much worse than dinosaurs

) Anyway this needed to be replaced with something more substantial, I suggested a barbed electric fence but Mum decided that may have been a tad excessive so instead we went for a white picket fence. The old fence was removed and temporary posts added to with the new fence tied to them. The whole fence has been moved about 2’ away from the railway edge. This will become a gravel path.
With the railway again dog proof work started clearing weeds and the grass behind the fence. And with this done the railway started look really good. Along the front we worked out how the path will work around the railway and some trenches for foundation of retaining walls were dough. This brings us to roughly the stage that we are at now.
I will get some pics tomorrow if I get time. The track all needs a really good clean and I am getting some fishplates on Monday so that when I can think about permanent track laying. I am starting my GCSE exams in just over 2 weeks so the work on the railway has to fit in around that but things are looking good!
Seeing as I don’t have any pics I thought I might show of my roller to make up for it

Posted: Mon Apr 14, 2014 11:15 pm
by williamfj
That's a
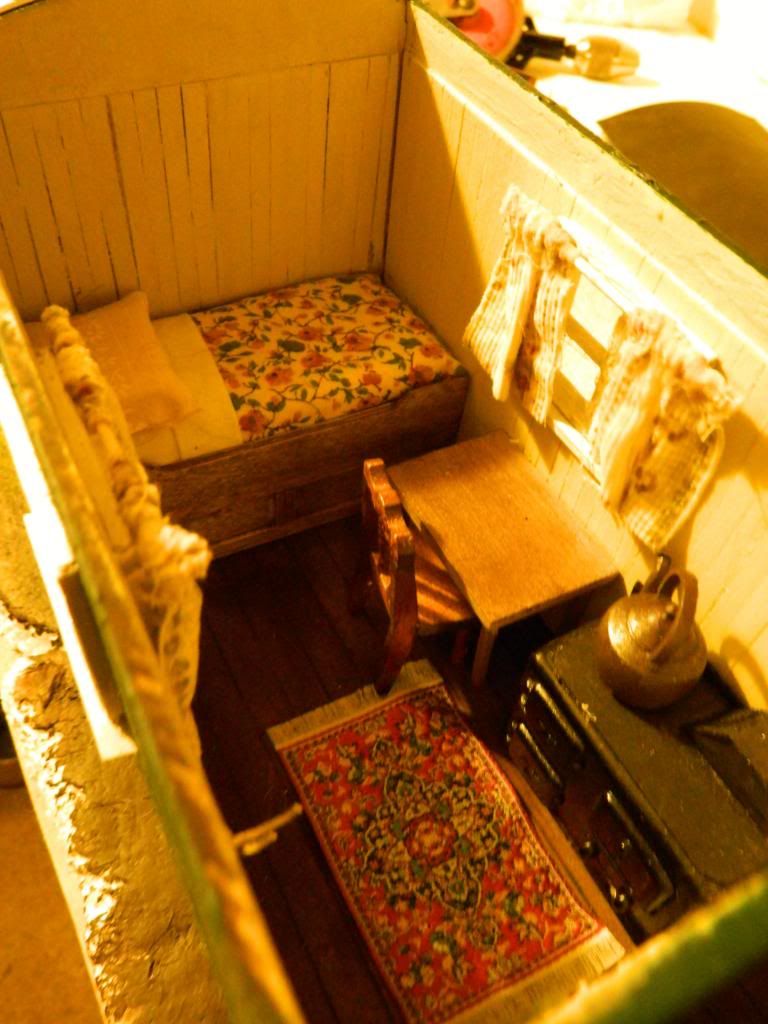
very nice outfit, I really like the living van interior. Shame it's not a Fowler but an Aveling will do!


Posted: Tue Apr 15, 2014 8:44 am
by Dannypenguin
Like the steam roller set, especially the the living van interior

Posted: Tue Apr 15, 2014 8:55 am
by kandnwlr
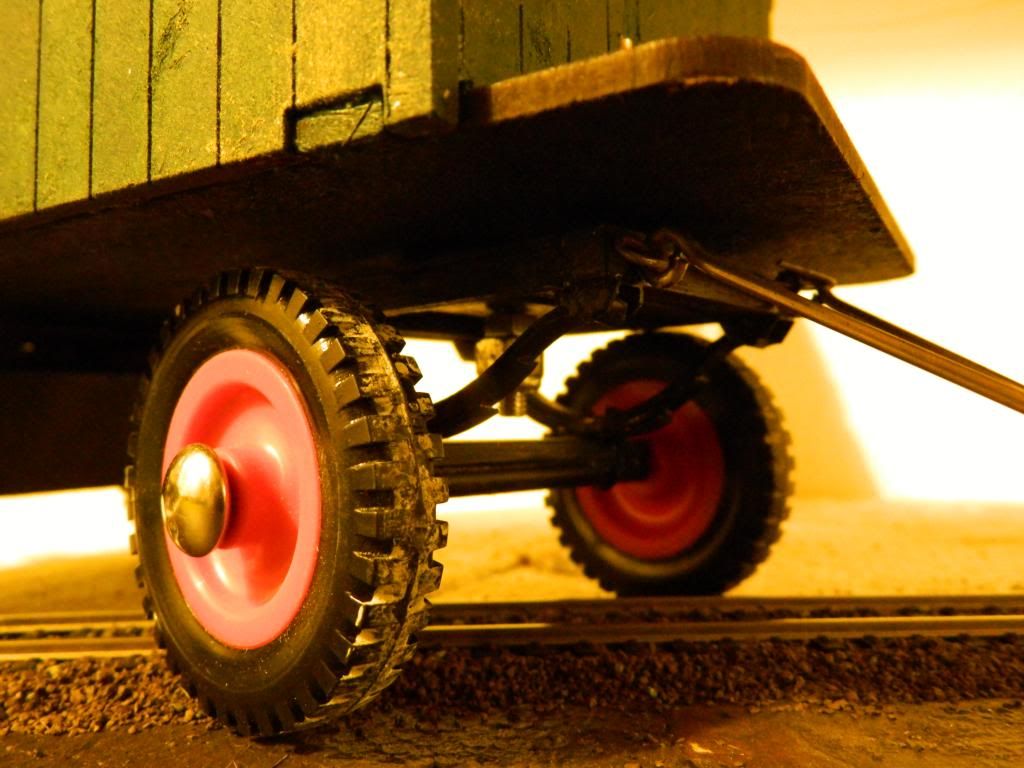
Great traction engine. What did you use as a chassis for the trailer?
Posted: Tue Apr 15, 2014 10:35 am
by AndrewGVT
Thanks everyone!
kandnwlr:99477 wrote:What did you use as a chassis for the trailer?
The van is a laser cut kit which came with a very basic chassis, axles and wheels. We then added the box around the rear axle and scratch built a new front. Using only the axles and wheels.
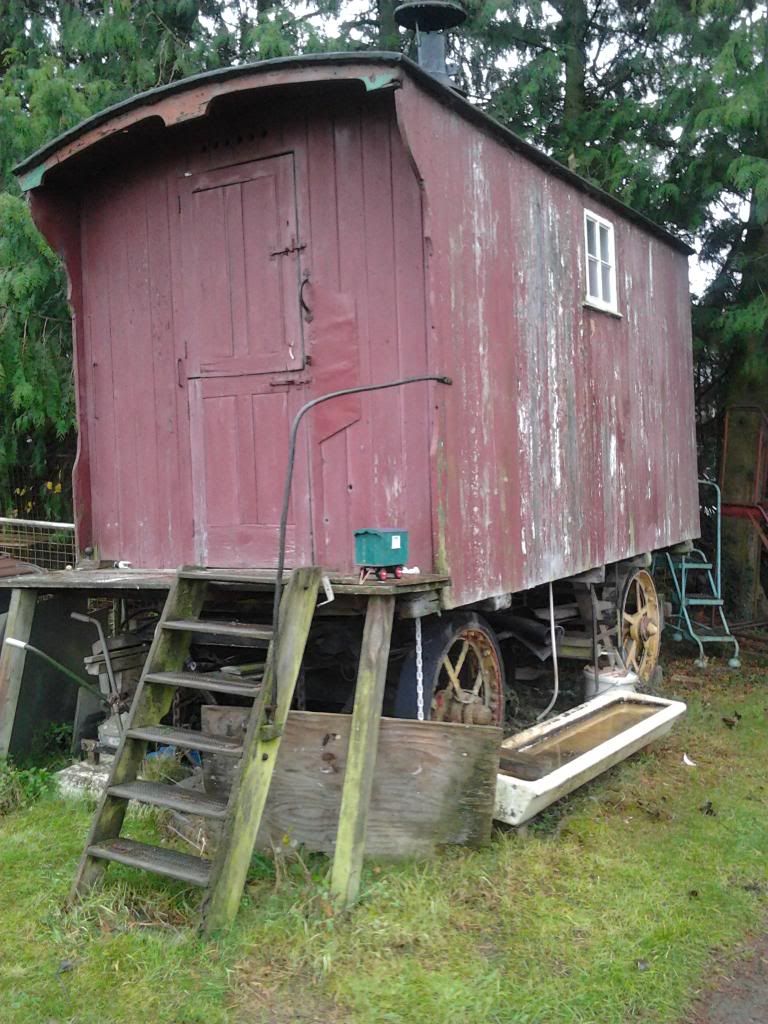
And this is it on the running board of the living van it was modeled on
Posted: Tue Apr 15, 2014 12:33 pm
by kandnwlr
Thanks for the photos. Great interior BTW.
Posted: Wed Apr 16, 2014 2:24 pm
by AndrewGVT
Anyway back to the railway. Here are the pictures of the new fence:
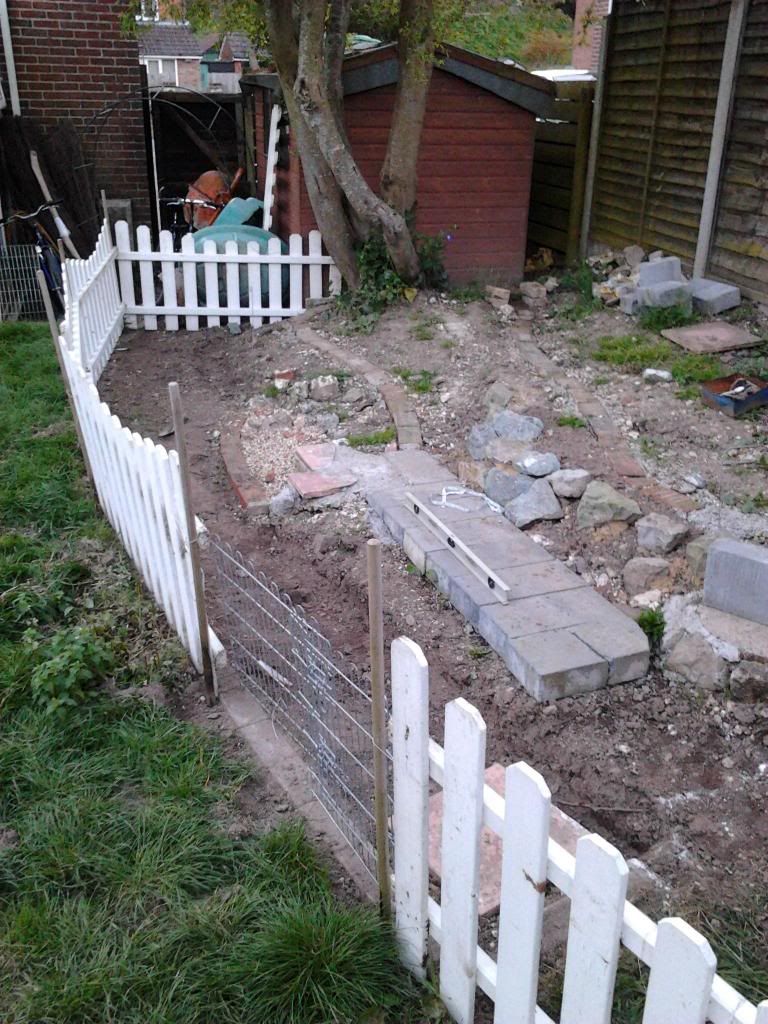
There will be a gate where metal fence is now.
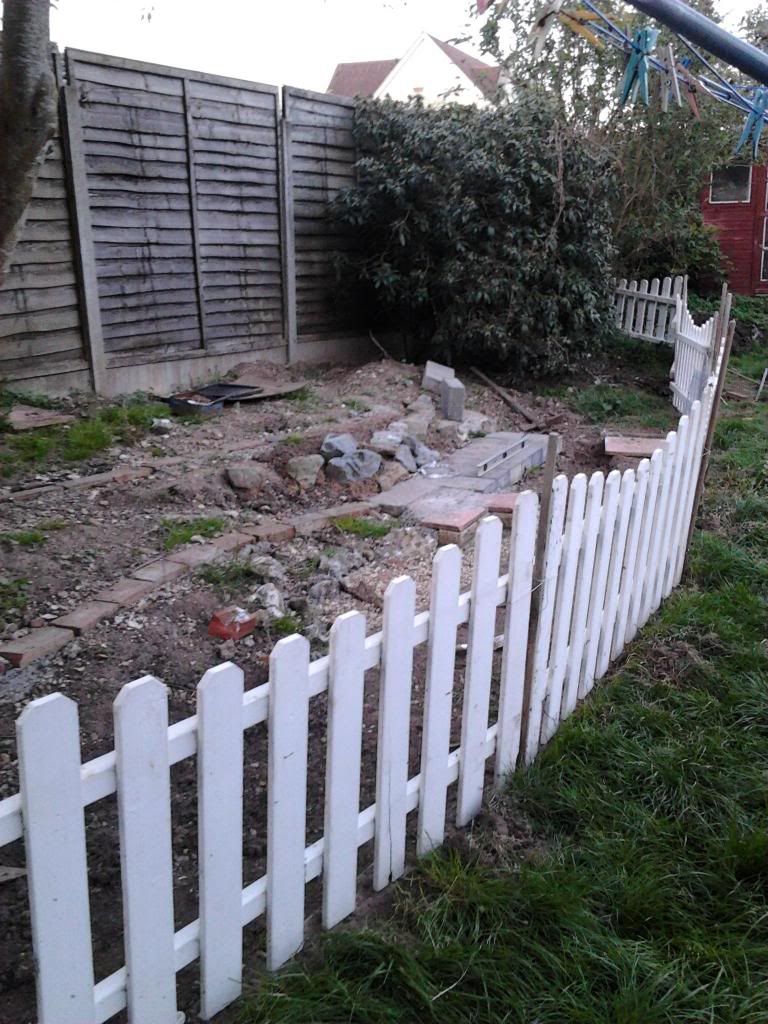
Nearly all the track was bought when i was very young so around 10 years ago and has been used a lot in its life. Due to this it all needs a good clean and some maintenance. The track is all washed and just need new fish plates on a few pieces and the rail heads cleaned.
That is all for now
Posted: Wed Apr 16, 2014 8:56 pm
by Peter Butler
Well done for your work so far. You have made a very good start and seem to know what you are doing.
The fence is nice and tidy too although I suspect you have small dogs which don't jump! My Springers would be over there in a flash!
Posted: Wed Apr 16, 2014 9:32 pm
by jim@NAL
looking good I like the fence
Posted: Thu Apr 17, 2014 4:06 pm
by AndrewGVT
Hi all,
I finished cleaning the track today and set it out so I could play trains for a bit.
(at last)
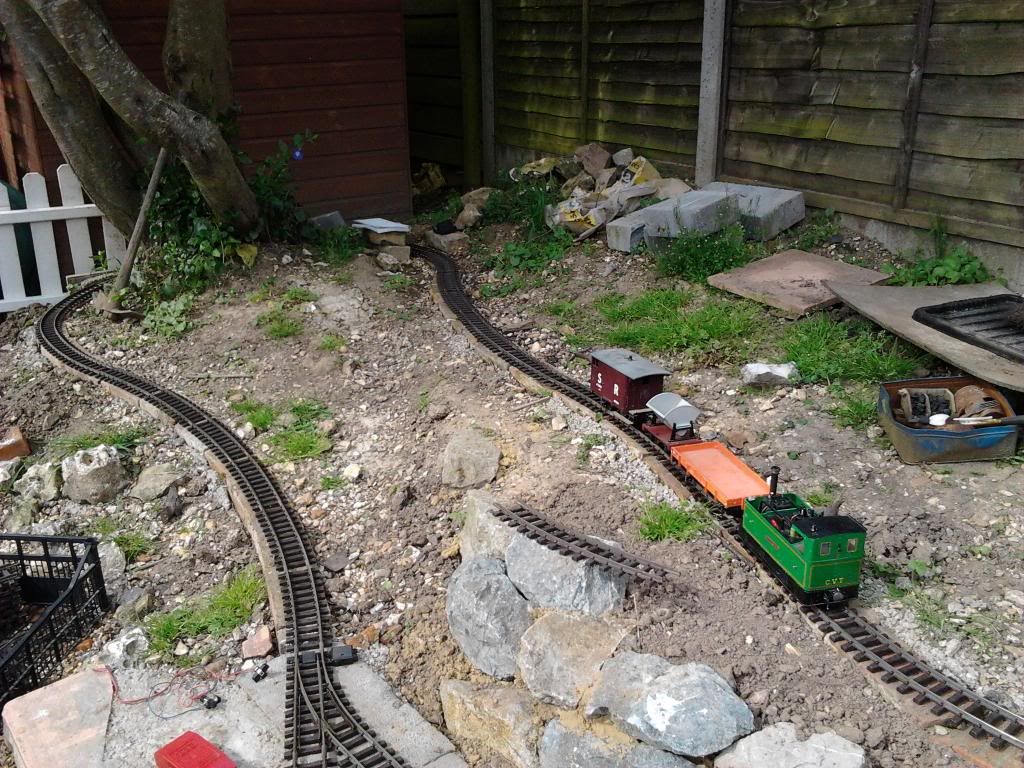
And it has left me with a question; despite my best efforts the bricks are not perfectly level with each other.
My first plan was to put a thine layer of mortar down and then set the track into that but before it sets remove the track so that after that sets the track can be added and lifted as needed.
The second plan would be to lay the track on a bed of sand and then cover it with that sand and cement mix (is it rolands mix or something?) The advantage with this is that I can change it until its right and then set it when its ready. However the track would not be so easily removed.
So whats best?
Thanks!
Posted: Thu Apr 17, 2014 7:33 pm
by bazzer42
It's looking good. I've used blocks bedded on sharp sand and cement and just used granite chips loose for ballast. Drawbacks with that is where they aren't on a block they quickly become part of the soil and need topping up. My blocks aren't perfectly flat but are stable so the longer lengths of track seem to make up for the imperfections.
Posted: Thu Apr 17, 2014 8:08 pm
by Soar Valley Light
Hi Andrew,
People often think that 'Permanent -way' means a solid, unmoving road, in reality it's anything but. Track is a surprisingly flexible support system for trains to run on. The skill of the track engineer and the platelayer is controlling this flexibility. Even the great Brunel learnt this lesson the hard way. His original 'baulk road' was fixed to timber piles driven into the ground, all he achieved was inventing what we now know as cyclic top. Out came the saws!
Things in smaller gauges are a little different from standard gauge practise as the track itself is far stiffer both laterally and longitudinally. I've laid track in gauges from 15" to 62'-6" (crane track!) and by far and away the most difficult was the 15", on which cant was required. The problem was the stiffness of the track wouldn't allow it to 'lean'. Down at 32 and 45mm gauges this starts to play to our advantage as there is a certain amount of 'bridging' ability in the track itself. In any track of any gauge it is the joints which need most care, several mechanisms for derailment are compounded by their presence. The important thing is to keep joints well supported. In my view Bazzer42's advice is golden, I would qualify it by recommending that both sides of every joint are well supported by a common support. Any intermediate supports required will be very much dependant on weight of stock, make of track and to a lesser extent, type of ground. Trial and answer are probably the best solution.
I'm no expert in garden railway construction, I'm a very newcomer to it, but I do have thirty years of experience of track in general and the principles are transferable between all gauges to a greater or lesser extent. It's best not to get too technical about it though. Even the best engineering is totally useless without a large helping of common sense!
Good luck, and keep us updated on your progress, the railway is looking good.
Andrew


