Discussion of Rolling Stock related topics should go here
-
LnBmad
Post
by LnBmad » Sun Oct 20, 2013 10:57 pm
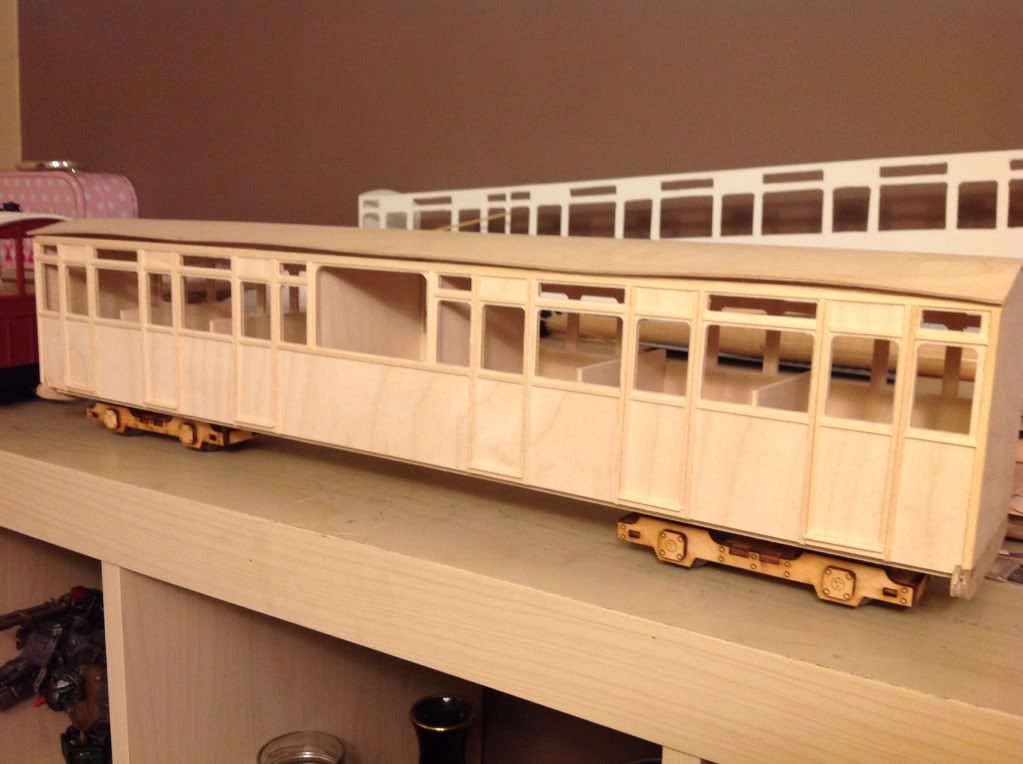
So while I'm still trying to work out the interior for carriage 1 (no proper records of seat layout in the observation end), I have made a start on the bracing for carriage 7. I need go work out where the doors to the observation area fit but am still yet to have been on the restored carriage to take the measurement from there

this one should take too long once I have the doors sorted as I know the rest of the interior and have that all prepped ready

photos will follow tomorrow when I have better light.
-
LnBmad
Post
by LnBmad » Mon Oct 21, 2013 5:46 pm
-
LnBmad
Post
by LnBmad » Fri Nov 08, 2013 8:18 am
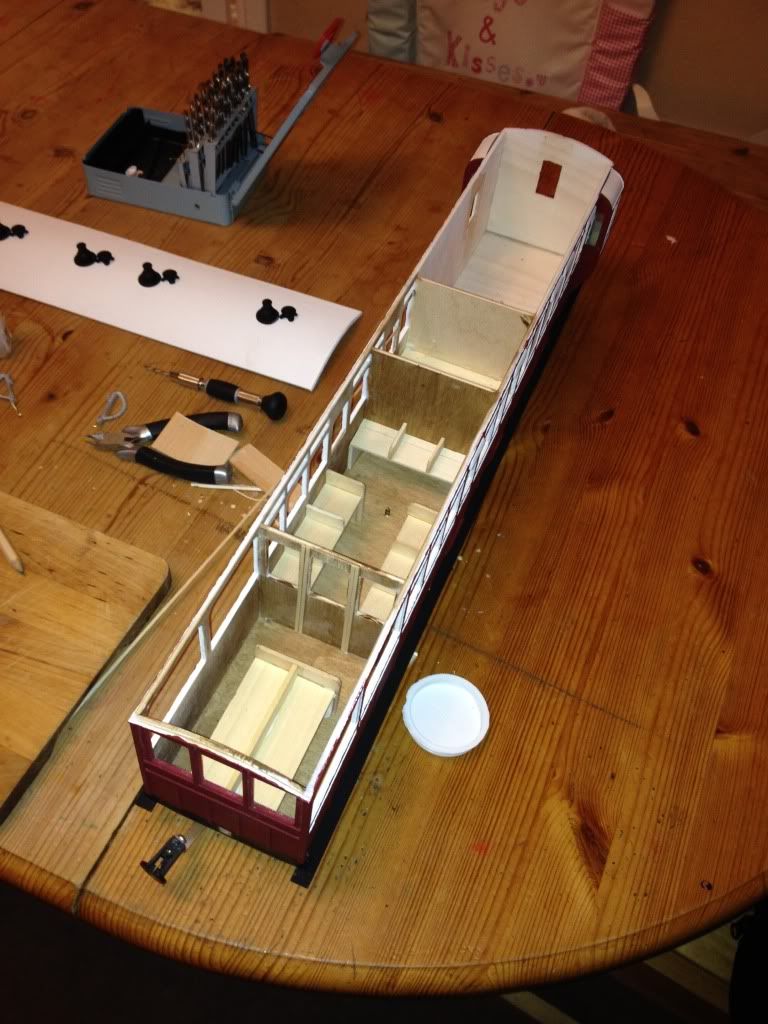
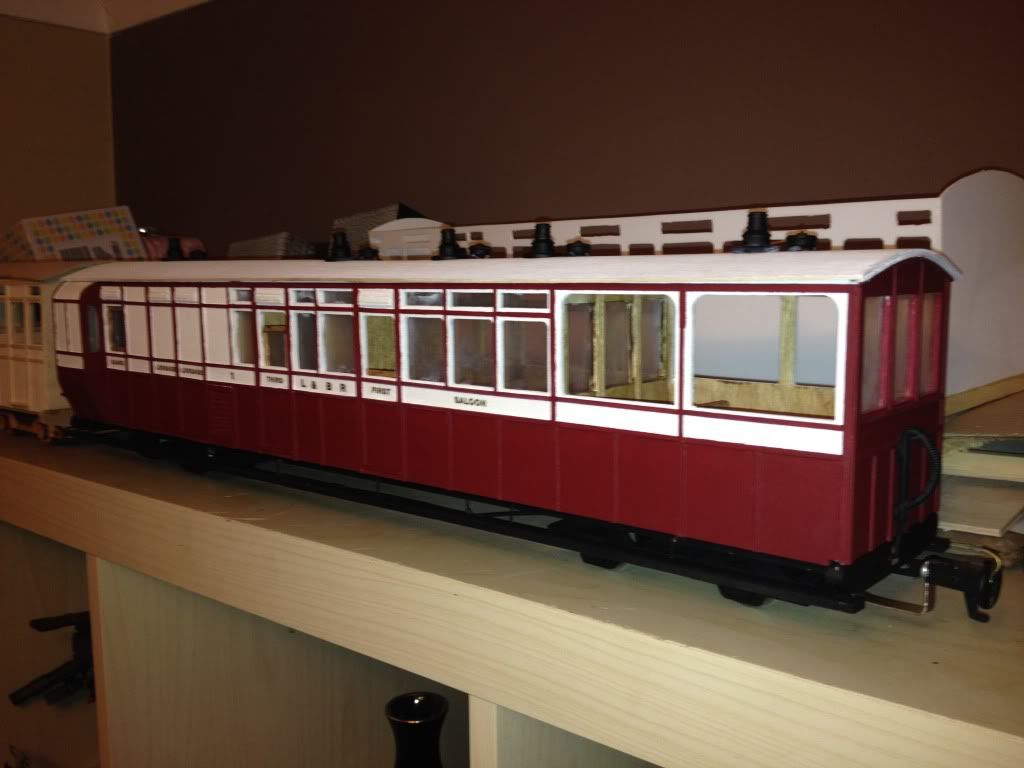
So this week I've come back to carriage 1 again after someone kindly showed me a photo I hadn't seen before of the interior in carriage 1! This has meant that I have been able to construct the interior and get glazing done. I have also added the much needed decals, leaving only the fitting of accucraft couplings, door and grab handles and cushions for first class to bring this carriage to completion. Photos show more of what's been done.
-
laalratty
Post
by laalratty » Fri Nov 08, 2013 8:40 pm
Very nice job, not too far to go now (although I know only too well that it can seem like its nearly done and then take another couple of weeks of work)
-
LnBmad
Post
by LnBmad » Fri Nov 08, 2013 10:31 pm
Interior is now finished. New couplings are fitted (although testing will have to wait till the morning). It will run without handles for a little while as I need to order some. Hopefully this will mean carriage 7 can then move to paint soon and the rake will really begin to take shape.
-
Bandit
Post
by Bandit » Sat Nov 09, 2013 7:18 am
Great job. Can't wait for the next step !

-
WVLR
Post
by WVLR » Sat Nov 09, 2013 9:34 pm
It's looking really good Matt.
-
LnBmad
Post
by LnBmad » Sat Nov 09, 2013 9:39 pm
Now completed carriage 1 bar handles... Not too sure on the glazing ATM so this might yet be replaced (currently looks slightly blue when in daylight but fine in the house)... Photos to follow
-
LnBmad
Post
by LnBmad » Mon Nov 11, 2013 11:17 pm
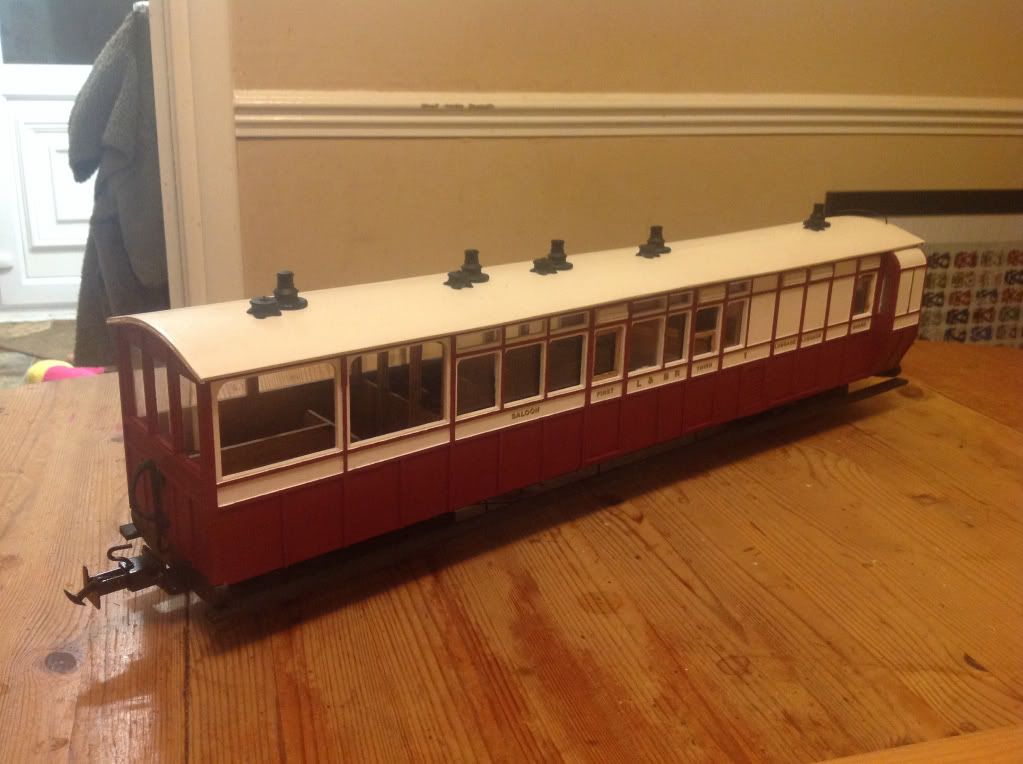
So glazing now replaced and it looks much better. Now only handles remain to be fitted when I get round to ordering some
-
Peter Butler
- Driver

- Posts: 5713
- Joined: Sun Sep 09, 2012 10:33 pm
- Location: West Wales
Post
by Peter Butler » Mon Nov 11, 2013 11:36 pm
Superb job... well done!
Looks good on its own but will be even better with the others running together.
I don't do wood, perhaps I should give it a go?
-
tom_tom_go
- Driver
- Posts: 4824
- Joined: Wed Feb 23, 2011 3:08 am
- Location: Kent, UK
-
Contact:
Post
by tom_tom_go » Tue Nov 12, 2013 12:39 pm
Excellent job Matt, well done!
You don't fancy making me some smaller bogie versions of these

-
LnBmad
Post
by LnBmad » Tue Nov 12, 2013 12:45 pm
These run round 2'6" radius tom
drop me a pm

-
laalratty
Post
by laalratty » Tue Nov 12, 2013 8:44 pm
That really does look splendid
-
LnBmad
Post
by LnBmad » Mon Nov 25, 2013 10:24 pm
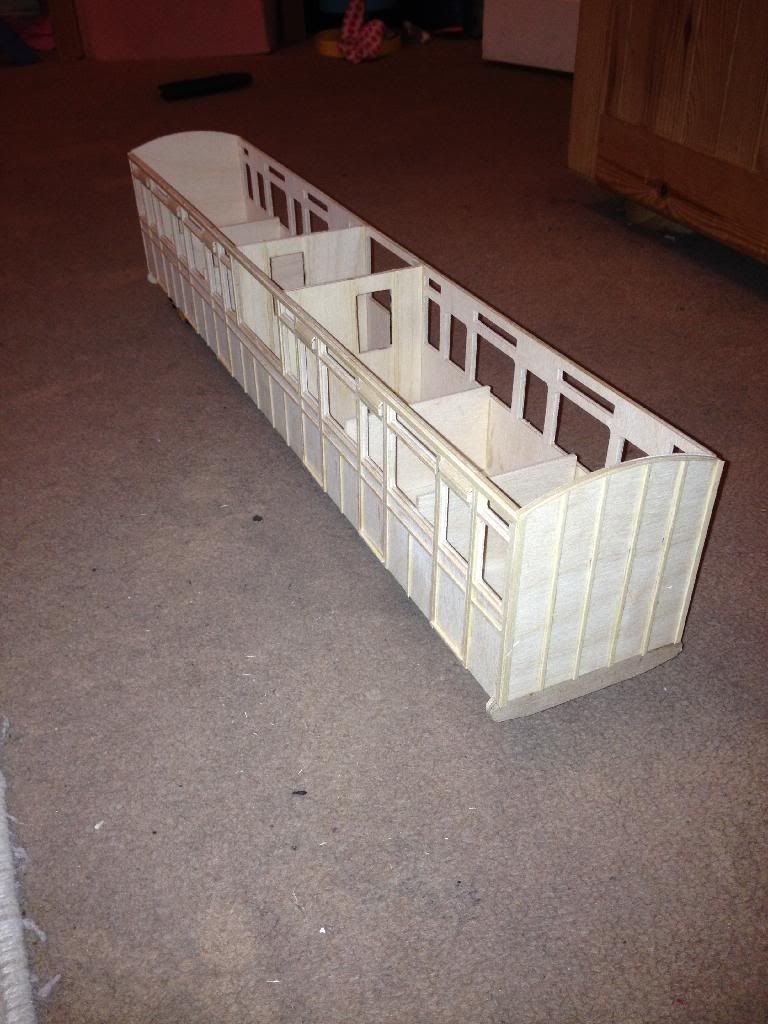
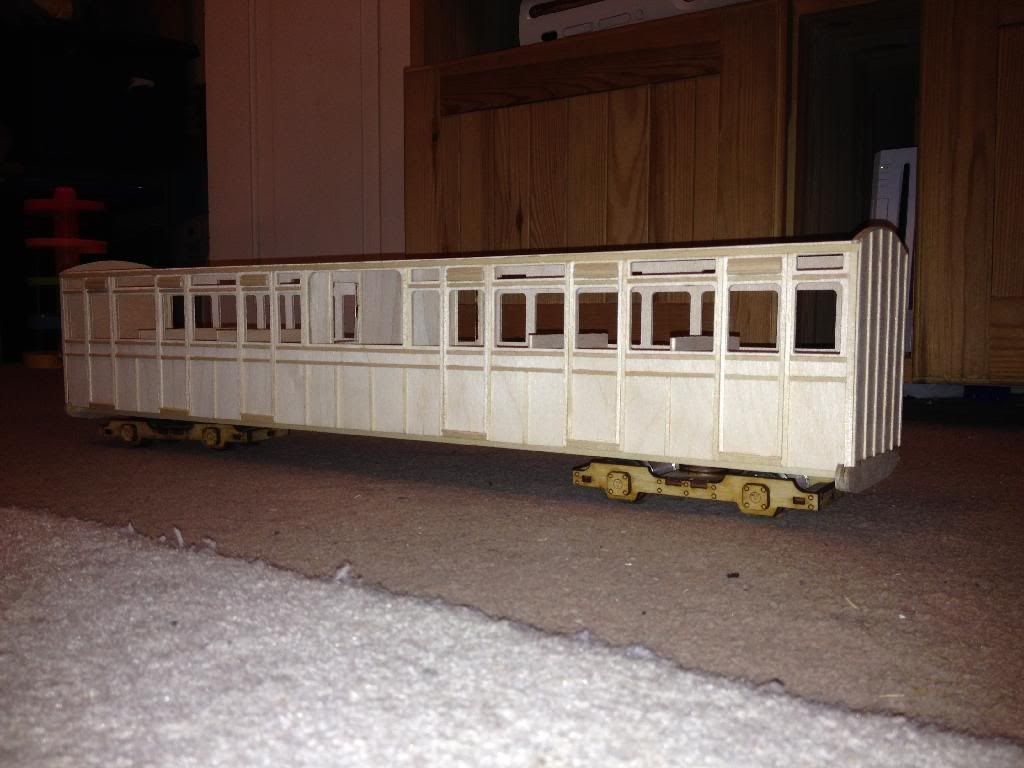
Carriage 7 has been receiving some love again. Nearly ready for staining the interior and painting the outside.
-
LnBmad
Post
by LnBmad » Sat Nov 30, 2013 2:23 pm
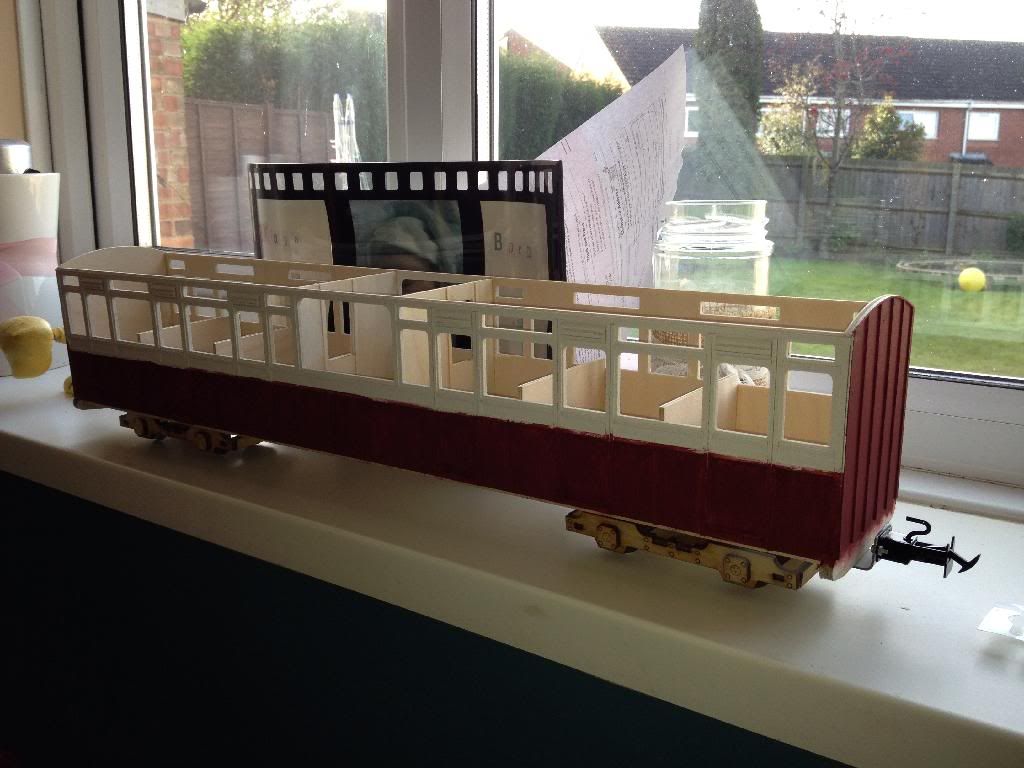
More progress
-
Dannypenguin
- Trainee Driver

- Posts: 632
- Joined: Tue Feb 26, 2013 9:57 am
- Location: Forest of Dean, UK
-
Contact:
Post
by Dannypenguin » Sat Nov 30, 2013 2:28 pm
I seemed to have missed the last couple of updates and I must say, they look impressive!
-
Matt
Post
by Matt » Sat Nov 30, 2013 2:35 pm
Looking good.
-
MTA
Post
by MTA » Sat Nov 30, 2013 2:35 pm
In a word, 'wow'.
As the L&B is my favourite NG prototype I've been following this topic closely.
Have you considered making these commercially available? I'd certainly be interested in some...
-
METHSSNIFFER
Post
by METHSSNIFFER » Sat Nov 30, 2013 5:57 pm
Whats the best protection for wooden bogies against damp moisure and the wet especially when its ply and prone to warping.
-
LnBmad
Post
by LnBmad » Sat Nov 30, 2013 6:22 pm
I'm coating them in acrylic wood varnish and them painting them matte black followed by another coat of varnish. Make them water tight that way. Warping is prevented by the spacers fitted either end and centrally.
Who is online
Users browsing this forum: No registered users and 3 guests