MDLR Director's Saloon

Discussion of Rolling Stock related topics should go here
Post Reply
MDLR

MDLR Director's Saloon

Post by MDLR » Sun Jan 30, 2011 12:45 pm

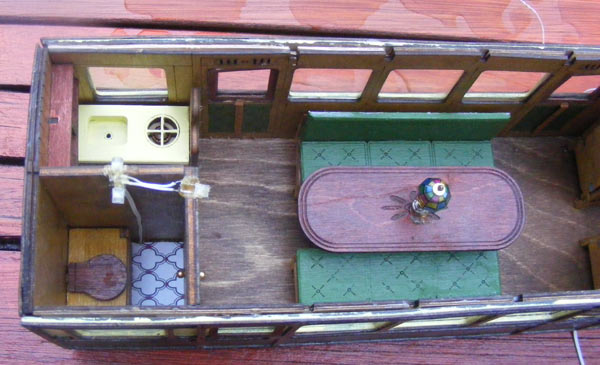
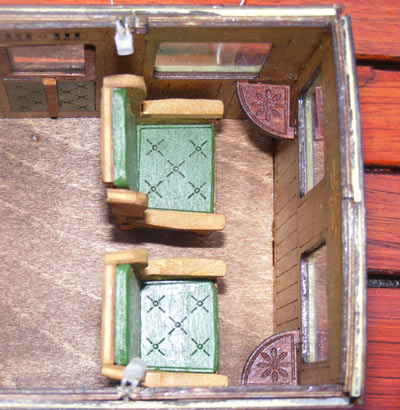
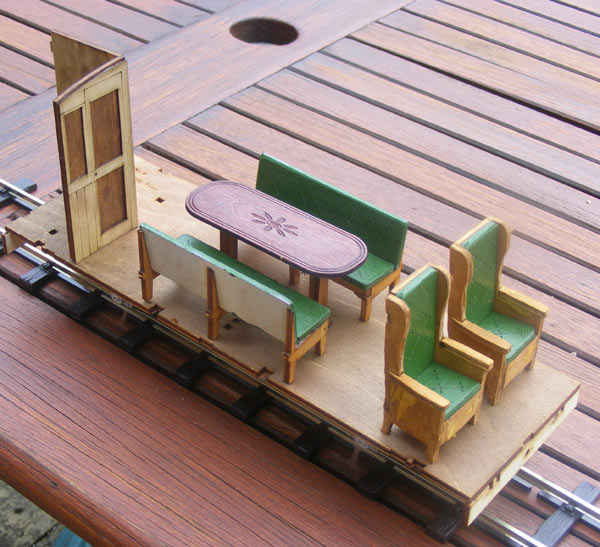
I've finally made a start on this - only had the kit since last May!

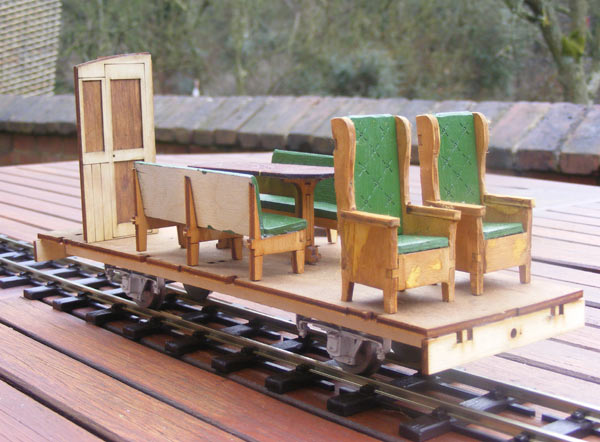
Image

Image

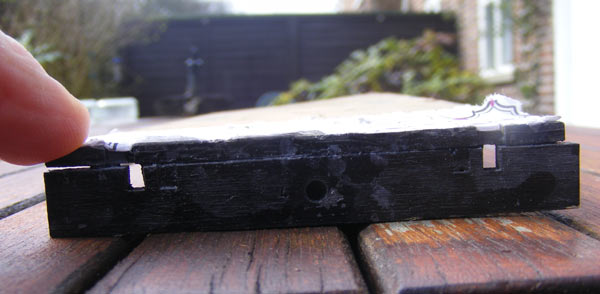
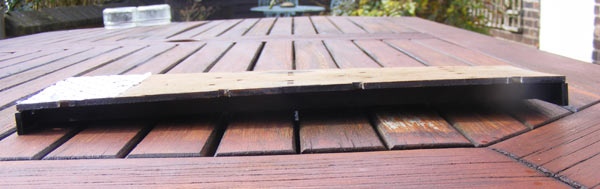
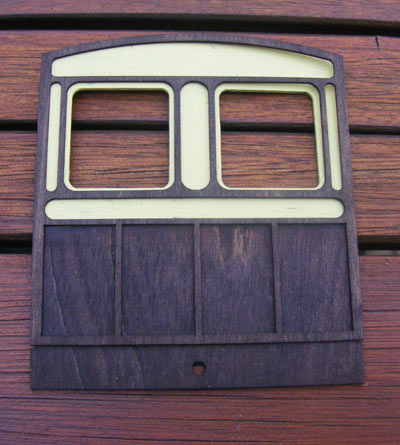
The pictures show the progress so far - more-or-less all the parts have been stained or painted - only the seats, table and underframe have been glued together - the parts (and the toilet bulkhead) haven't been glued to the floor yet, as the next job is to spray paint the underside - easier when there's nothing attached to it!

Some of the layers that make up the ends are currently "going off" between two sheets of plate glass in the workshop.

laalratty

Post by laalratty » Sun Jan 30, 2011 9:21 pm

Nice one Brian, thanks for these pics it will help greatly with the interior of mine! I'm just coming up to that stage, having pre-painted the body and assembled 3 sides of it on the floor today. Looks like you are doing the total opposite to me. Must get some pics up... :roll:

WVLR

Post by WVLR » Sun Jan 30, 2011 9:58 pm

It's looking very nice Brian, can't wait to see the photos of the finished coach.

MDLR

Post by MDLR » Sun Mar 13, 2011 12:37 pm

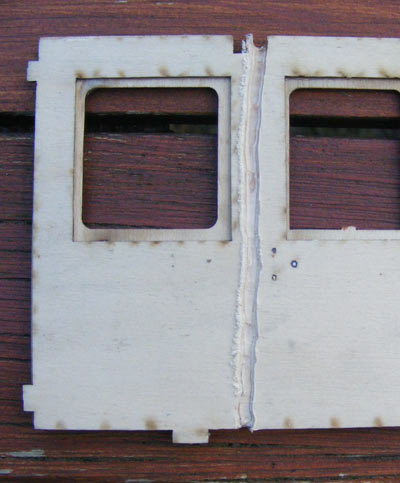
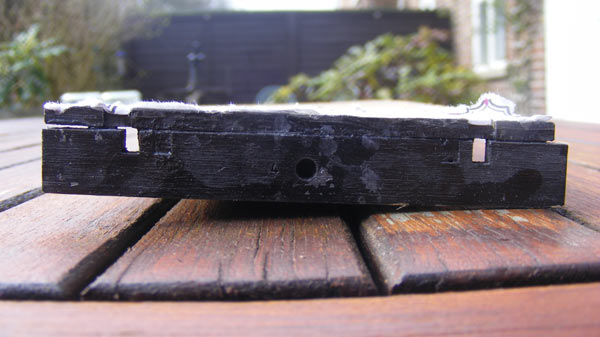
Not done a lot on this recently, because of THIS..........

Image

Image

Image

As you can see, I'd got a MAJOR problem, but those NICE people at Brandbright supplied me with all the relevant bits to rebuild "under the floor".

The outer overlays were glued in place a week or so ago, and I've put the transfers on (it seems YEARS since I'd done that) and given three sides two coats of varnish this morning..........

User avatar
andysleigh
Driver
Driver
Posts: 1362
Joined: Thu Oct 18, 2007 6:21 pm
Location: Guildford
Contact:

Post by andysleigh » Sun Mar 13, 2011 1:06 pm

ahhh warpage problems

i should know all about them :?
Image

MDLR

Post by MDLR » Sun Mar 13, 2011 5:28 pm

MDLR:50143 wrote: As you can see, I'd got a MAJOR problem, but those NICE people at Brandbright supplied me with all the relevant bits to rebuild "under the floor".....................
...................except I've come to start on rebuilding, to find that THIS floor's warped AS WELL!!

Tom

Post by Tom » Sun Mar 13, 2011 5:39 pm

I must have missed this thread before, looked great before :D but I dont know what to say now :? :D I had a major warping problem on my VoR coach and its still pretty visible :(
laalratty

Post by laalratty » Sun Mar 13, 2011 8:21 pm

Absolutely gutting Brian, was wondering how you were getting on. My floor didn't warp however because it is kept in the lounge where I do my modelling... :lol:

MuzTrem

Post by MuzTrem » Sun Mar 13, 2011 8:22 pm

I built an IP cattle wagon with a warped floor once...my friend's father simply removed the metal roof, then poured boiling water on the wagon and used simple brute strength to bend the whole body back into shape! It was then masking-taped firmly to a level plank of wood to ensure it set properly. That wagon is still running reliably today! :)

MDLR

Post by MDLR » Mon Apr 18, 2011 8:23 pm

I have now got a floor which has only got a TINY warp in it - once the track's relaid I'll crack on!

MDLR

Post by MDLR » Tue Oct 04, 2011 12:49 pm

Right, well, time for an update........................

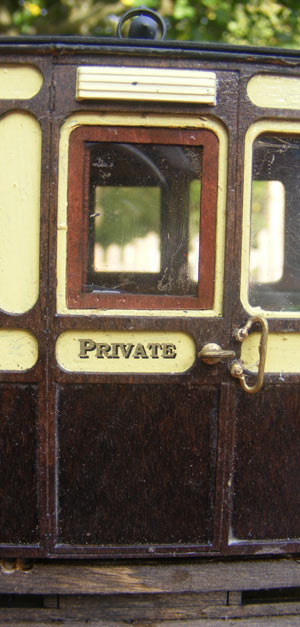
I decided on a livery, with some cream to relieve the stained wood.......

Image

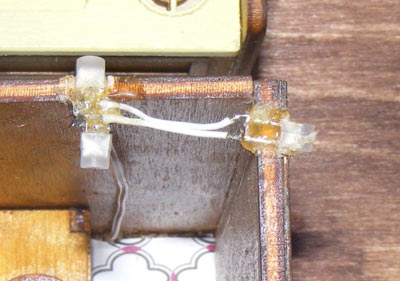
I cut a groove in the "glazing" layer of the sides, so I could run wires through it for the lighting................

Image

So when I started assembly...................

Image

................... the lights went in!

Image

Sorting these three out was a RIGHT nightmare!

Image


I've just realised I haven't got any pictures of the completed vehicle - more this evening!

Pendo Pilot

Post by Pendo Pilot » Tue Oct 04, 2011 1:21 pm

Looking really good Brian, the lighting runs are superb.

MDLR

Post by MDLR » Tue Oct 04, 2011 2:56 pm

It's a lot easier with a multi-layered coach side where you can do that - wiring IP coaches with a single skin you have to hide the runs up to roof level as best you can - stretching the wire and fixing with hot glue is my favourite method, unless I'm lining the coach myself.

It's going to be a right dear with the tiny 4-wheelers for Flagg Fluorspar!

MDLR

Post by MDLR » Tue Oct 04, 2011 8:17 pm

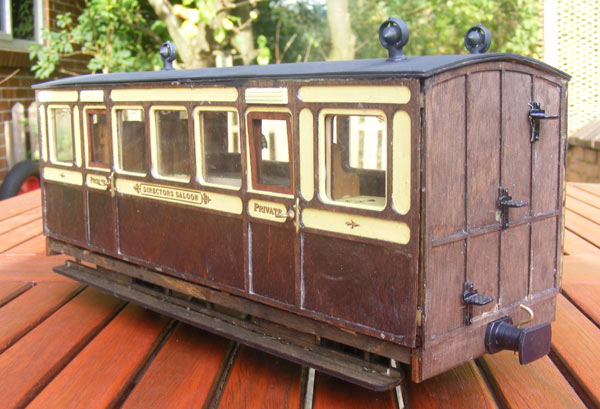
Image

With the mahogany droplight frames added..........

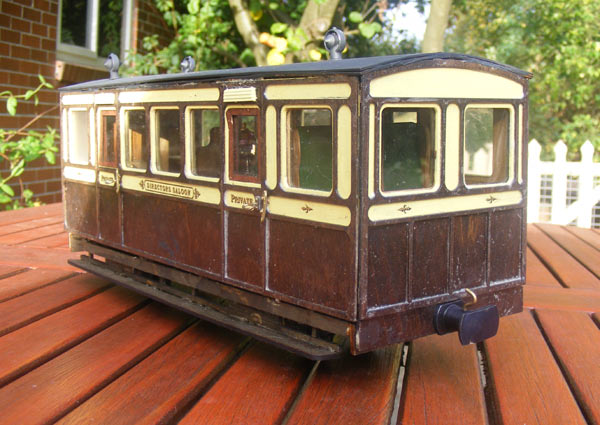
Image

........... and all the other details.............

Image

........ it don't look too bad.

I honestly think I haven't done justice to this kit - the varnish was over-done and by not assembling the sides and ends like wot Mr Longley tells you to the end result isn't as good as I would've liked.

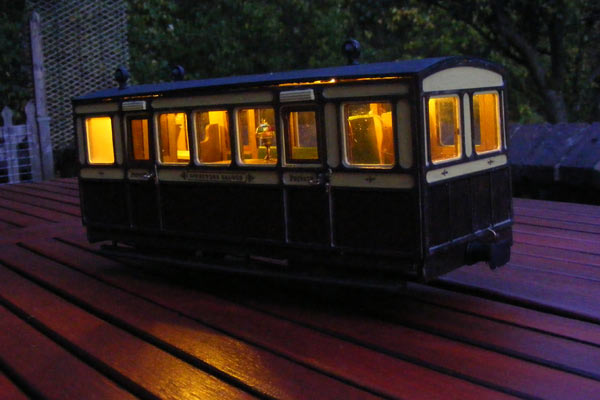
Image

It looks nice at night, though!

MuzTrem

Post by MuzTrem » Tue Oct 04, 2011 8:47 pm

Very nice indeed! It's certainly true that close-up photos expose a few weak points (just as they would for most of my own rolling stock!), but my own philosphy is that as long as it looks right from "normal viewing distances", then it is right ;)

taliesin001

Post by taliesin001 » Tue Oct 04, 2011 9:03 pm

Very nice, I really like the varnish and cream finish

Narrow Minded

Post by Narrow Minded » Tue Oct 04, 2011 9:22 pm

I too am a subscriber to the "Normal Viewing Distance" standard of modelling - the camera's close-ups can be very harsh :oops:
Nice addition to the fleet and I look forward to seeing it (at normal viewing distance!):D

BTW Are the "Directors Saloon" transfers available seperately?

R31 Mark

Post by R31 Mark » Wed Oct 05, 2011 4:09 am

Looks great! :D

MDLR

Post by MDLR » Wed Oct 05, 2011 11:52 am

Narrow Minded:59614 wrote:BTW Are the "Directors Saloon" transfers available separately?
Dunno - it'd be worth a call to ask the question.................

Post Reply

Who is online

Users browsing this forum: No registered users and 45 guests