The next thing to show you all is probably the boiler.
Here it is, complete with cleading and brass boiler bands all made by joe:
 DSC_0060
 by
simon mace, on Flickr
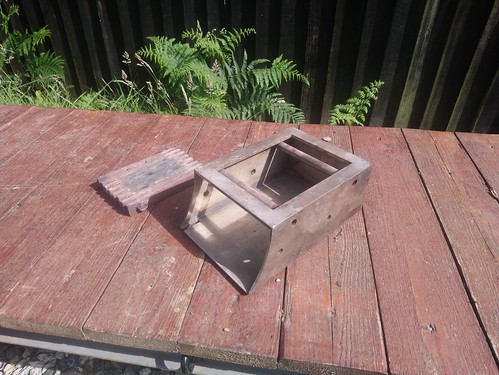
The dome cover was a bit of an issue, as this large part was missing from the original pile of bits. Fortunatley Joe managed to find a suitable one intended for a different engine (of the same boiler diameter).
It had to be machined to allow the safety valves to vent. It is a thick iron casting, so adds some extra adhesive weight.
This shot shows the backhead:
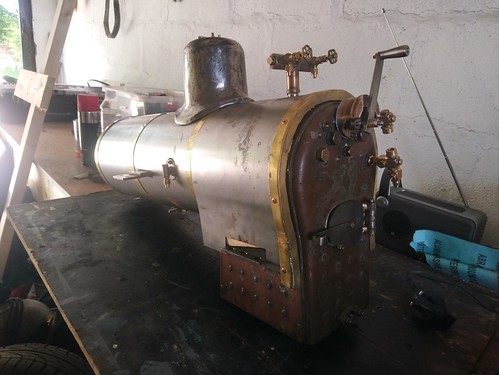 DSC_0058
 by
simon mace, on Flickr
As you can see, the boiler is all copper (so will hopefully have a long working life), and has a nice deep firebox and large firedoor, which make it a very easy boiler to manage.
The regulator handle is machined from stainless steel, and is a little overscale (at my request).
The fittings into the boiler itself are all bronze, with commercial valves etc. so I can maintain / replace them when needed.
Another change from the original design drawings is the steam turret. The drawings call for a crosshead driven water pump, and a single injector that takes steam from a valve on the side of the dome (an awkward reach).
As my loco will run mostly in short bursts around the garden, the pump would not be that useful (would be better on a long club track), so instead I requested a pair of injectors. The steam turret carries four valves; the blower (centre), the two injector feeds (left and right), and the whistle valve (mounted horizontally at the right hand end). All withing easy reach when driving, and fitted with beautiful scale handwheels.

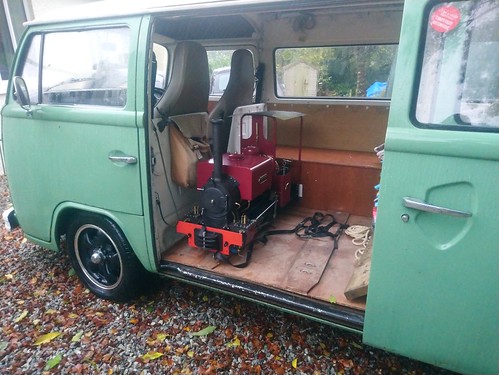
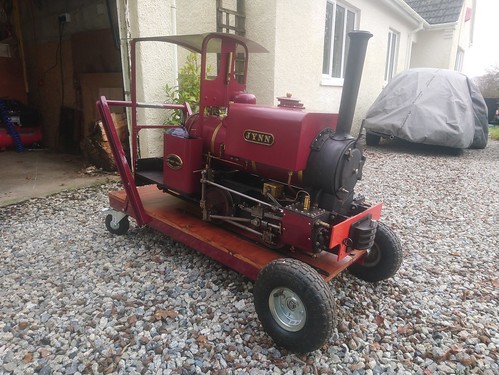
 20180410_185648 by simon mace, on Flickr
 FB_IMG_1528570542490 by simon mace, on Flickr
 FB_IMG_1528570549790 by simon mace, on Flickr