

I have some anthracite that I want to put into the bunkers now they are painted gloss black (with a bit of weathering to show dust) and have tried the PVA 50/50 with water and washing up liquid on a plywood base method with no success. I left it over night, however, none of the coal stuck to the base or other pieces of coal.
Does the solution need to be very thick with PVA or am I doing something wrong?
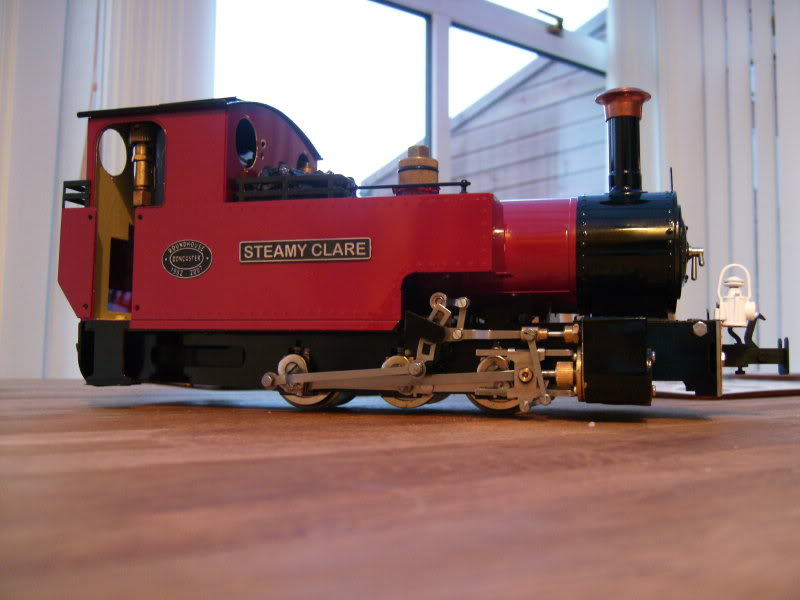
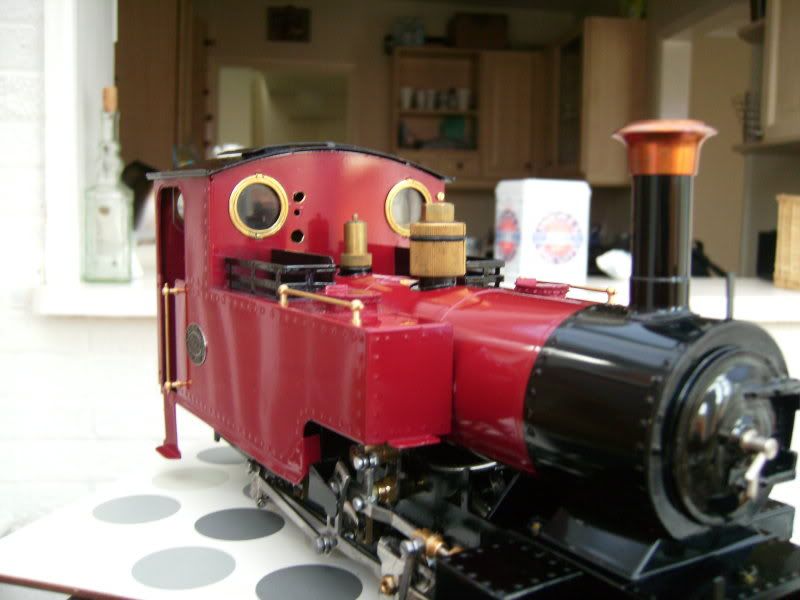
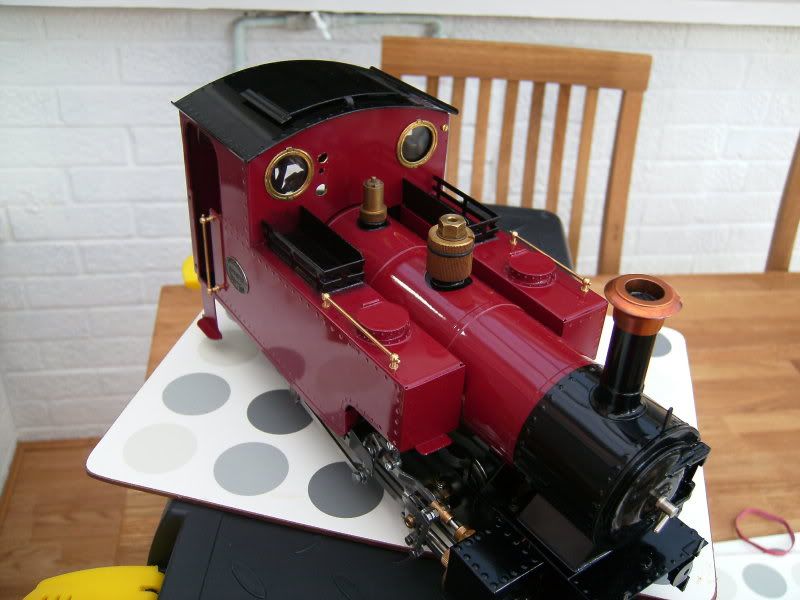
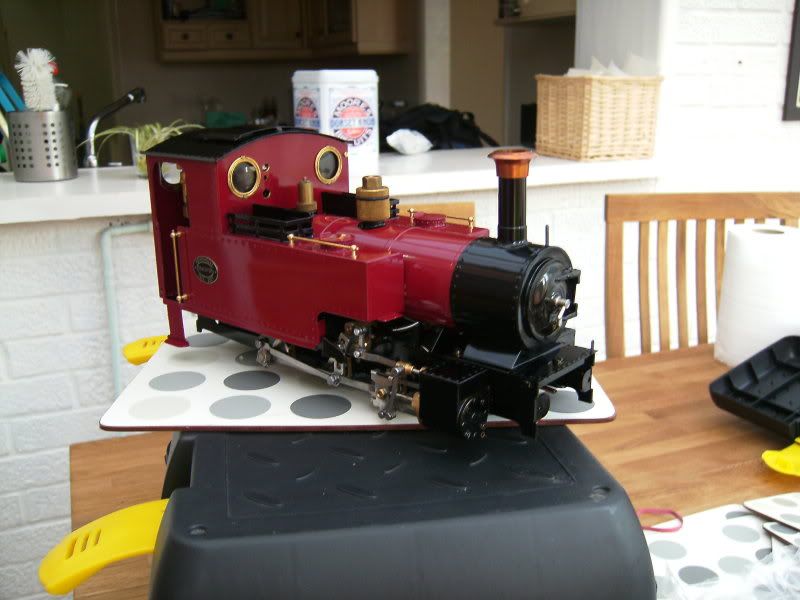
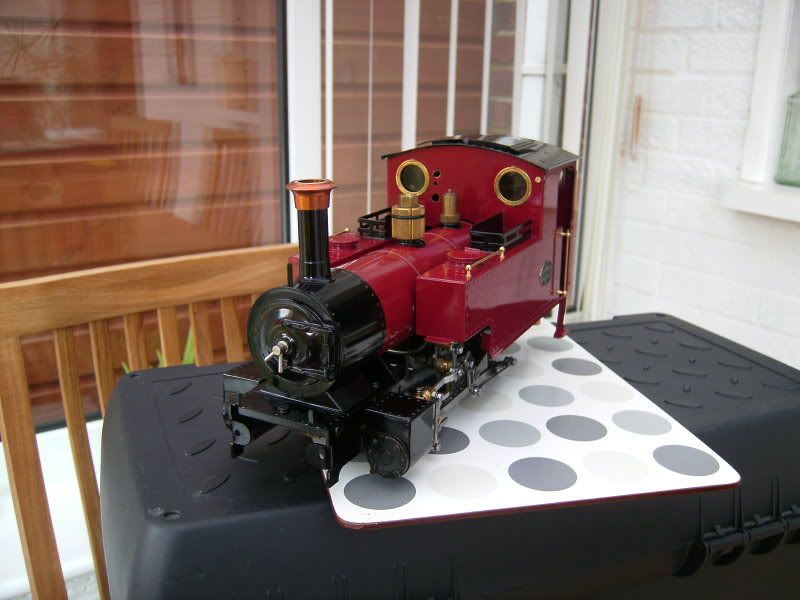
I found painting the bunkers was a bit of a pain with just using normal Humbrol enamel black so should I of rubbed it all down and primed it? Or do people mask their bunkers off and spray them?
Cheers,
Tom