Page 1 of 3
Posted: Thu Jan 20, 2011 7:01 pm
by Sir Clothem Cap
Warren is a boys name too

I'm glad he arrived safely Welcome to the live steamers owners group

Posted: Thu Jan 20, 2011 7:29 pm
by Hancockshire
Posted: Thu Jan 20, 2011 7:31 pm
by Sir Clothem Cap
I thought angus was a blokes name thats why I was confused
anyway I'm glad your chuffed (pun intended
)
Posted: Thu Jan 20, 2011 7:34 pm
by Hancockshire
Sir Clothem Cap:46924 wrote:I thought angus was a blokes name thats why I was confused
anyway I'm glad your chuffed (pun intended
)
I was 'chuffed' with it when I sent the money off
Posted: Sat Jan 22, 2011 10:16 am
by Sir Clothem Cap
I presume that by one modification to use her with your stock you mean the couplings.
If you slightly open a link on a 3 link chain it fits in the hook on the standard mamod coupling. I do have 2 converted to pin and bar and am terrified of losing the pins.
Posted: Mon Apr 11, 2011 4:00 pm
by Hancockshire
After several months, I will get round to giving her a run. Just need fuel & new port face gaskets. One question though, should I use a sealant to ensure the gaskets don't leak?
Posted: Mon Apr 11, 2011 4:18 pm
by Sir Clothem Cap
I have always used steam oil on both sides of the gasket to ensure it is sealed but don't know what others recommend.
By the way the lettering on the smoke box door was added by me too.
Posted: Mon Apr 11, 2011 6:09 pm
by Hancockshire
I've fixed the number with some gloss black paint. Thanks for that help
Posted: Wed May 25, 2011 6:33 pm
by Hancockshire
I got some gaskets & fuel for her & I gave her a stationary run. What a sweet running little engine. She's more than my baby now, she's my little champion. I also removed the dumb buffers I added & put the original couplings back on. Can't wait to give her a proper test run
Posted: Wed May 25, 2011 7:52 pm
by Sir Clothem Cap
I glad you have run her after all this time. You will find that setting it to go at a reasonable speed on straights and corners is a bit of an art form. its always better to need to open the valve more until it runs at something reasonable rather than throttle wide open and jump off on bends. Enjoy
Posted: Wed May 25, 2011 9:08 pm
by Hancockshire
I will. I am considering getting a rubber sleeve for the lever because that gets hot, very hot. Either that or buy gloves
Posted: Wed May 25, 2011 9:10 pm
by Sir Clothem Cap
Yes good idea well worth it.
Posted: Wed May 25, 2011 9:37 pm
by Hancockshire
Plus it's only 90p
Posted: Thu May 26, 2011 3:19 pm
by made-in-england
OR... Beg/Borrow a short length of sillicone tubing to slide over the top... does the job just aswell
Posted: Thu May 26, 2011 3:45 pm
by Hancockshire
made-in-england:54053 wrote:OR... Beg/Borrow a short length of sillicone tubing to slide over the top... does the job just aswell
Too late. I'm going to experiment with a drinking straw. I've cut it so I can't burn my finger(s) on the tip & also spray painted it black. I've also resprayed the cab handrails & they look very smart. Another update, I've started to paint the inside of the cab to make it look more like a real engine. The bottom half is black & the upper half is cream. Just waiting for it to dry so I can varnish it & make it all glossy. Pictures will come once it's done. I'm also considering on it's new livery of maroon with black tank tops & ends. Maybe even give it some thick black lining with a small yellow pin stripe. All this means lots of painting, masking & varnishing. I would buy the loco lines kit but I fancy like giving it a go. Just need to locate my maroon paint or go & buy a tinlet from a small model shop in the town. I was also looking at plastikote paints (I used the black from their range on several models) & considering the metallic red. A bit too garish I think
Posted: Thu May 26, 2011 5:57 pm
by Dr. Bond of the DVLR
some heat shrink tubing for electronics is a better idea than a drinking straw which could melt...
Posted: Fri May 27, 2011 4:37 pm
by Hancockshire
... as I found out today
I steamed the engine up to see if the paint I put in the cab could survive & I'm glad to say, it did! I also tidied the boiler & I didn't need specialised paint. I used Humbrol & coated it in gloss varnish. I found out that this works after painting the flywheel on my SEL in matt red. In steam it came off on your fingers but put the varnish on, it stops. I shall see about heat shrink. I'll head down to Homes & Gardens & see what they've got but I'll think I'll dig around the house to see if I've got anything that'll work
Posted: Fri May 27, 2011 8:56 pm
by Hancockshire
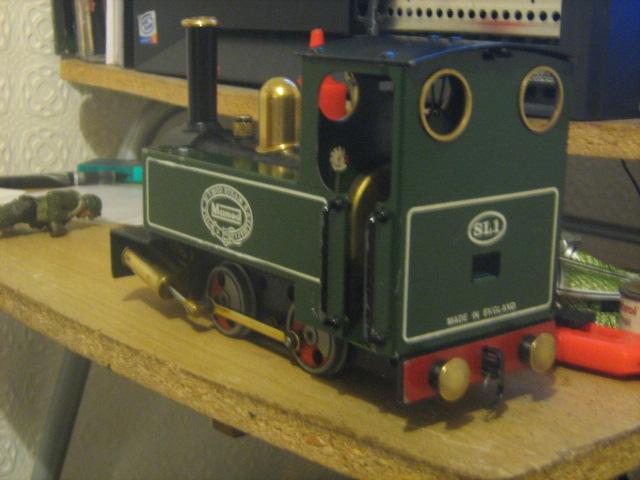
This is how my little baby looks now

She looks pretty average at first, but when you have to remove the back of the cab, that's a different story

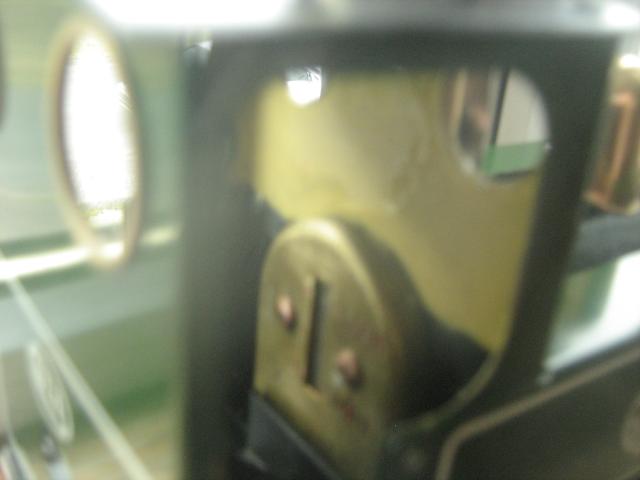
As you can see, the upper half of the cab is painted in cream & the bottom half is black with a protective gloss varnish (all Humbrol paints which, when used with the varnish, is heat resistant). I recall seeing these colours on real locos & wanted it on me Mamod. Wait, there is more
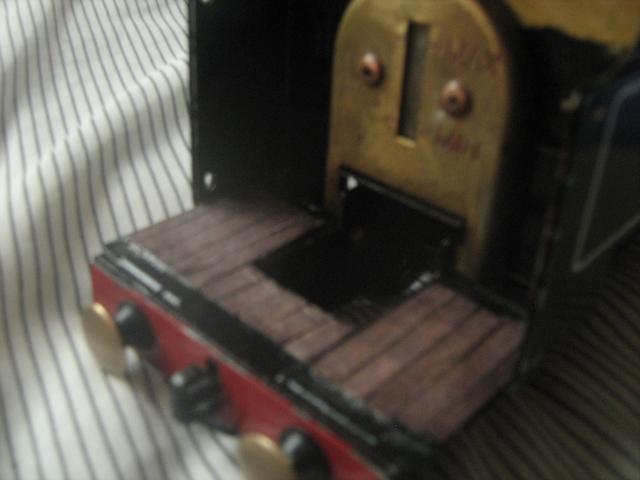
A wood effect floor. It is just three pieces of card given the same wood stain treatment as my VoR coach & the planks are defined with a biro. It also has been glossed

As proven in this photo, it does not foul the burner.

A shot of what it looks like when you're gazing inside
Also, to protect the fingers during operation...

A protector sourced from a soap dispenser (the little pipe that sucks the soap up). I tested a small piece under a blue flame & it took some time before it started to melt but it still held it's form very well. Now I guess that the lever would never be as hot as a blue flame so I call that a success. It has been slightly melted at the tip so it won't foul the operation & give extra leverage on the valve. Whether this makes the engine easier to control is yet to be seen. Because I melted it at one end, it has a good grip on the lever so there's no chance of losing it in transit.
Next stage will be the main repaint & the repaint of the wheels. I will get the paint as soon as I get my pocket money
Posted: Sat May 28, 2011 7:53 am
by LMS-Jools
Lookin Good and theres nowt wrong with experimenting with ideas.

Part of the Fun if you are so inclined.