D&FGR Loco Mods!

What is your latest project?
Post Reply
User avatar
DolwyddelanLightRail
Driver
Driver
Posts: 2579
Joined: Tue Sep 29, 2009 7:27 pm
Location: Lost

D&FGR Loco Mods!

Post by DolwyddelanLightRail » Wed Apr 14, 2010 9:45 am

Well, originally i wasn't meant to work on her at all this Easter, but seeing that she has failed in one way or another this holiday, i took her in early, and work has begun!  :D

Image

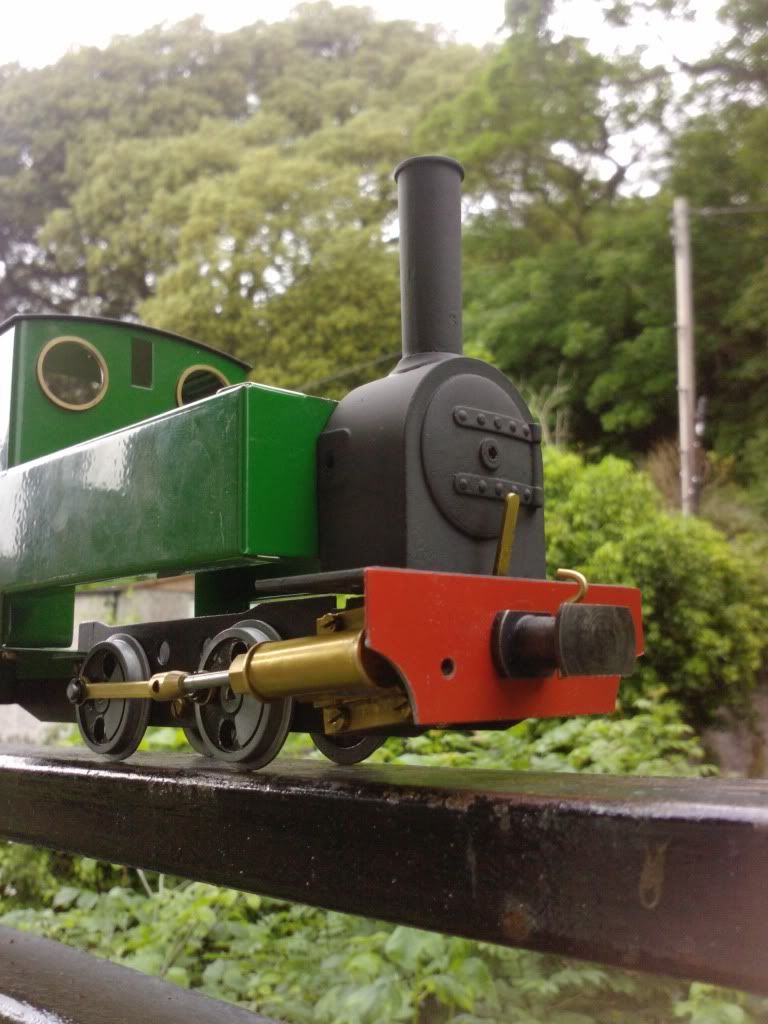
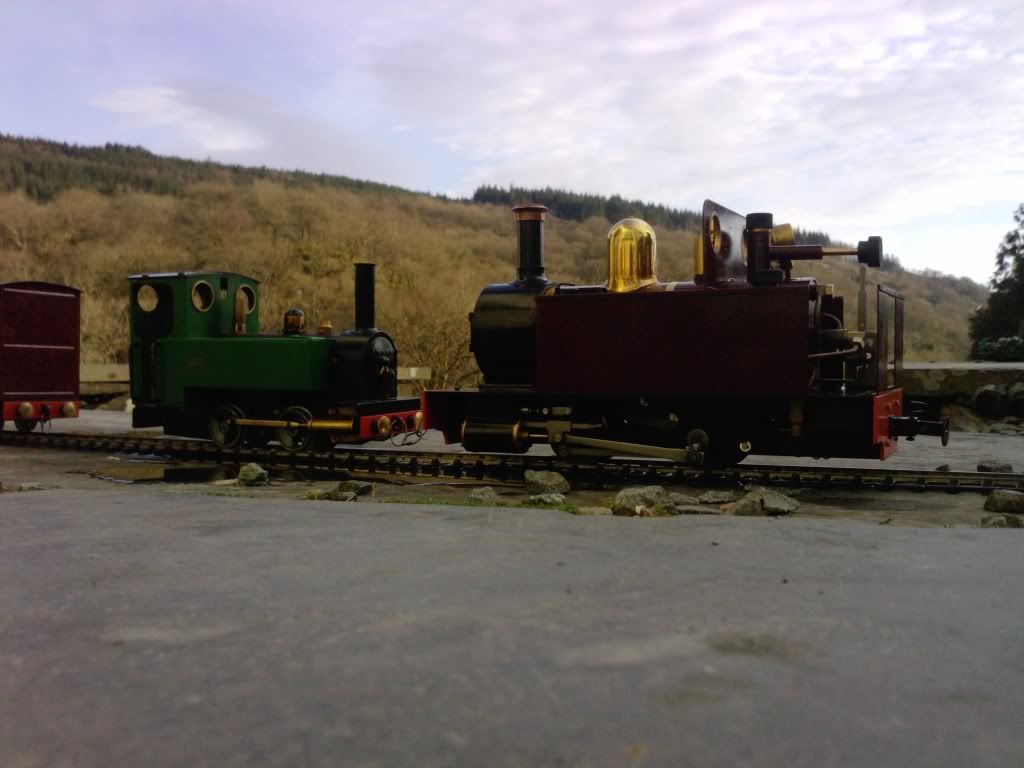
Pheonix preparing to drag the dead loco to Fron Goch workshops

Image

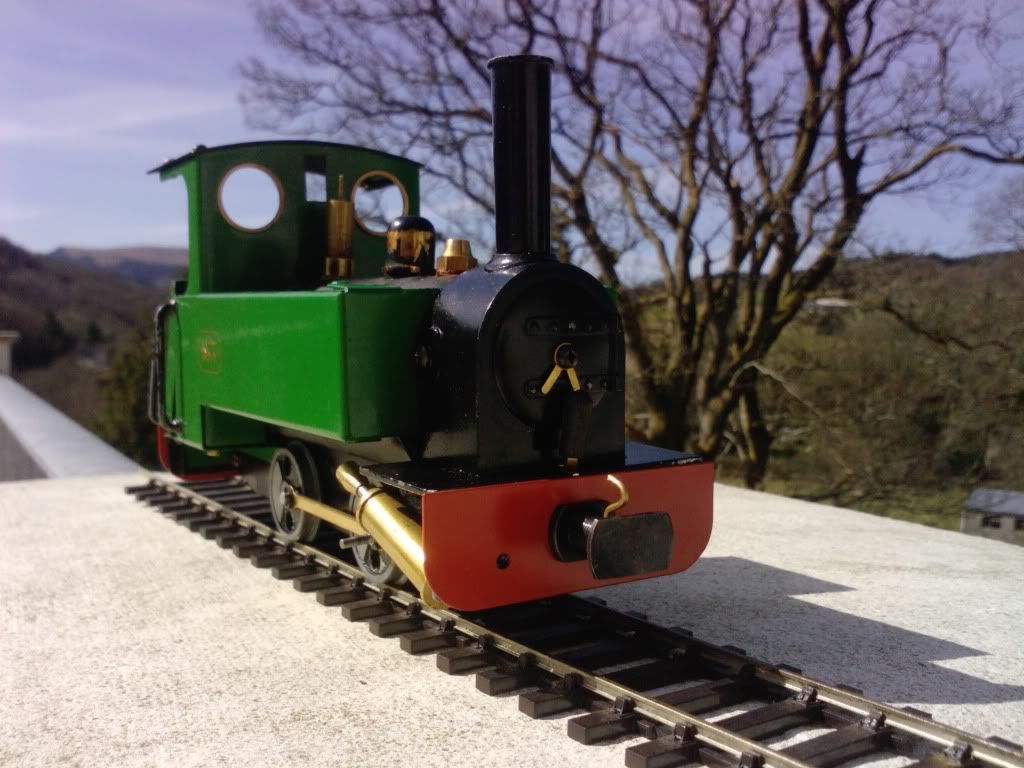
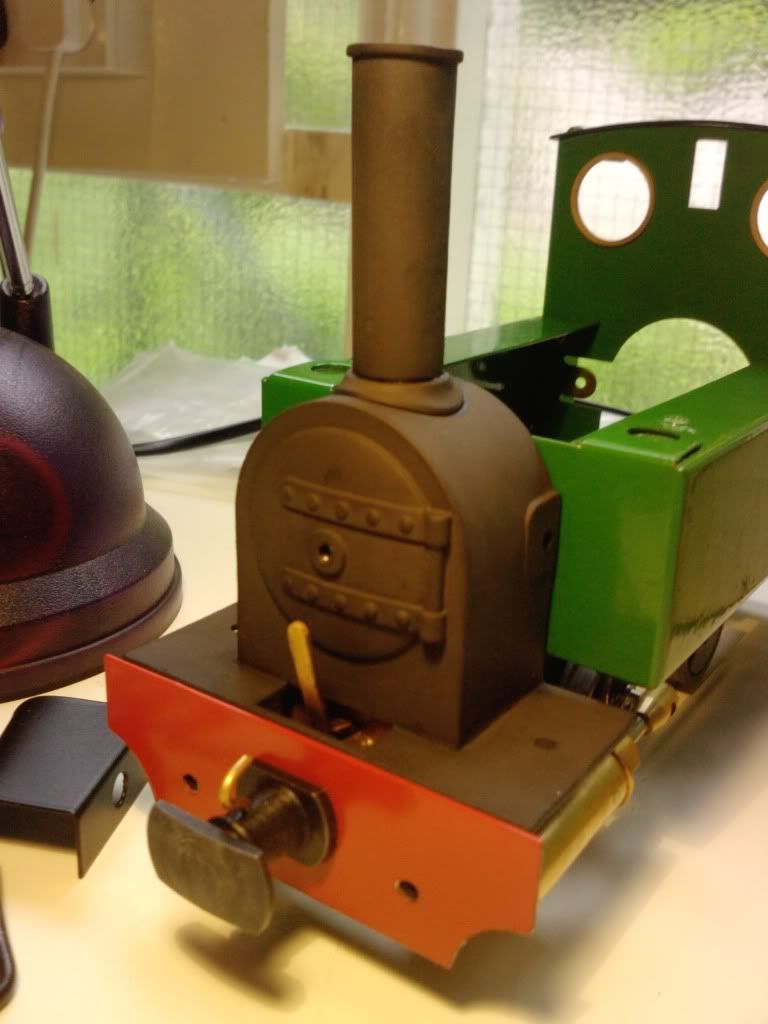
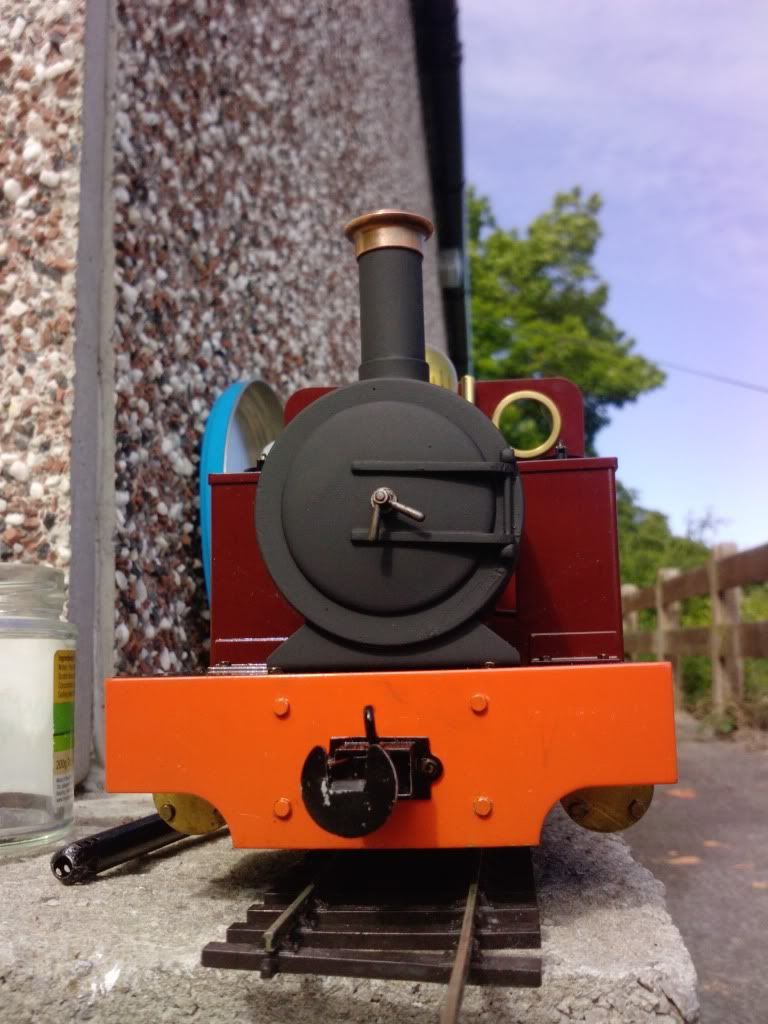
Her the next day in the sunshine (Yes i know the buffer beam is wonky!)
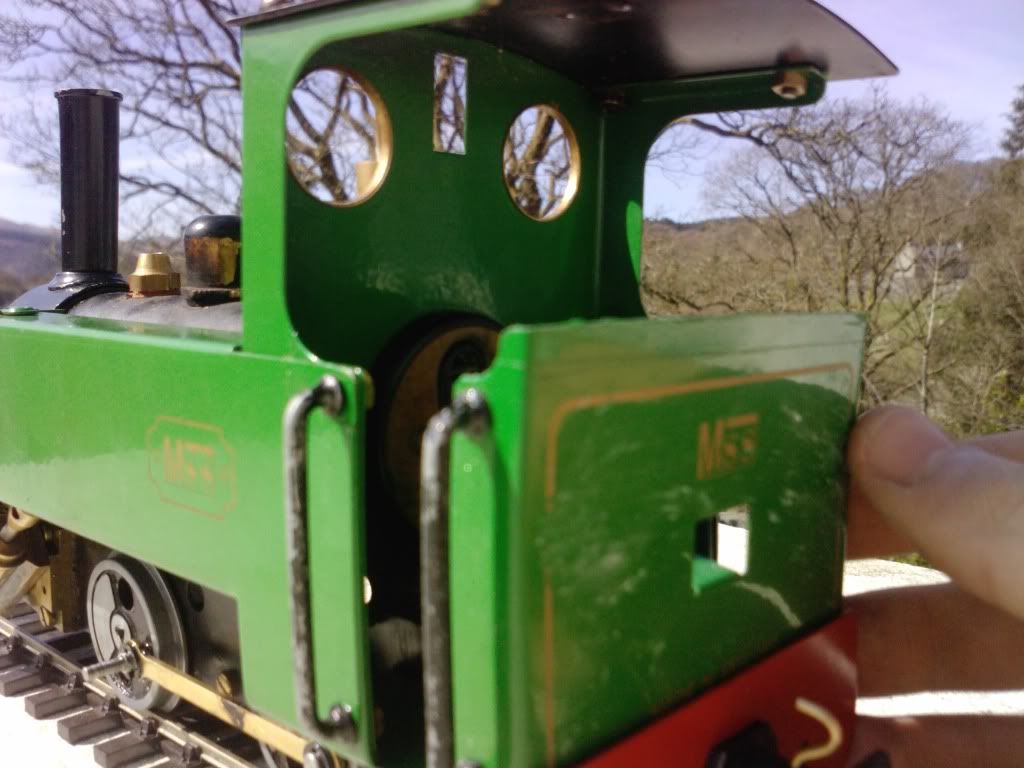
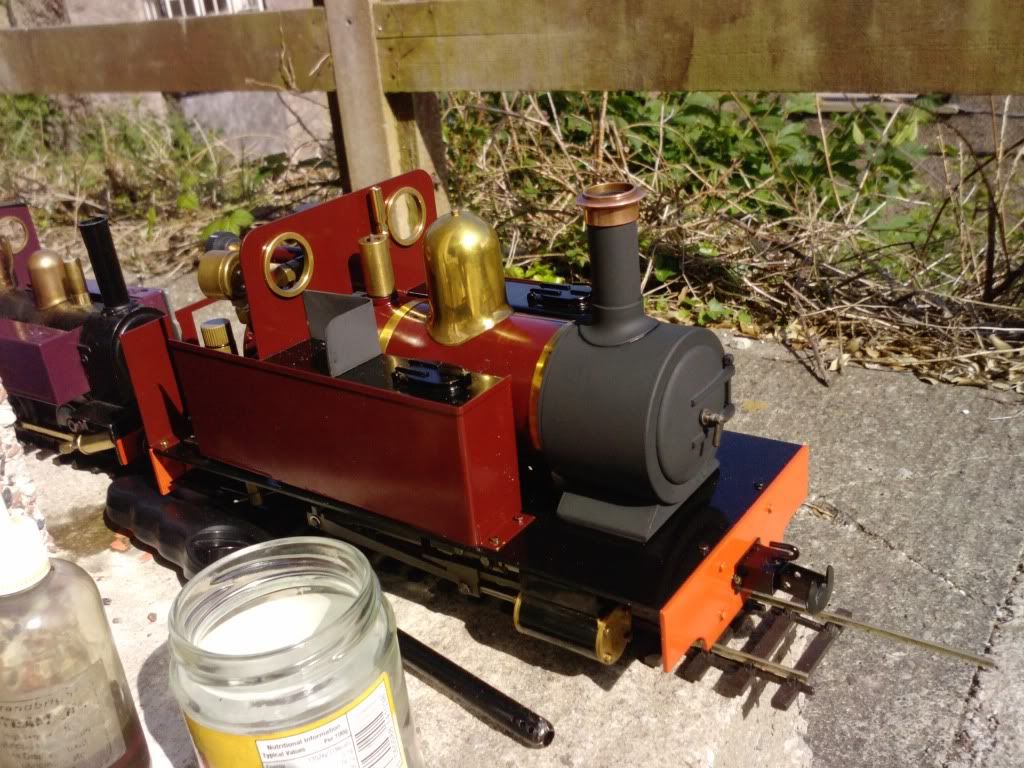
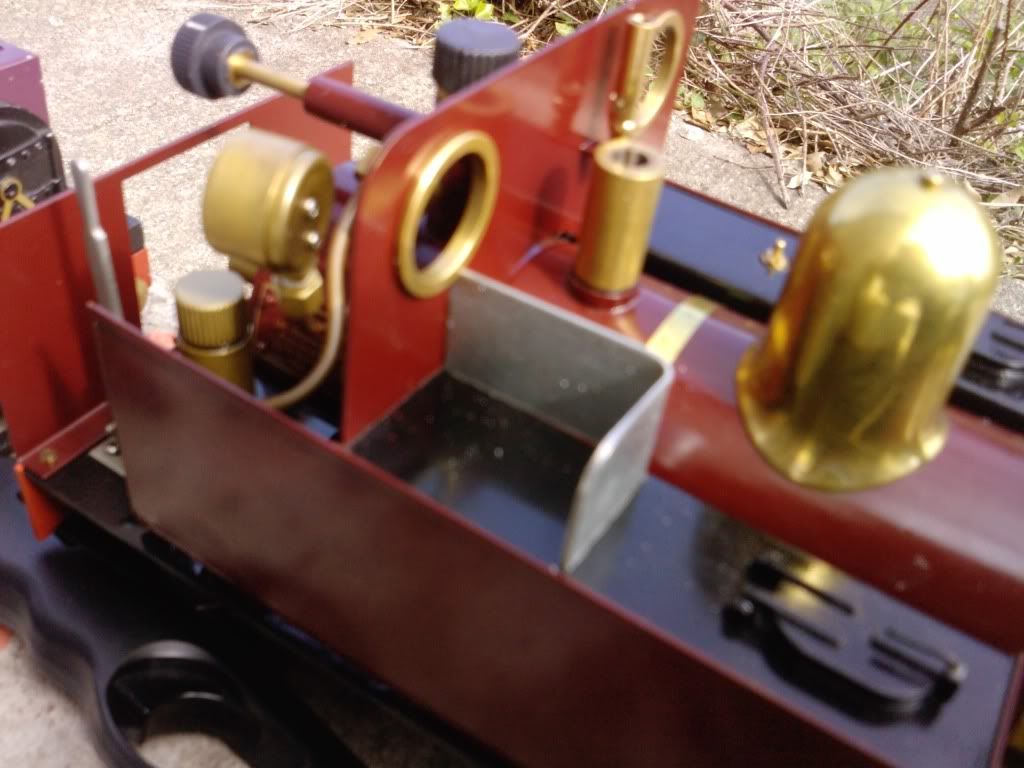
Image

and the new cab!

Image

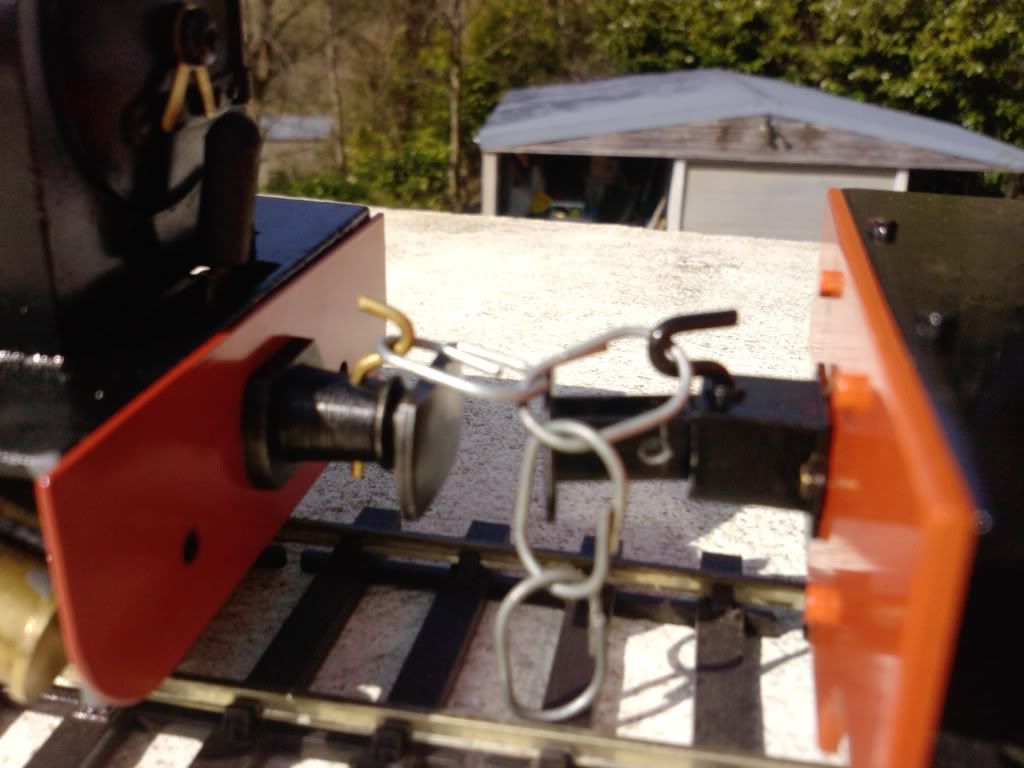
and the buffer beam is level with Pheonix's  :D  which i like!

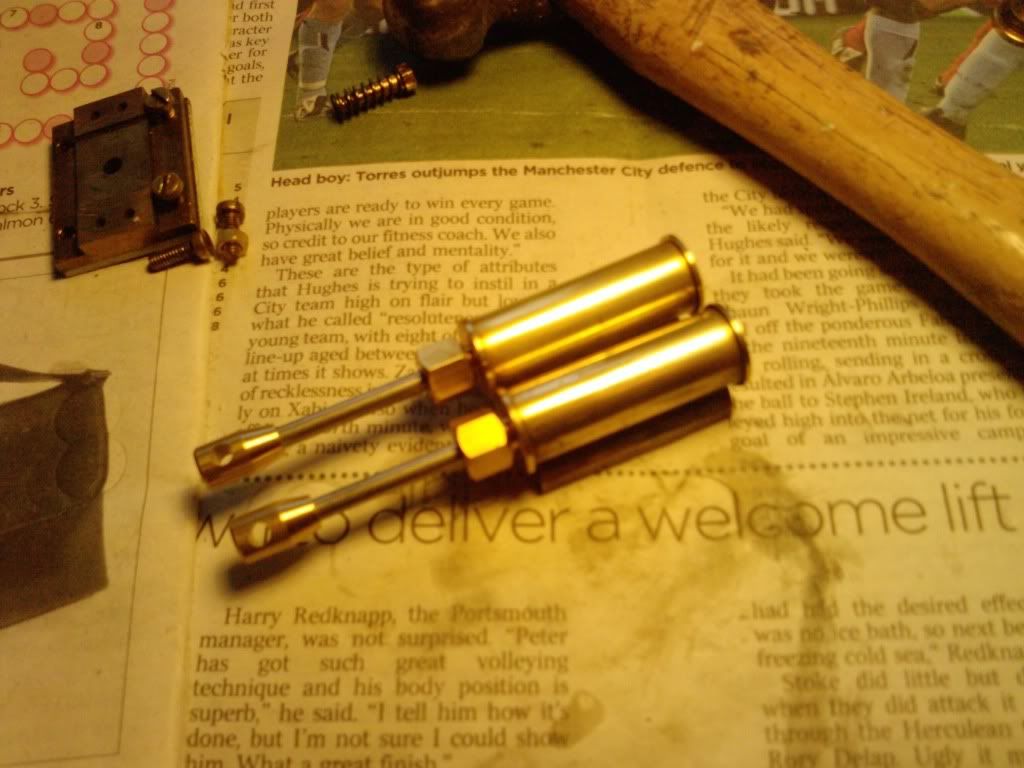
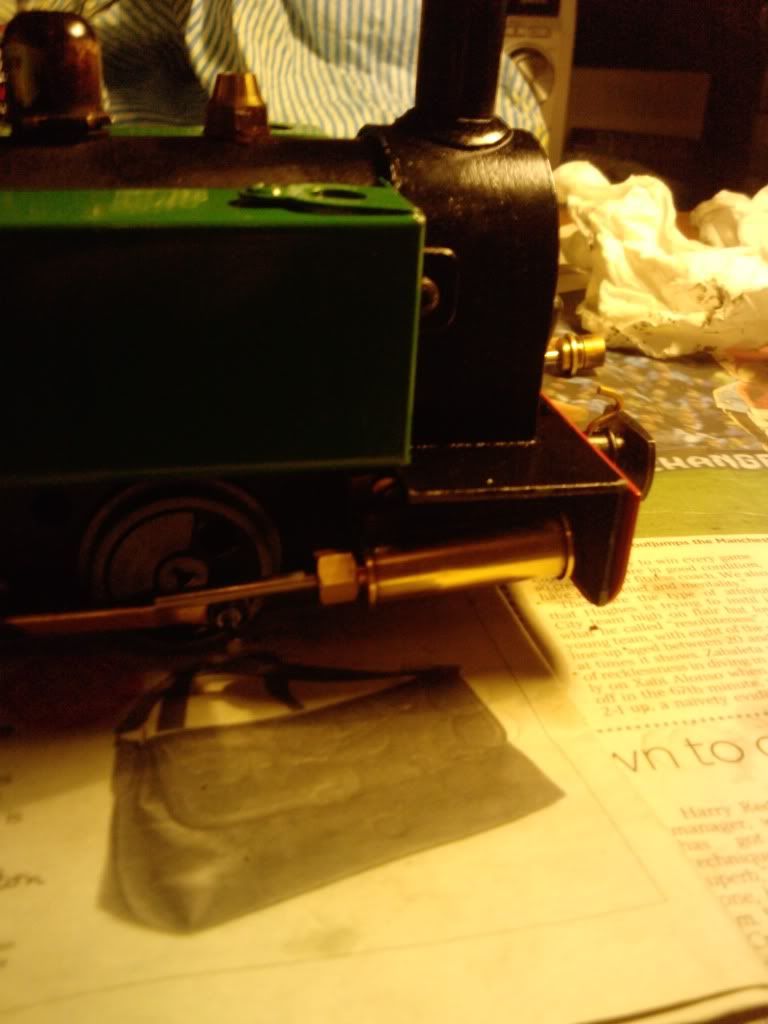
Yesterday i attached the cylinder covers, but i have managed to do all i can with the tools i have so far, so i can't progress any further!  :evil:  :evil:  :evil:  :evil:
Last edited by DolwyddelanLightRail on Fri Jun 11, 2010 5:33 pm, edited 1 time in total.

User avatar
Dr. Bond of the DVLR
Retired Director
Retired Director
Posts: 4485
Joined: Tue Jun 09, 2009 9:43 pm
Location: Suffolk
Contact:

Post by Dr. Bond of the DVLR » Wed Apr 14, 2010 9:48 am

Looks like a productive holiday! You might end up with a really great loco after all that hard work!
Image
The railway which people forgot
(to build)

made-in-england
Trainee Driver
Trainee Driver
Posts: 826
Joined: Tue May 13, 2008 4:22 pm

Post by made-in-england » Wed Apr 14, 2010 11:45 am

Cool stuff!

As a non accy or roundhouse man ... I still think that by playing around with mamods you will learn alot...
Passengers are reminded not to tease the engines

User avatar
Hancockshire
Driver
Driver
Posts: 1204
Joined: Tue Apr 14, 2009 11:06 am
Location: Stranraer
Contact:

Post by Hancockshire » Wed Apr 14, 2010 7:43 pm

Lookin' great
Image

User avatar
DolwyddelanLightRail
Driver
Driver
Posts: 2579
Joined: Tue Sep 29, 2009 7:27 pm
Location: Lost

Post by DolwyddelanLightRail » Wed Apr 14, 2010 9:20 pm

Well, so far the biggest achevement for me yet, i have actually managed to put the gland nuts etc on the piston! :D and yes, as you said made-in-england, i must say i have learn a bit all ready! :D
Image

the two pistons!

Image

and on the loco

Does anyone know how to put the things that attach to the connecting rod on, is it by a glue of some form? :?

(Oh, and are they meant to be quite insanely stiff? as they are!)

mhlr
Retired Director
Retired Director
Posts: 4336
Joined: Sun Oct 21, 2007 8:16 pm
Location: Shropshire, England

Post by mhlr » Thu Apr 15, 2010 1:10 am

DolwyddelanLightRail wrote:Does anyone know how to put the things that attach to the connecting rod on, is it by a glue of some form?  :?

(Oh, and are they meant to be quite insanely stiff? as they are!)
By that, do you mean the 'C' clips that go on the crank pins? Yes they can be stiff, I use pliers or a special tool I found for holding them open.
Image

Narrow Minded
Driver
Driver
Posts: 4650
Joined: Wed Dec 30, 2009 2:27 pm
Location: Forgotten Realms
Contact:

Post by Narrow Minded » Thu Apr 15, 2010 3:30 am

If you mean the piston rod connectors (which are present in the "pair of pistons" photo but not on the "and on the loco" shot), the're a pressure fit - hold the piston rod and tap them on.

If the pistons are "insanely stiff" in the cylinders, make sure you haven't overtightened those gland nuts, which will "squeeze" the O ring making it grip the piston rod.
I slacken mine right off when they're new and gradually tighten them up as part of the running in procedure.

Hope this helps :D

Edit: when I say "hold the piston rod" don't clamp it up in a vice or grip it with pliers or anything which could mark or score the rod!!!!
Image

User avatar
DolwyddelanLightRail
Driver
Driver
Posts: 2579
Joined: Tue Sep 29, 2009 7:27 pm
Location: Lost

Post by DolwyddelanLightRail » Thu Apr 15, 2010 9:32 am

Narrow Minded wrote:If you mean the piston rod connectors (which are present in the "pair of pistons" photo but not on the "and on the loco" shot), the're a pressure fit - hold the piston rod and tap them on.

If the pistons are "insanely stiff" in the cylinders, make sure you haven't overtightened those gland nuts, which will "squeeze" the O ring making it grip the piston rod.
I slacken mine right off when they're new and gradually tighten them up as part of the running in procedure.

Hope this helps :D

Edit: when I say "hold the piston rod" don't clamp it up in a vice or grip it with pliers or anything which could mark or score the rod!!!!
Thanks, that is what i was on about! But yes that are really stiff, i am moved them in and out a bit bit (as if it was in steam sort of thing) and they are slowly becoming but i'll unscrew them slightly! :D

User avatar
DolwyddelanLightRail
Driver
Driver
Posts: 2579
Joined: Tue Sep 29, 2009 7:27 pm
Location: Lost

Post by DolwyddelanLightRail » Thu Apr 15, 2010 5:57 pm

Hmmmm, i tried to fit the piston rod connectors on, and they wouldn't go on as i had tried hammering them lightly, and also putting it in a clamp, and still didn't go on. In the end i rang up dream steam in case they were faulty and the guy said i have a get a glue called locknut, or something simular, but he was very good i have to say! :D

User avatar
DolwyddelanLightRail
Driver
Driver
Posts: 2579
Joined: Tue Sep 29, 2009 7:27 pm
Location: Lost

Post by DolwyddelanLightRail » Mon May 24, 2010 11:04 am

I was wondering, should i actually bother stripping the old paintwork off on the body and repriming it all or should i just re-spray straight onto the old paintwork? or is this a bad idea? :?

cjallenby
Trainee Fireman
Trainee Fireman
Posts: 241
Joined: Wed Mar 10, 2010 9:18 pm
Location: Derby and Southampton
Contact:

Post by cjallenby » Mon May 24, 2010 11:50 am

My millie had to be stripped right back and re primered. Depends how smooth a finish you can get on the old paint work and how good you are at painting. You will at least need to rough it up with fine wet and dry or very fine sand paper. Try it out on the inside of one of the tanks to see what happens/if you are happy the finish and then you can do the rest of the loco, and if not you wont have to redo any of it :lol:
Christopher Allenby - Steaming on various lines since 1991!

Website: http://dibdenvalleyrailway.webs.com/

Check out my fotopic... more G scale and other railways!
http://christopher.photoblog.co.uk/

User avatar
Sir haydn
Driver
Driver
Posts: 2109
Joined: Mon Dec 07, 2009 2:51 pm
Contact:

Post by Sir haydn » Mon May 24, 2010 3:28 pm

you will not be able to use a spray car paint on the loco as the tanks will go permanently black and the paint will crack. you will need to use an enamel, this should be ok to paint straight ontop of the old paint once you've prep'ed it

User avatar
DolwyddelanLightRail
Driver
Driver
Posts: 2579
Joined: Tue Sep 29, 2009 7:27 pm
Location: Lost

Post by DolwyddelanLightRail » Mon May 24, 2010 8:38 pm

Ah right, so what enamal (brand/name or whatever) do you really recommend for a budget? and I assume you can only paint it on?

(Sorry bout all the questions! :lol: :roll: )

User avatar
DolwyddelanLightRail
Driver
Driver
Posts: 2579
Joined: Tue Sep 29, 2009 7:27 pm
Location: Lost

Post by DolwyddelanLightRail » Thu Jun 03, 2010 9:06 pm

Well a couple of days ago i steamed Brit, and the new pistons are really stiff, and keep on locking up quite easily, which doesn't help that the displacement lubricator isn't fitted yet! anyway, i got a short film of her new chuff, and by hell is it loud and deep, it isn't easily heard on the film but it gets the point across!

Image :D

bessytractor
Trainee Driver
Trainee Driver
Posts: 677
Joined: Wed Nov 14, 2007 2:34 pm

Post by bessytractor » Sun Jun 06, 2010 11:28 pm

Hmm, might be worth a mention.  I always groan a little whenever I hear people talk about gluing things on loco cylinders.  I quickly learnt through playing with large locos, and on my engineering apprenticeship that the best way of killing a glue such as Loctite etc is to heat it and get it exposed to loads of oil.....oh wait thats what cylinders get  :lol:

on a slightly more serious (but only just) note, there was a guy on the Mamod forum who tried gluing the big end onto the piston rod of his loco, only to repeatedly have it fail.  I wonder why?

The way I see it, silver solder is the way to go if you cannot get the glue to work.

User avatar
DolwyddelanLightRail
Driver
Driver
Posts: 2579
Joined: Tue Sep 29, 2009 7:27 pm
Location: Lost

Post by DolwyddelanLightRail » Thu Jun 10, 2010 5:29 pm

Got a bit of work done today at school:

Image

Image

more pics to come

I have also re-sprayed the combustion chamber and the boiler is about to be done soon as well.

Edrig and the other mamod are coming into school tomorrow for some tweaks and bits, and i'll also keep you guessing what i'm alo adding to the back of Britomart :P

User avatar
Dr. Bond of the DVLR
Retired Director
Retired Director
Posts: 4485
Joined: Tue Jun 09, 2009 9:43 pm
Location: Suffolk
Contact:

Post by Dr. Bond of the DVLR » Thu Jun 10, 2010 6:04 pm

I like those buffer beams and the matt black is a great improvement on the mamod black colour on the smoke box
Tender on the back??
Image
The railway which people forgot
(to build)

User avatar
DolwyddelanLightRail
Driver
Driver
Posts: 2579
Joined: Tue Sep 29, 2009 7:27 pm
Location: Lost

Post by DolwyddelanLightRail » Thu Jun 10, 2010 6:14 pm

Not quite, it's still attached to the loco

User avatar
taliesin001
Driver
Driver
Posts: 1594
Joined: Mon Feb 08, 2010 8:04 pm
Location: Hampton Hargate, Peterborough

Post by taliesin001 » Thu Jun 10, 2010 7:08 pm

very nice, much better! :D

User avatar
DolwyddelanLightRail
Driver
Driver
Posts: 2579
Joined: Tue Sep 29, 2009 7:27 pm
Location: Lost

Post by DolwyddelanLightRail » Fri Jun 11, 2010 5:37 pm

Another mod i did today:

Image

Image

Image

the new coal bunker :D I have to say Phoenix does look MUCH better now! and i think i've actually done a good job of the re-spray, as on the first coat, a big gust of wind came and spoilt the first coat, luckily i put another 3 on to disguse it, and i've done it all rightish! :D

Post Reply

Who is online

Users browsing this forum: No registered users and 0 guests