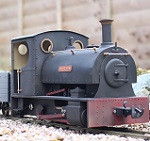
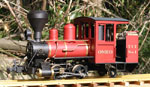
Not sure how much interest in gauge 1 there is on here but thought I’d stick this up anyway, mostly because I’ll probably need to ask for advice at some point! A while back I bought the g1mra ‘project’ book, out of curiosity really as I thought the info in there might be helpful for other things I had in mind. A trip to guildford model engineering society sparked an interest so I went back to the book and decided I’d give it a go, primarily to forces myself to learn some new skills.

- 5EFC202D-1CC8-4D4E-9FE5-84E3AFCDEEE1.jpeg (180.18 KiB) Viewed 11027 times
I decided to order some ready machined bits from Walsall model industries, namely wheels, axles and buffers as I’ve turned wheels before anyway and I liked the idea of the squared axles making quartering easy.

- 8FBB2174-3560-4614-A5F7-E2CF90F33C5A.jpeg (286.58 KiB) Viewed 11027 times
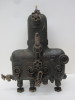
At the same time I ordered so laser cut frames and bits and pieces from model engineers laser, and while waiting for those to arrive cracked on with the buffer and drag beam:

- 6121B7CD-6AFE-4825-80C1-697B291E7586.jpeg (187.73 KiB) Viewed 11027 times
This meant that when the laser cuts arrived I was pretty much ready to bolt a rolling chassis together, after drilling out some holes to the correct sizes. I decided to use ball races rather than bushes as this has worked nicely on battery locos in the past.

- 92178490-1A35-487A-887E-AC5769B47BD0.jpeg (191.54 KiB) Viewed 11027 times

- 5A012E93-1DD8-4D63-A323-102410342556.jpeg (243.76 KiB) Viewed 11027 times
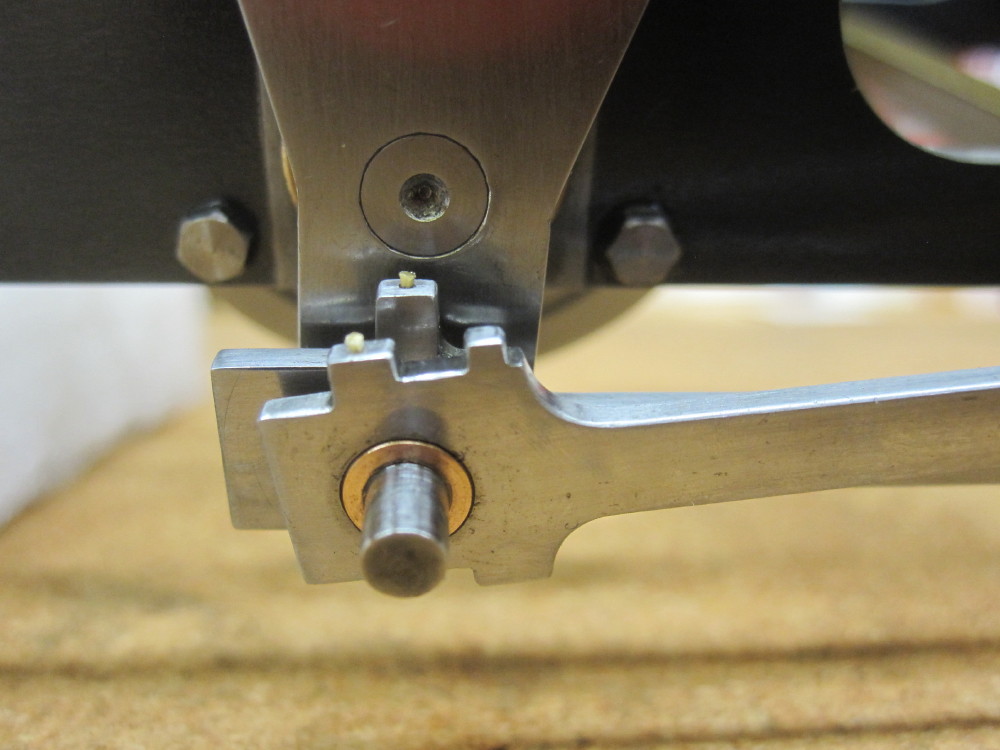
Next up coupling rods, I had the laser cuts for these so just enlarged the holes and turned some bushes to be a nice press fit.

- B2D48068-5B11-4D1C-B2D1-EB96F818628D.jpeg (263.16 KiB) Viewed 11027 times
They needed a little opening out to get the chassis to roll smoothly but not enough that there’s and noticeable slop.

- 156CEBC3-F92C-4F80-BE2F-99CFE1BCE6D0.jpeg (125.17 KiB) Viewed 11027 times
And that’s where I’m at as of last night... I’m toying with the idea of drilling the coupling rods from the top for an oil way into the bushes, just wondering if anyone has done this and whether it was worth it?