Simple to piece together, I now forgive them for the flimsy instructions. All sorted in half an hour. Switched on, heated nozzle and loaded a spool, all good.
So mission accomplished for phase one.
Mrs. then arrived home said ""What's that doing on the dining room table?" so I aborted play for Wednesday
Next morning I familiarised myself with the display, then wondered how the heck I now get it to print something.
At this point my head was all over the place, I'd been on a few 3d printing groups but boy do they complicate things, I never asked any questions, just looked at other peoples questions and saw the answers, a very hard read for a beginner, so I phoned a friend.
This lad has a printer but seldom uses it, he too is a beginner really but at least he'd printed things, and I knew he'd be up front with no bull!!
He simply said "bang the card in, toggle down, pick a test print and hit go", he said worry about the rest later, make sure it works first.
He also said I could do worse than junking the Creality slicer and installing Cura 4.8, which at that time went over my head
Now I was confident I'd leveled the bed, I was fine with the newly loaded spool so did as he said............toggled down and picked the test Pig (big mistake) then pressed go.
6 hours 34minutes later I had myself a porker
Mrs didn't fully grasp the moment and asked would we end up with a house full of pigs which hurt a bit, but it never dampened my spirits when I looked at the little piggy!!

It came out really well and much smoother than I could have hoped for, biggest result was there was no smell at all, I was told to expect some smells from the process but nothing, result. I can take no praise for that first effort as all I did was press start, so I needed to test myself a bit further.
I downloaded a motoring related file I was keen on then went about downloading Cura 4.8 as my mate said. Perfect, all done in 3 minutes.
So, the motoring part, I needed to shrink it as I was not bothered about it being full size, so I chucked it in to tinkercad which I'd got my head around (a bit) last week and shrank it.
When finished as if by magic it asked if I wanted to send it to Cura, how clever!!! So file was now in Cura.
Amazing just how many parameters there are to play with, I stayed on the safe side and kept bed and nozzle temps as per the Pig, 200 and 45. It said a 1 hour print time which was nice to see, so I thought I'd up the detail a bit and put it on a much finer layer and slower speed, which doubled the print time but I was still happy, plus it was my first experiment. I pressed go and away she went.


It came out once more better than I expected, far better, so what next? it had to be Locomotive related, that was the idea, but what?
My Loco I'm building in CAD was not yet ready so I had an idea.
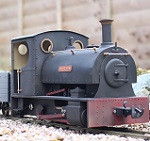
The little Quarry Hunslet I finished last month was based loosely on Irish Mail.
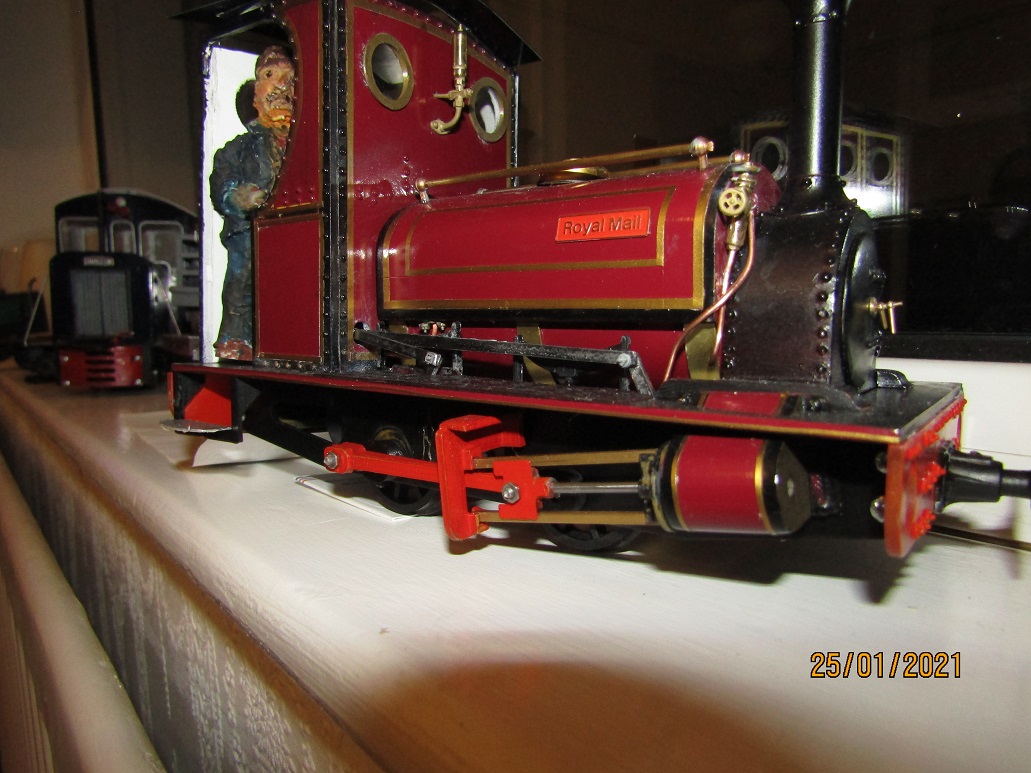
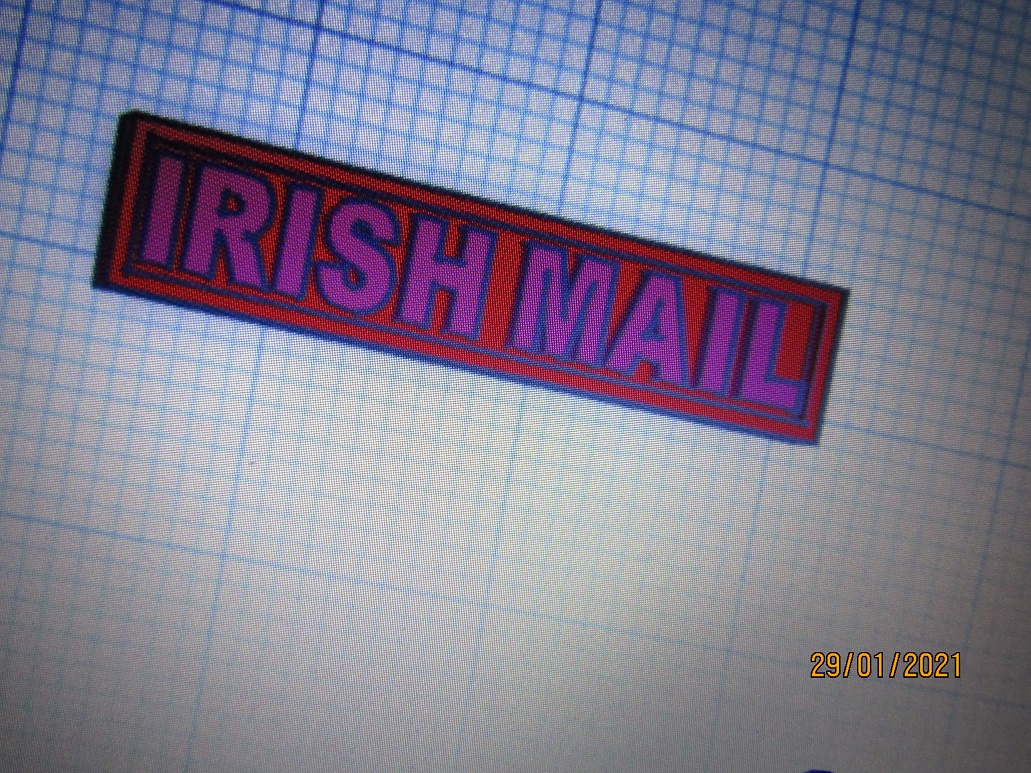
You can spot the mistake, I couldn't get Irish Mail plates from anywhere any time soon, only Royal Mail plates, so thought, "Could I?"
So armed with what I'd learned on Tinkercad I made the backplate and name and "welded" them together.
Sliced it in cura and this time really upped the detail settings. I was very dubious about how this would turn out, I was expecting a real mess, especially when printing time was only 12 minutes. 27mm long, 6mm high, 1.3mm deep. Recess .6mm from base, letters .7mm deep.
Card in, start button pushed, 12 minutes later it was done.


So that's where we are at present. Over the moon with the initial results but I guess there will be a disaster just waiting around the corner, makes me feel like packing in now whilst I'm ahead
What can I print next guys......I'm truly loving this new hobby.
Cheers
Kenny