Fast forward a couple of years and the price of printers has come down. I managed to buy a decent one at a reasonable cost after a few months of saving up (a birthday present to myself!!
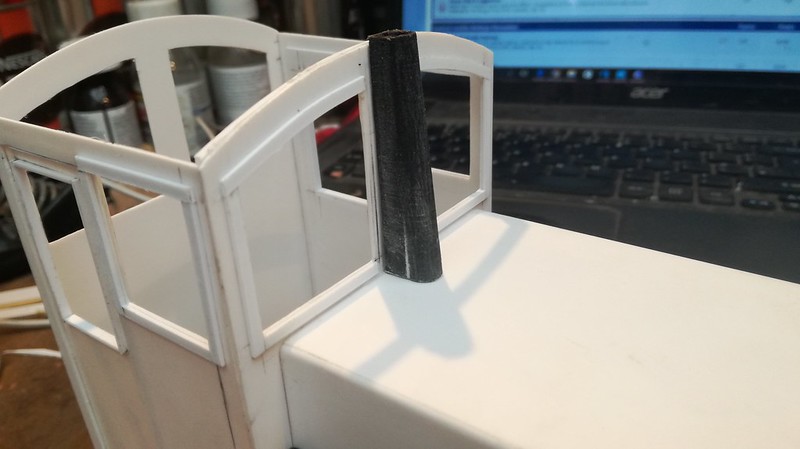
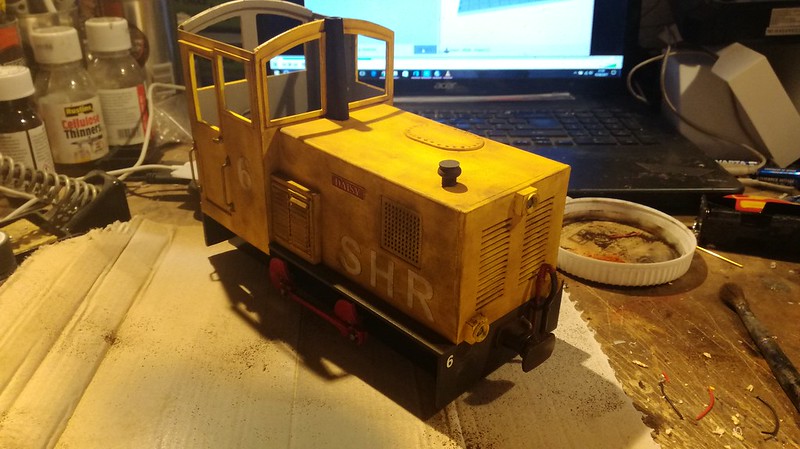
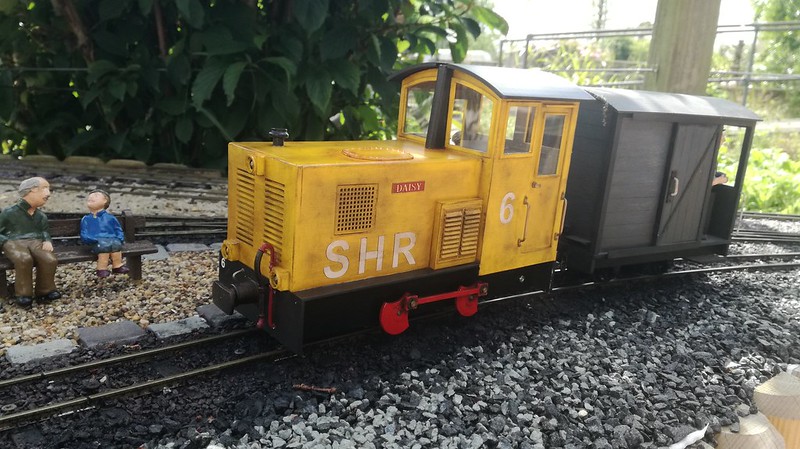
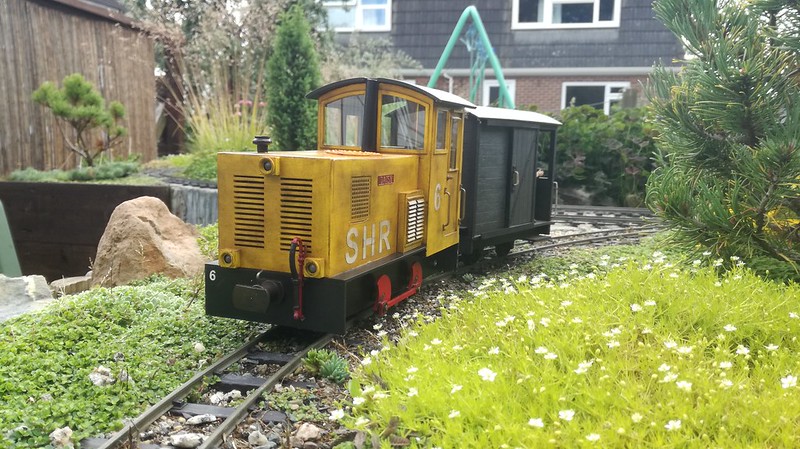
Printing in PLA material, I am building a test bed loco using plasticard and 3D printed parts to see how i get on so I thought it may be of interest to post here as I work through the project.
My first lesson was that no matter how good you make the design, the actual printing is not as easy as "pressing print". The design has to be uploaded into another program called a slicer and this splits the design into layers that the printer can understand, once that is done settings have to be correct for the heat of the nozzle, speed of the print, layer thickness and dozens of others...one wrong setting and the part is useless! The orientation of the part also makes a big difference - the vertical surfaces print far better than the horizontal surfaces so it makes to do it that way of possible.
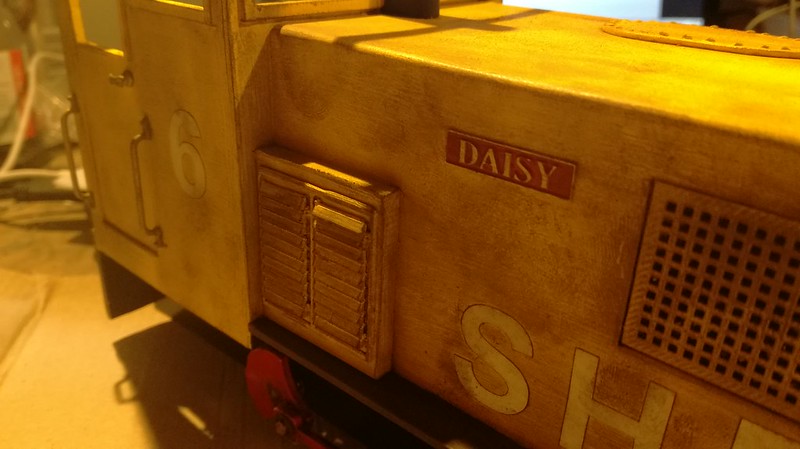
The end part also needs hand finishing, just like wood, metal or resin in order to get a decent finish.
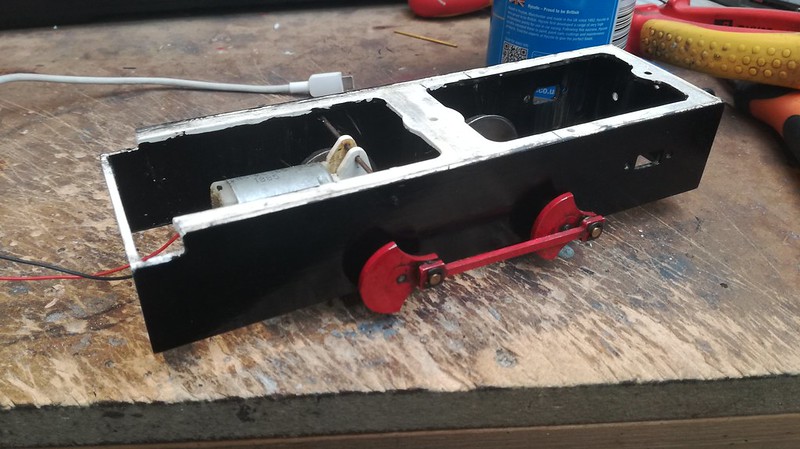
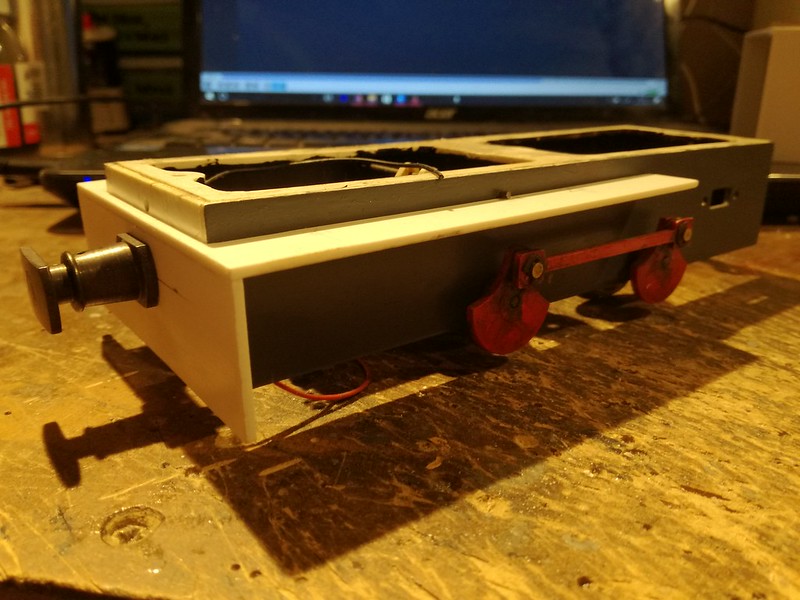
I have an old IP chassis that used to be under my sons Tram before it was upgraded so this is forming the base of the build
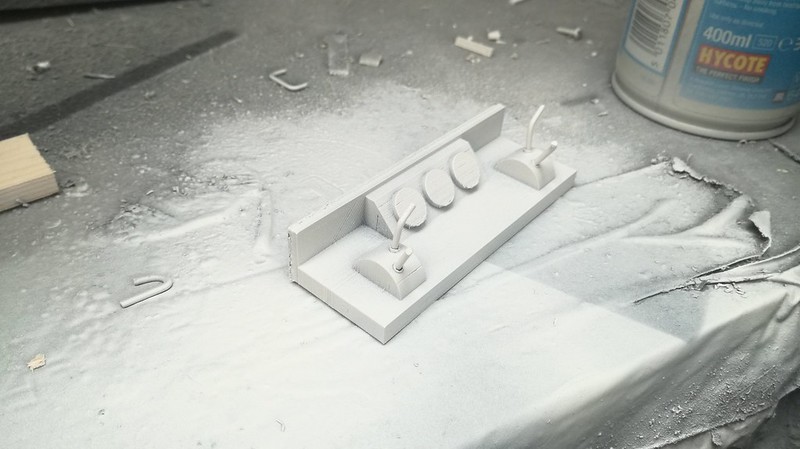
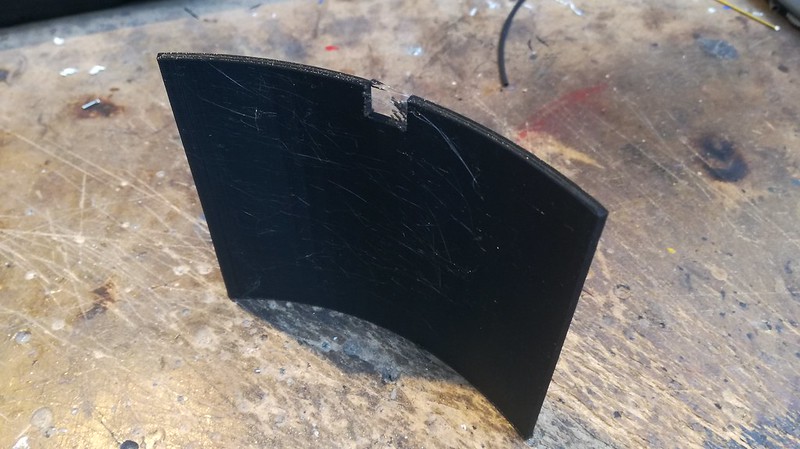
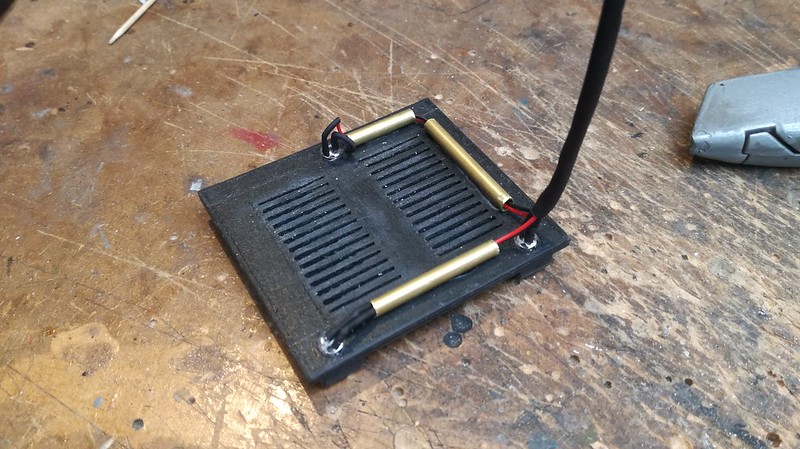
Bonnet front printed, this part took 3 hours to print and has the holes for the LEDs printed as part of the pattern, the lamps were also printed as part of the same section:
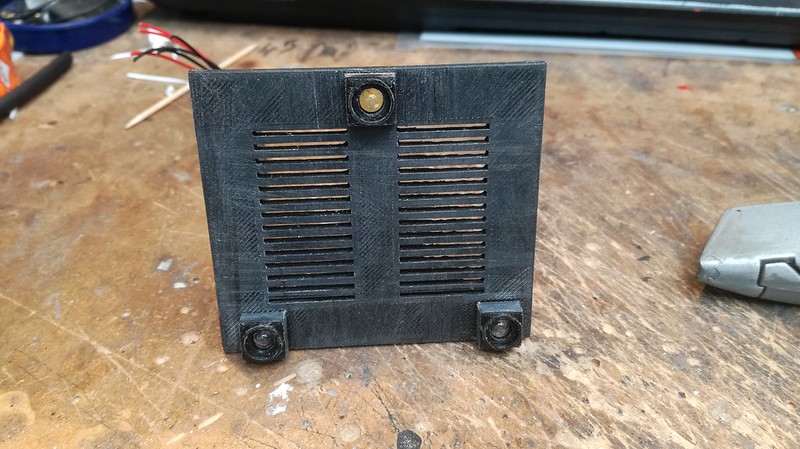
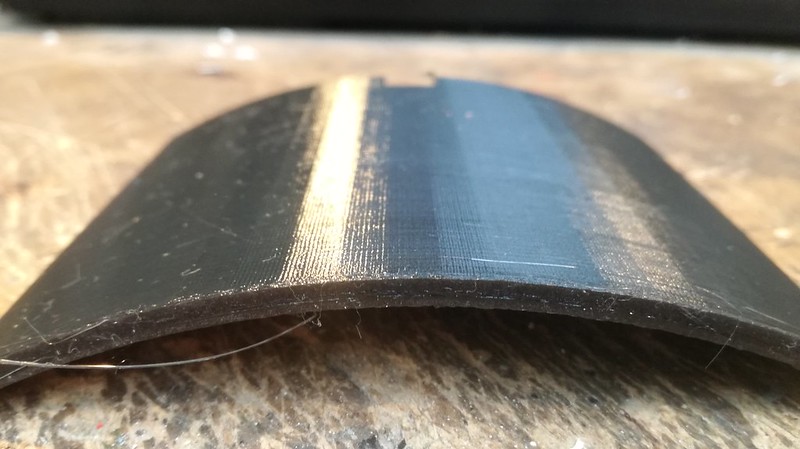
Back of the same part with LEDs wired and offcuts of brass tube used to tidy the wires:
IP Chassis with plasticard buffer beam and running boards:
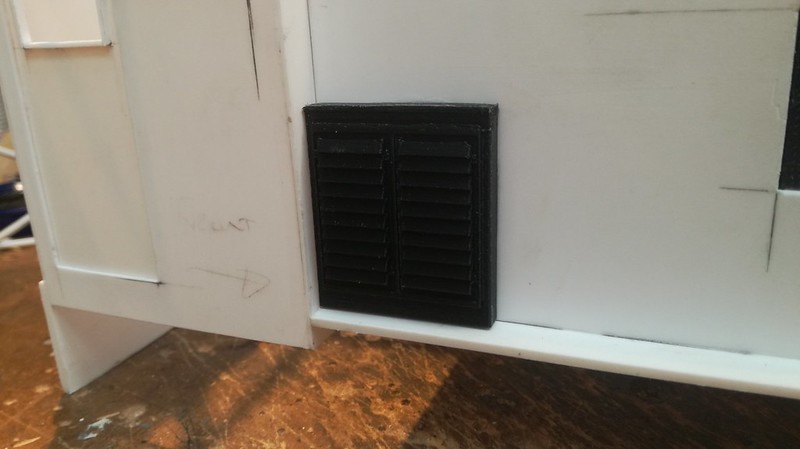
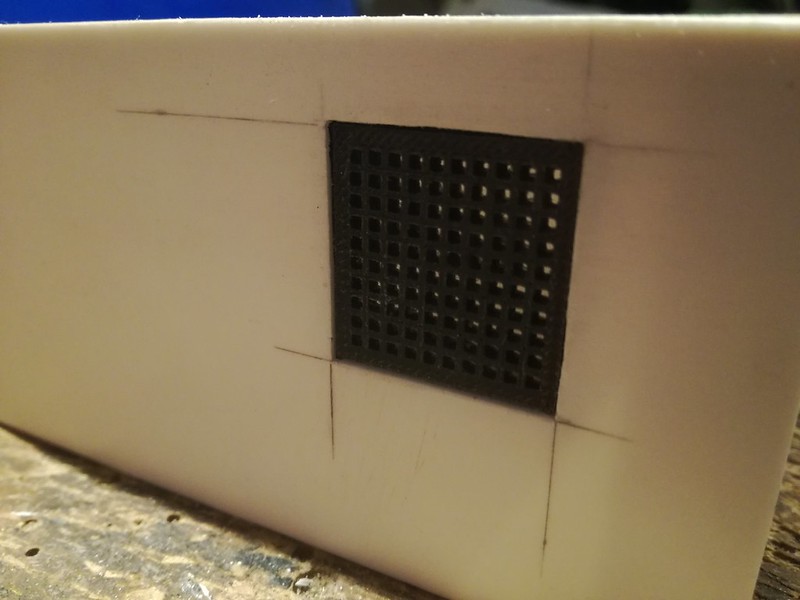
3D printed air vent:
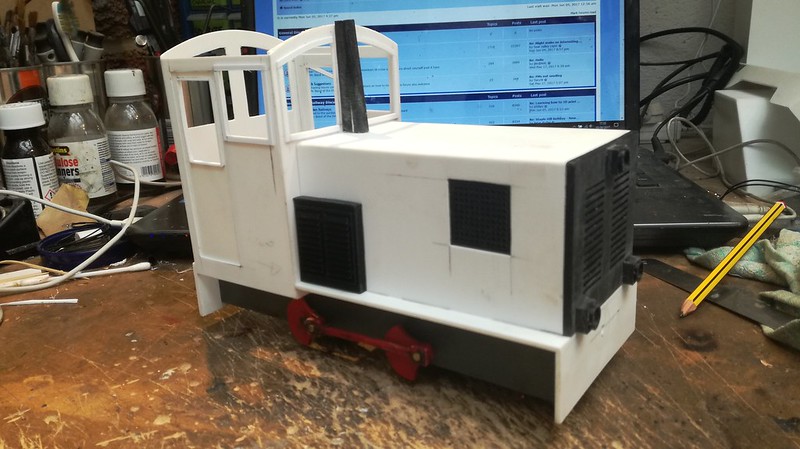
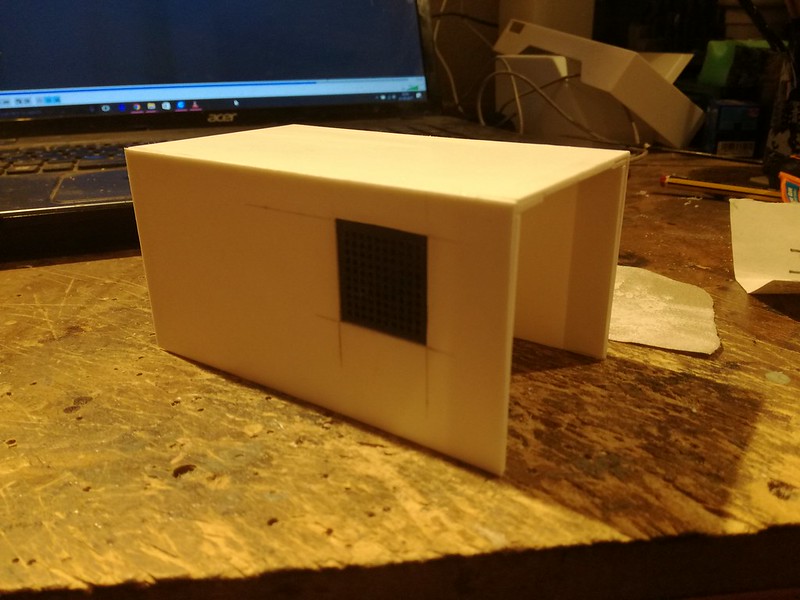
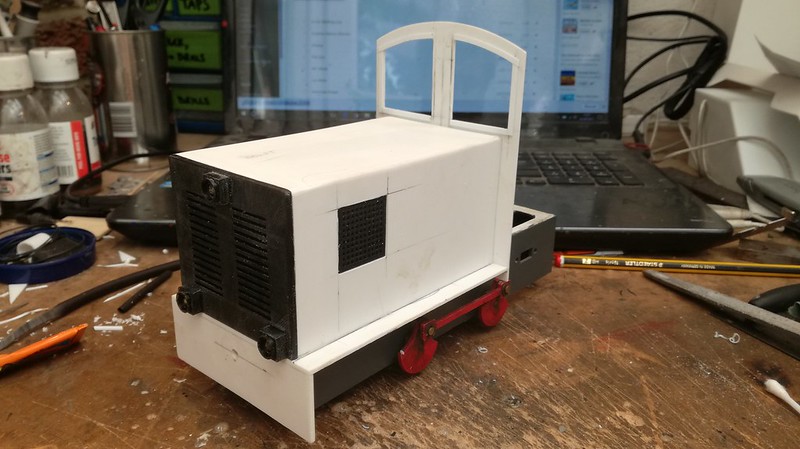
Bonnet cut out with vent in place:
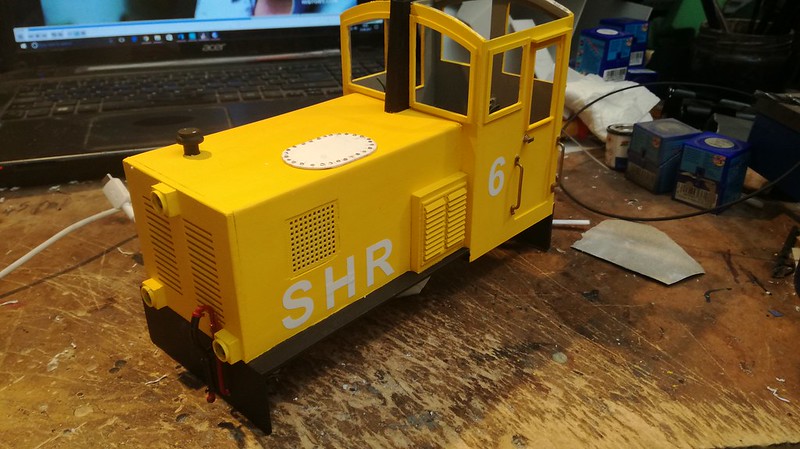
Bonnet and front assembled with the cab front:
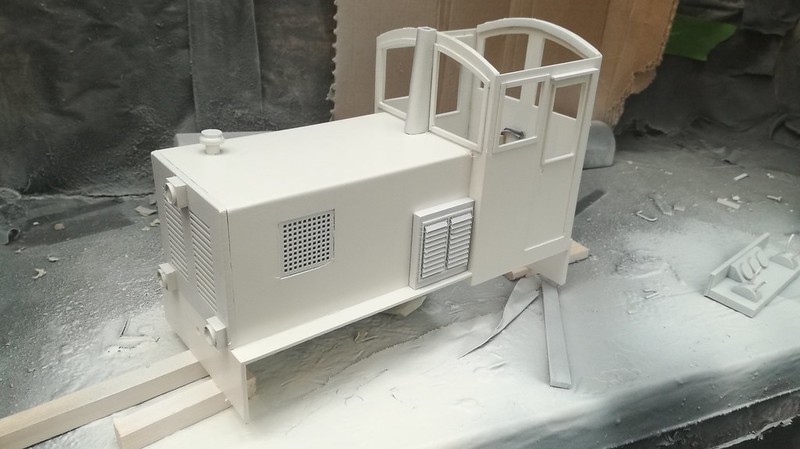
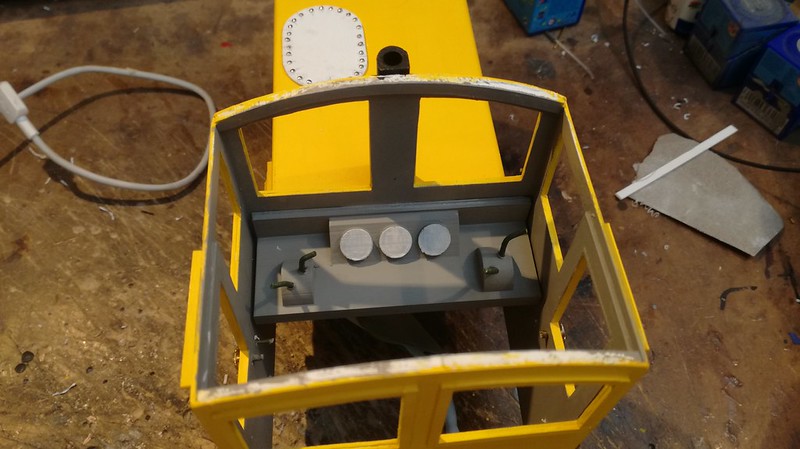
I have designed an exhaust and a pair of louvre panel doors for the sides which should be done tomorrow so I will update this thread soon. If you have any experience of 3D printing, I'd love to hear your tips!
Cheers
J